


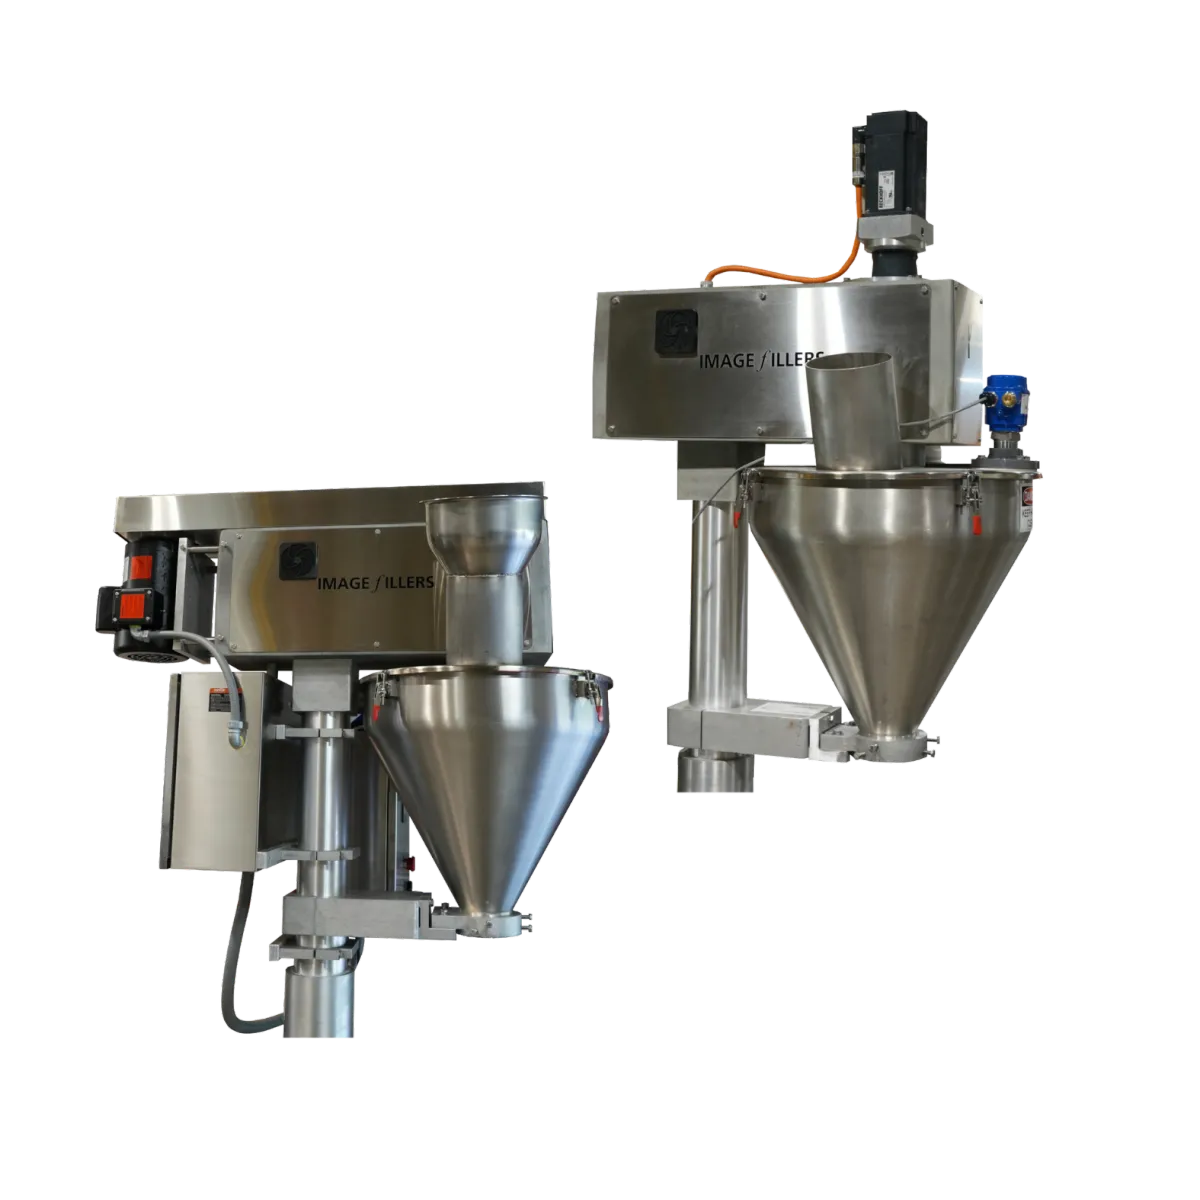


How to - Replace a Clutch Brake Motor
This guide will walk you through the step-by-step process of removing the old clutch brake motor and installing a new one. By following these instructions, you can efficiently handle the process and get your machine back to optimal performance.
Clutch Brake Motor Removal

Remove Side Covers
Begin by removing the side covers of the filling head. Unscrew the 6 bolts on the cover, allowing access to the internal components.

Remove Top Cover
Take off the top cover by unscrewing the 2 bolts at the top of the head. This will expose the upper part of the filling mechanism.

Remove Auger Shaft
Slide the auger shaft out from the head to free up space for the motor removal.

Remove V-Belt
Remove the v-belt from the pulley system to disconnect the motor from the pulley drive.

Remove Pulley
Loosen the two Allen bolts on the bottom side of the pulley. With the bolts loosened, use two prying irons to carefully remove the pulley from its position.

Remove Clutch Brake Bolts
Unscrew the 4 bolts located on the outside diameter of the top of the clutch brake. These bolts secure the brake to the head of the machine.

Disconnect Clutch Brake Wires
Disconnect the 4 wires connected to the clutch brake at the terminal strip. Make sure to take note of which wires are connected to which section of the strip for later reinstallation.

Remove Encoder Bracket
Unscrew the 2 bolts holding the encoder bracket in place. Once removed, carefully lift the bracket, spacers, and encoder. The encoder can remain attached to the bracket during this process.

Lift Out Clutch Brake Motor
Once all wires and bolts are removed, lift the clutch brake motor up and out of the filling head.
Remove Mounting Bracket
Lastly, remove the mounting bracket attached to the top of the clutch brake by unscrewing the 4 bolts located inside the diameter of the top of the brake.
Clutch Brake Motor Installation
Attach Mounting Bracket to New Clutch Brake
Place the mounting bracket onto the new clutch brake and securely fasten the 4 bolts to the inside diameter of the top of the brake.

Insert New Clutch Brake into Place
Slide the new clutch brake motor into its designated position. Make sure the shaft fits smoothly into the slow-speed bearing housing. Ensure the clutch brake fits snugly onto the head of the machine.Secure the Clutch Brake Bolts
Fasten the 4 bolts into the outside holes on the top of the clutch brake to firmly secure it in place.

Reattach the Encoder Bracket
Align the encoder gears properly and screw the 2 bolts back into the bracket at the bottom of the clutch brake. Make sure the gears are snug but not overly tight to prevent unnecessary wear.

Reconnect Clutch Brake Wires
Reconnect the 4 wires to their corresponding sections on the terminal strip. The wires should be labeled "clutch" or "brake," with common connections being:
Red brake wire and black clutch wire to terminal 6
Black brake wire to terminal 8
Red clutch wire to terminal 9
If you are unsure, refer to your earlier notes or contact our team at Imagefillers.com for assistance.
Reinstall Pulley
Slide the pulley back onto the shaft and tighten the two Allen bolts on the underside to secure it.Reattach V-Belt
Reinstall the v-belt onto the pulley system, ensuring it is aligned and tensioned correctly.Reinstall Top Cover
Secure the top cover back in place by tightening the 2 bolts at the top of the head.Reattach Side Covers
Finally, reinstall the side covers by fastening the 6 bolts removed at the start of the process.
Conclusion
Replacing a clutch brake motor in your auger filler machine is a detailed but straightforward process. By carefully following the steps above, you can efficiently complete the task and maintain the smooth operation of your equipment. For any questions or if you require further assistance, feel free to contact us at Image Fillers. We're here to help keep your machines running at their best!
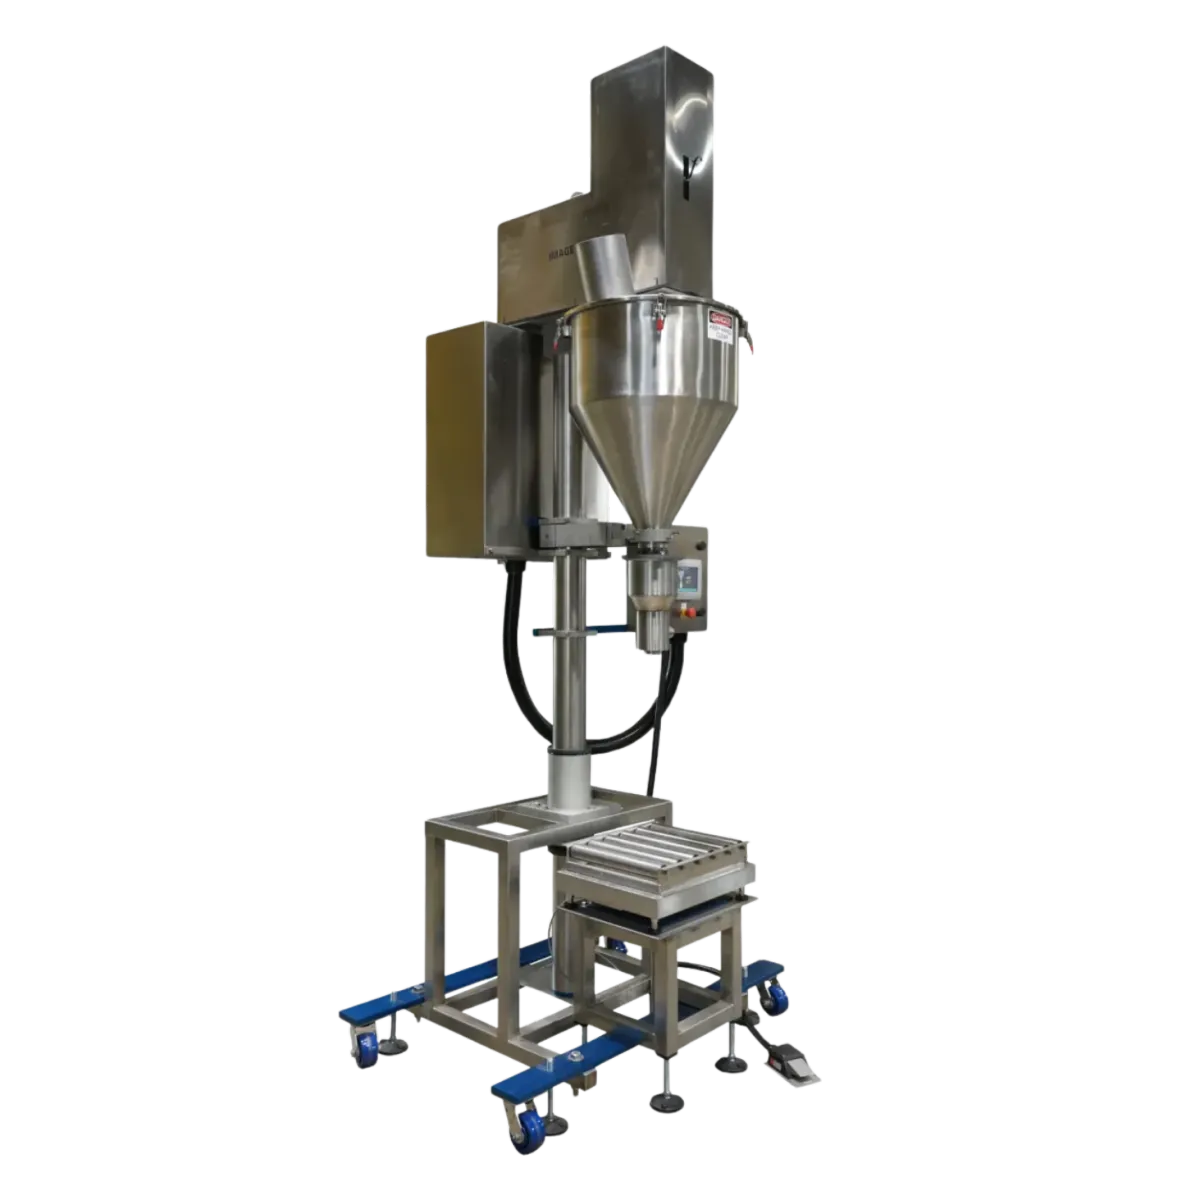
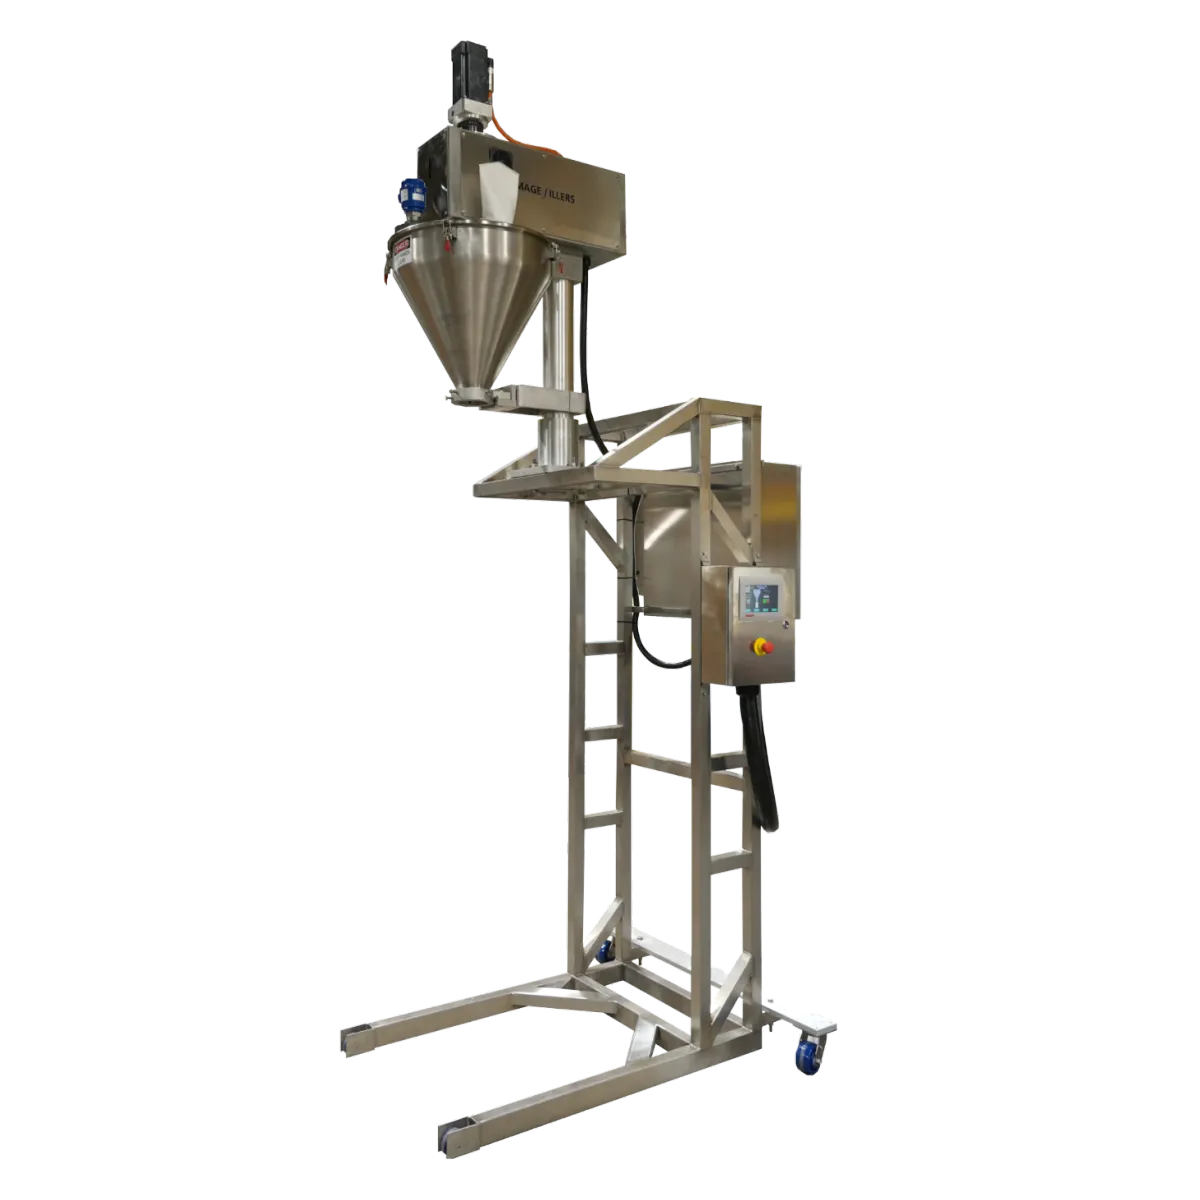
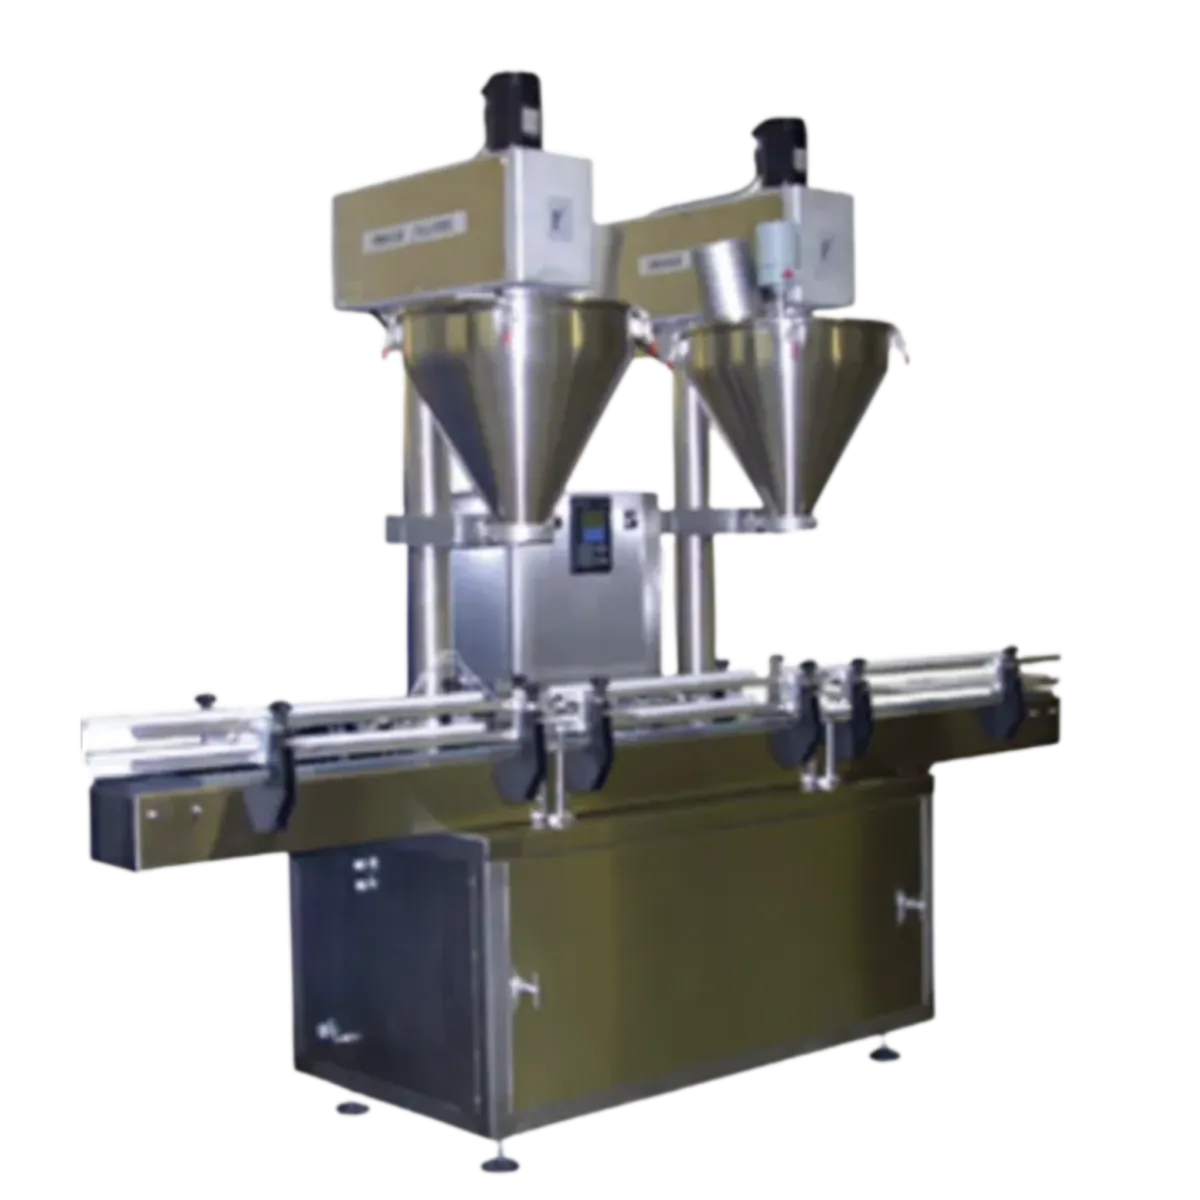
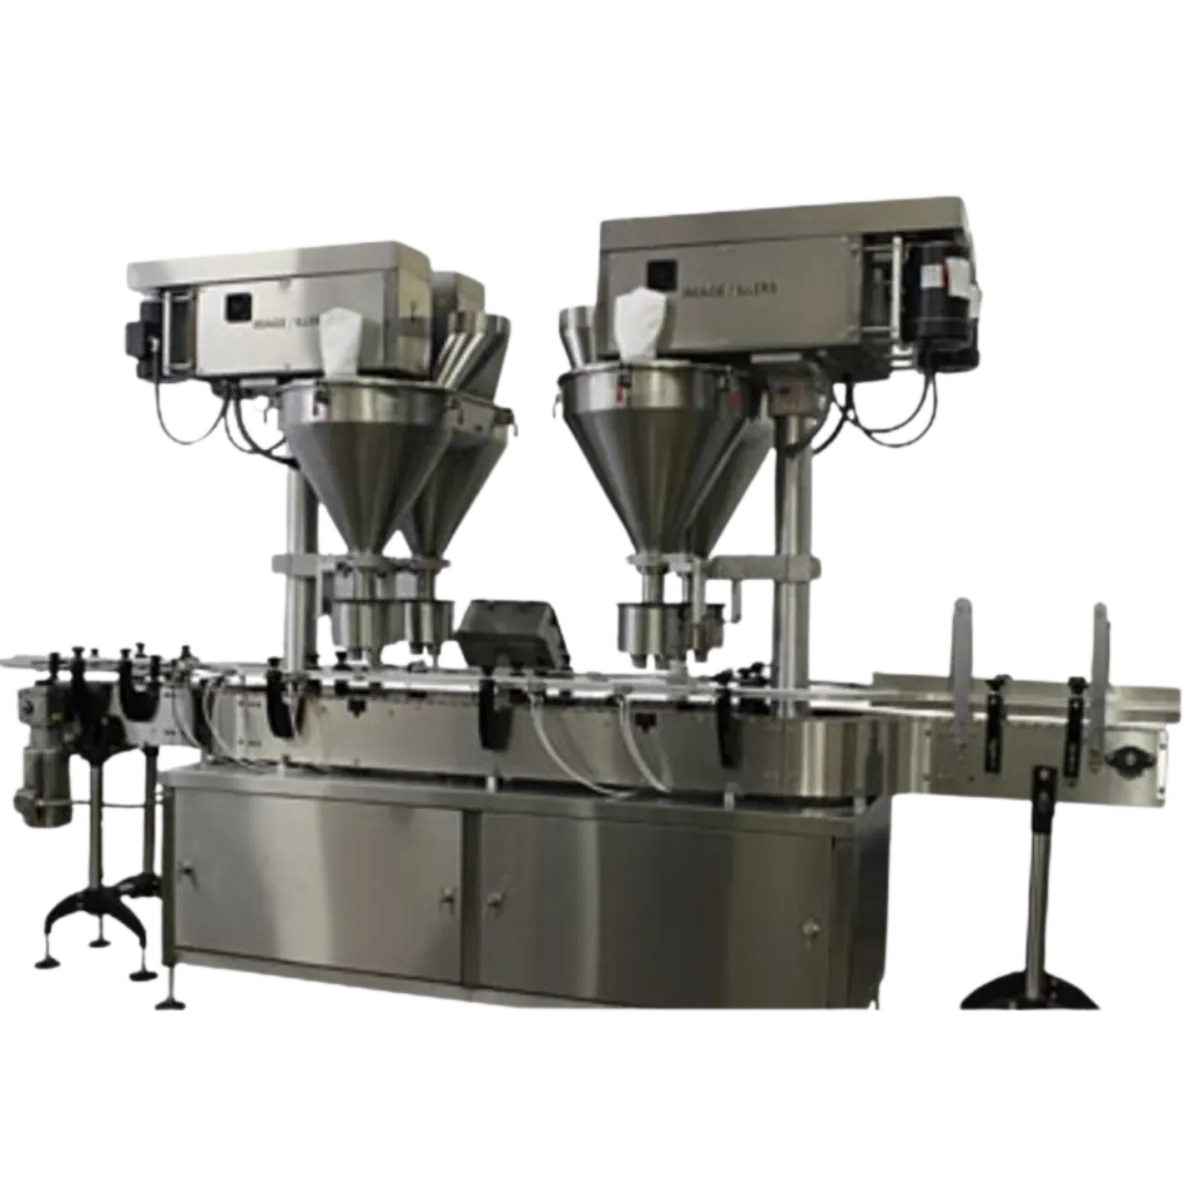
View our machine lineup at: imagefillers.com/product-page
