


How to - Replace the Slow-Speed Bearing Housing
How to Change the Slow Speed Bearing Housing on Your Auger Filler Machine: A Step-by-Step Guide
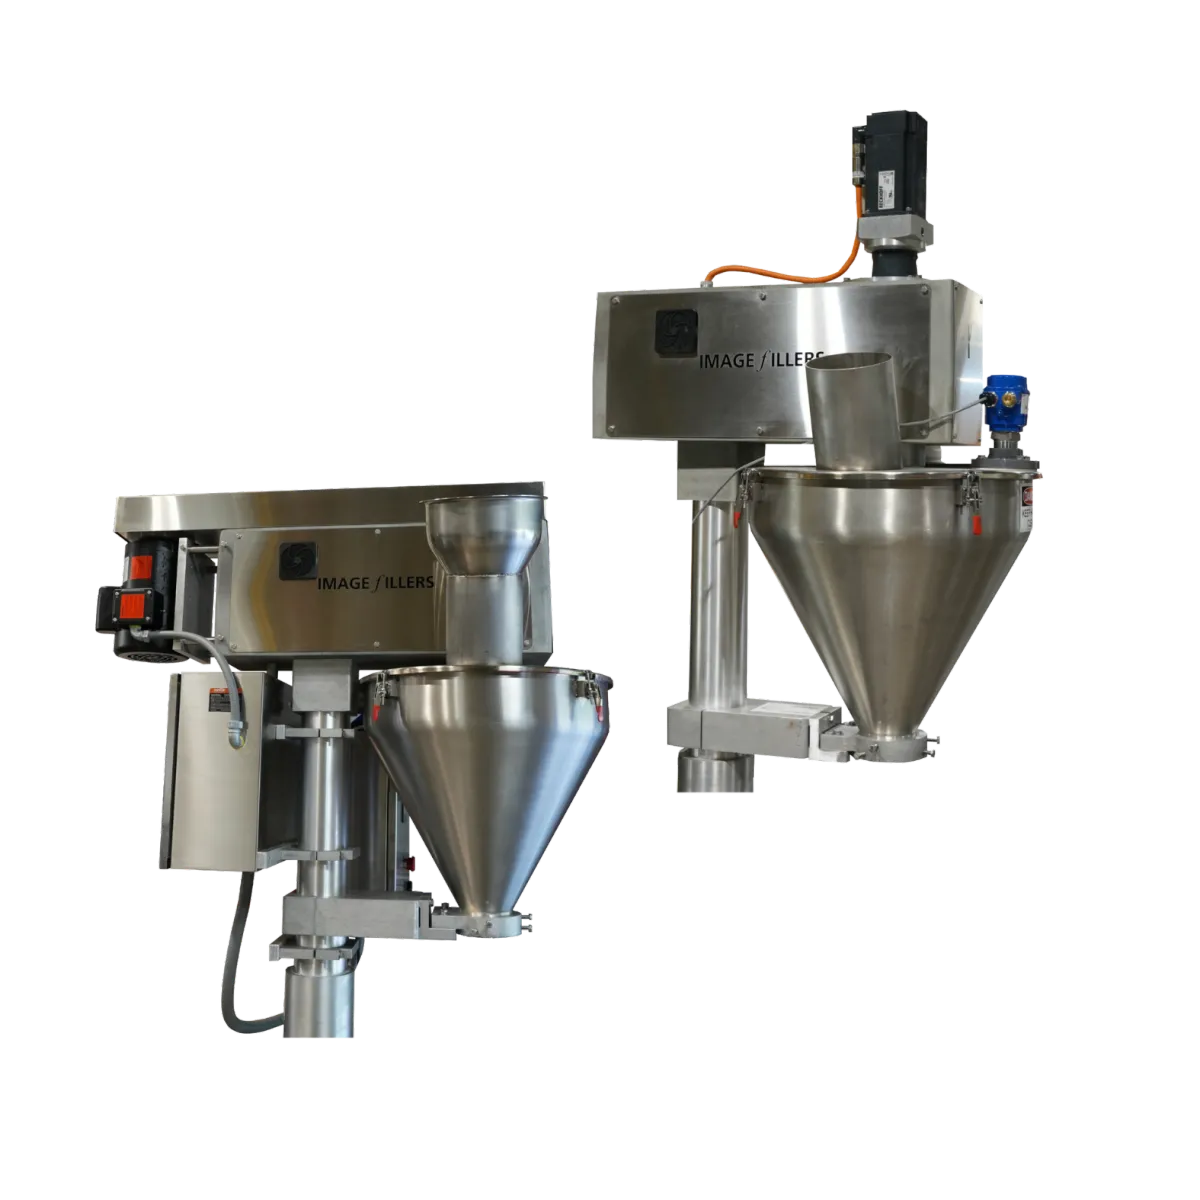
Maintaining your auger filler machine is crucial to ensuring it operates efficiently, and one key task is changing out the slow speed bearing housing. While this might seem like a complex procedure, following the right steps will make it manageable. In this guide, I'll walk you through the process of replacing the slow speed bearing housing on your auger filler machine.

Step 1: Undo the Latches on the Hopper
Start by undoing the latches on the hopper to disconnect it from the auger filler machine.

Step 2: Loosen the Horizontal Bolt on the Hopper Coupling
Locate the horizontal bolt on the hopper coupling and loosen it. This bolt holds the hopper securely in place.
Step 3: Remove the Hopper
After loosening the bolt, you can now remove the hopper from the machine.

Step 4: Remove the Agitation Blade
To remove the agitation blade, simply loosen the single bolt holding it in place. Once loose, slide it off.
Step 5: Remove the Auger Shaft
Next, loosen the bolt securing the auger shaft and remove it from the machine.

Step 6: Remove the Hopper Cover
There are four bolts located underneath the hopper cover. Loosen and remove these bolts to detach the hopper cover.
Step 7: Remove the Side Covers
Take off the side covers on both sides of the machine to expose the internal components.

Step 8: Remove the Idler Assembly
To remove the idler assembly, loosen the bolt and push the idler away from the chain.

Step 9: Remove the Chain
Use needle-nose pliers to undo the top clip securing the chain. After removing the clip, lift the top section of the chain off and slide the remaining chain link out from the bottom.

Step 10: Remove the Gasket
Look under the head of the auger filler and remove the gasket located there.
Step 11: Remove the Bolts on the Slow Speed Bearing Housing
There are four bolts on the bottom of the slow speed bearing housing. Loosen and remove these bolts to detach the housing.
Step 12: Remove the Slow Speed Bearing Housing
Once the bolts are removed, slide the slow speed bearing housing out.

Step 13: Install the New Slow Speed Bearing Housing
Now, slide the new slow speed bearing housing into place. Make sure it fits snugly before proceeding.
Step 14: Tighten the Bolts
Using an Allen wrench, tighten the four bolts that secure the slow speed bearing housing in place.

Step 15: Reattach the Chain
Before reattaching the chain, loosen the bolts holding the reducer in place. This allows you to slide the reducer forward, making it easier to attach the chain. Insert the chain link into the bottom on both sides and then add the top piece of the chain.
Step 16: Tighten the Chain
Once the chain is in place, slide the reducer backward to tighten the chain. This will make reattaching the chain clip easier. Use needle-nose pliers to reattach the clip. Ensure the open end of the clip faces away from the chain's running direction.
Step 17: Force the Reducer Back
Use a mallet and a piece of wood to push the reducer back and tighten the chain as much as possible. Tighten the four bolts underneath the motor once this is done.
Step 18: Reinstall the Idler Assembly
Now, reinstall the idler assembly. Make sure the sprocket is snug to the chain before tightening the bolt that locks the idler assembly in place.
Step 19: Replace the Side Covers
With the internal components back in place, replace the side covers on both sides of the machine.
Step 20: Reattach the Auger Shaft
Next, slide the auger shaft back into position and secure it by tightening the bolt.
Step 21: Reinstall the Agitation Blade
Reattach the agitation blade by sliding it onto its shaft and securing the bolt.
Step 22: Replace the Hopper
Slide the hopper back into place on the auger filler machine.
Step 23: Tighten the Hopper Coupling
Once the hopper is in place, tighten the horizontal bolt to secure the hopper coupling.
Step 24: Reattach the Hopper Latches
Finally, reattach the latches on the top of the hopper to complete the process.
By following these steps, you’ll have successfully replaced the slow speed bearing housing on your auger filler machine. Regular maintenance like this ensures that your equipment runs smoothly, preventing breakdowns and extending the machine's lifespan.
If you have any questions about this process or need professional assistance, don’t hesitate to reach out to our team at Imagefillers. We're here to help keep your packaging line running efficiently!
Check out our machine lineup at Imagefillers.com/product-page
