Get $500 in credit on your first machine when you purchase in the month of February. Shop Products


Filling & Packaging Products

streamline your
filling process
Call now to boost efficiency and streamline your process!
streamline your filling process and boost productivity
GET $500 OFF ANY MACHINE!
Delivers reliable, high-quality, and professional filling solutions to businesses and manufacturers, all from one trusted source. Our commitment to safety ensures peace of mind for our customers.
Trusted by Organizations Nationwide
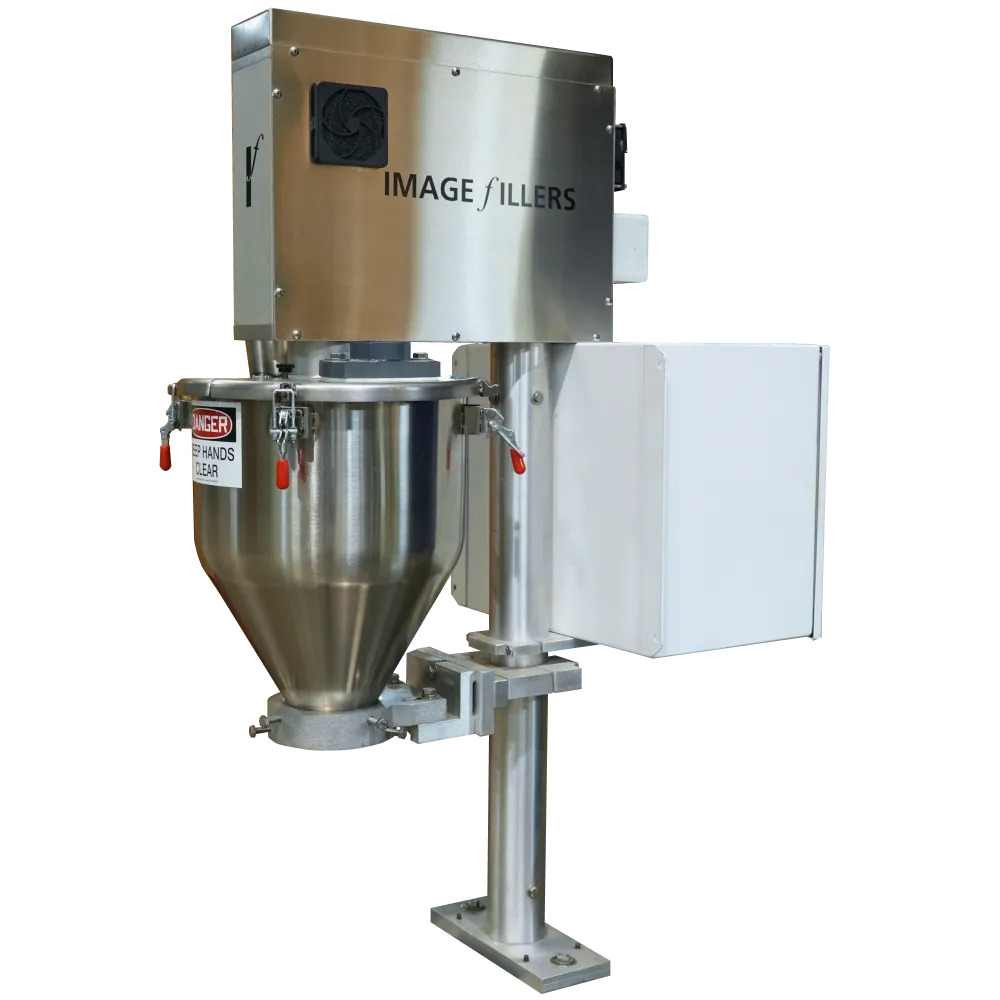
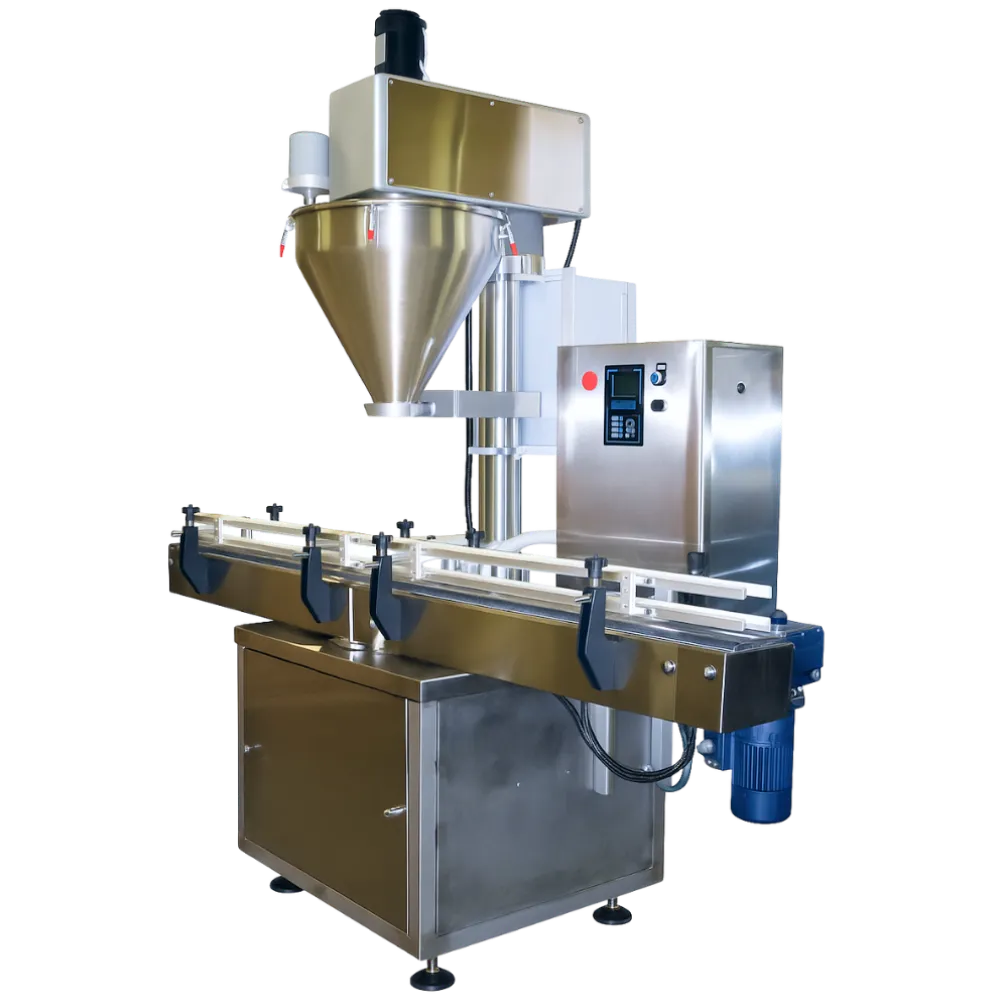
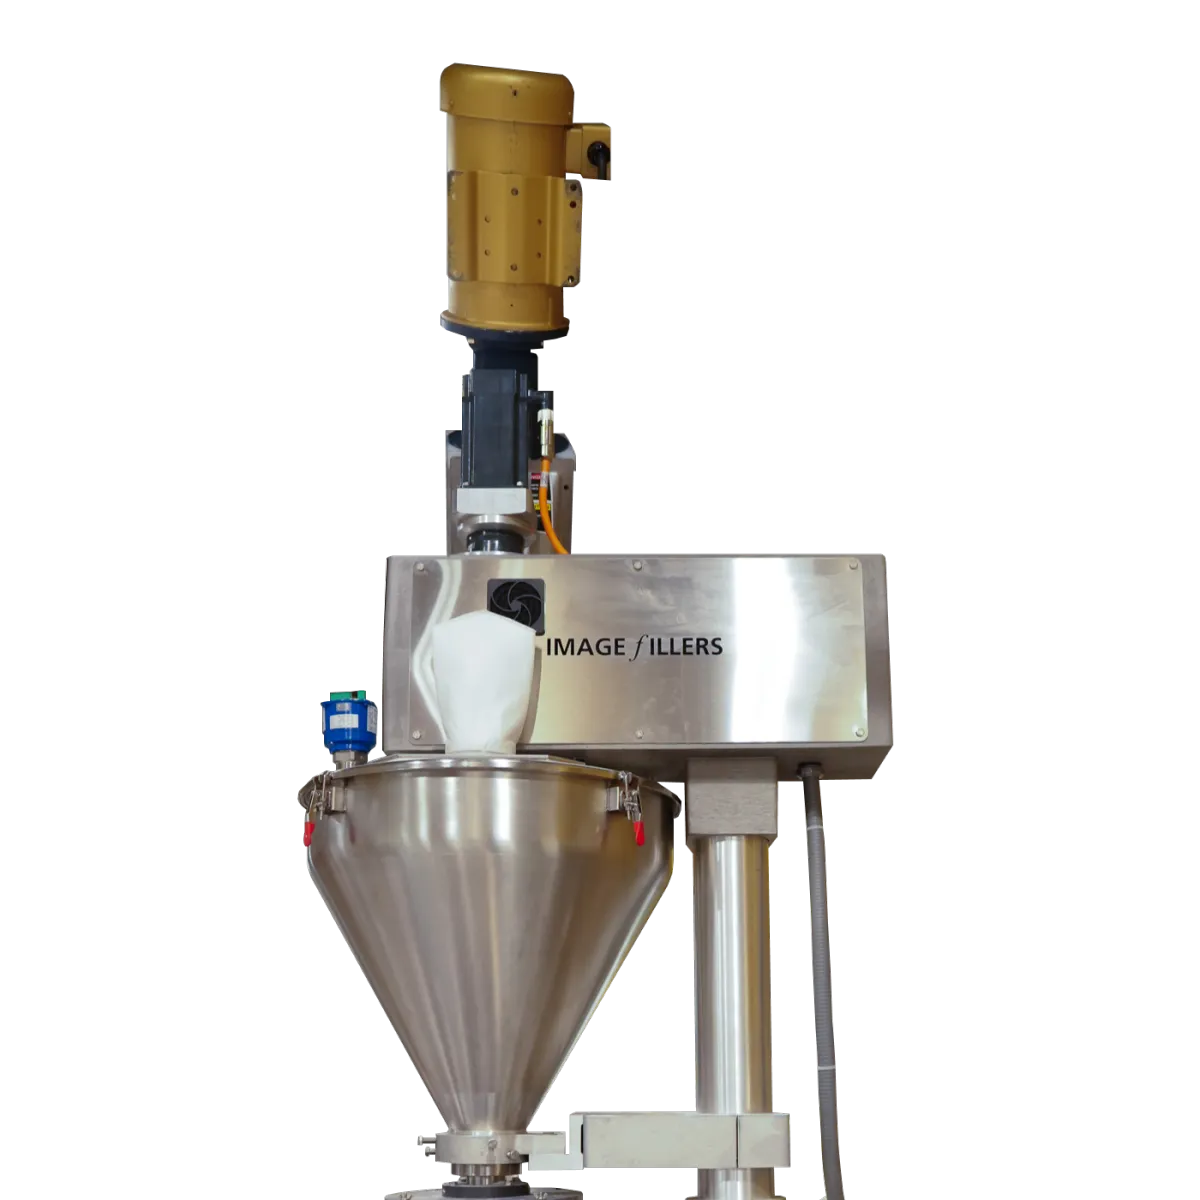
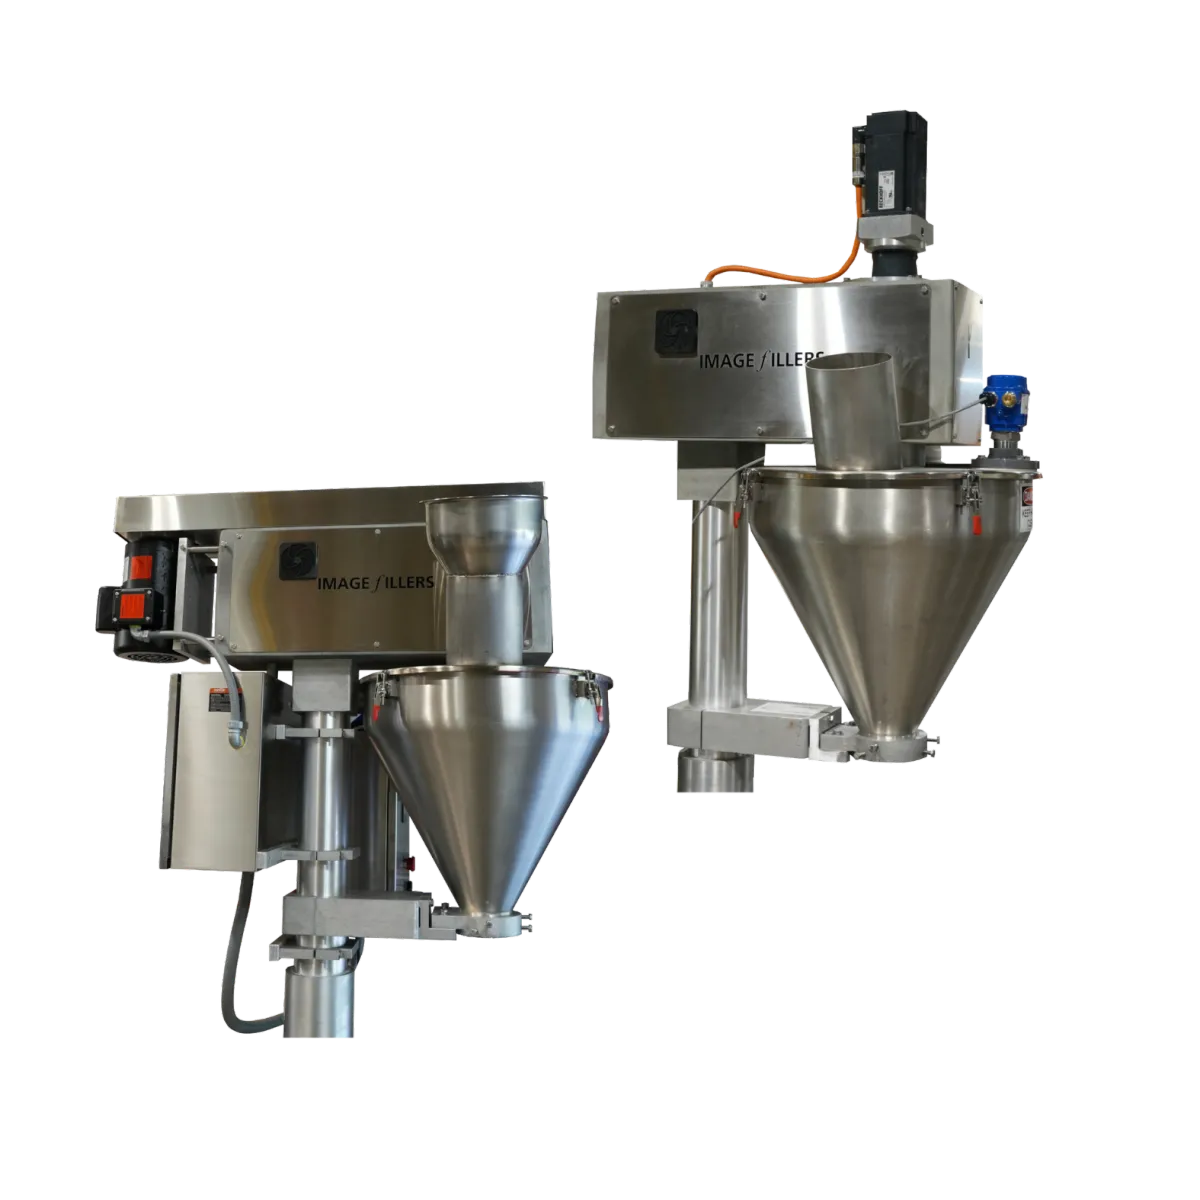
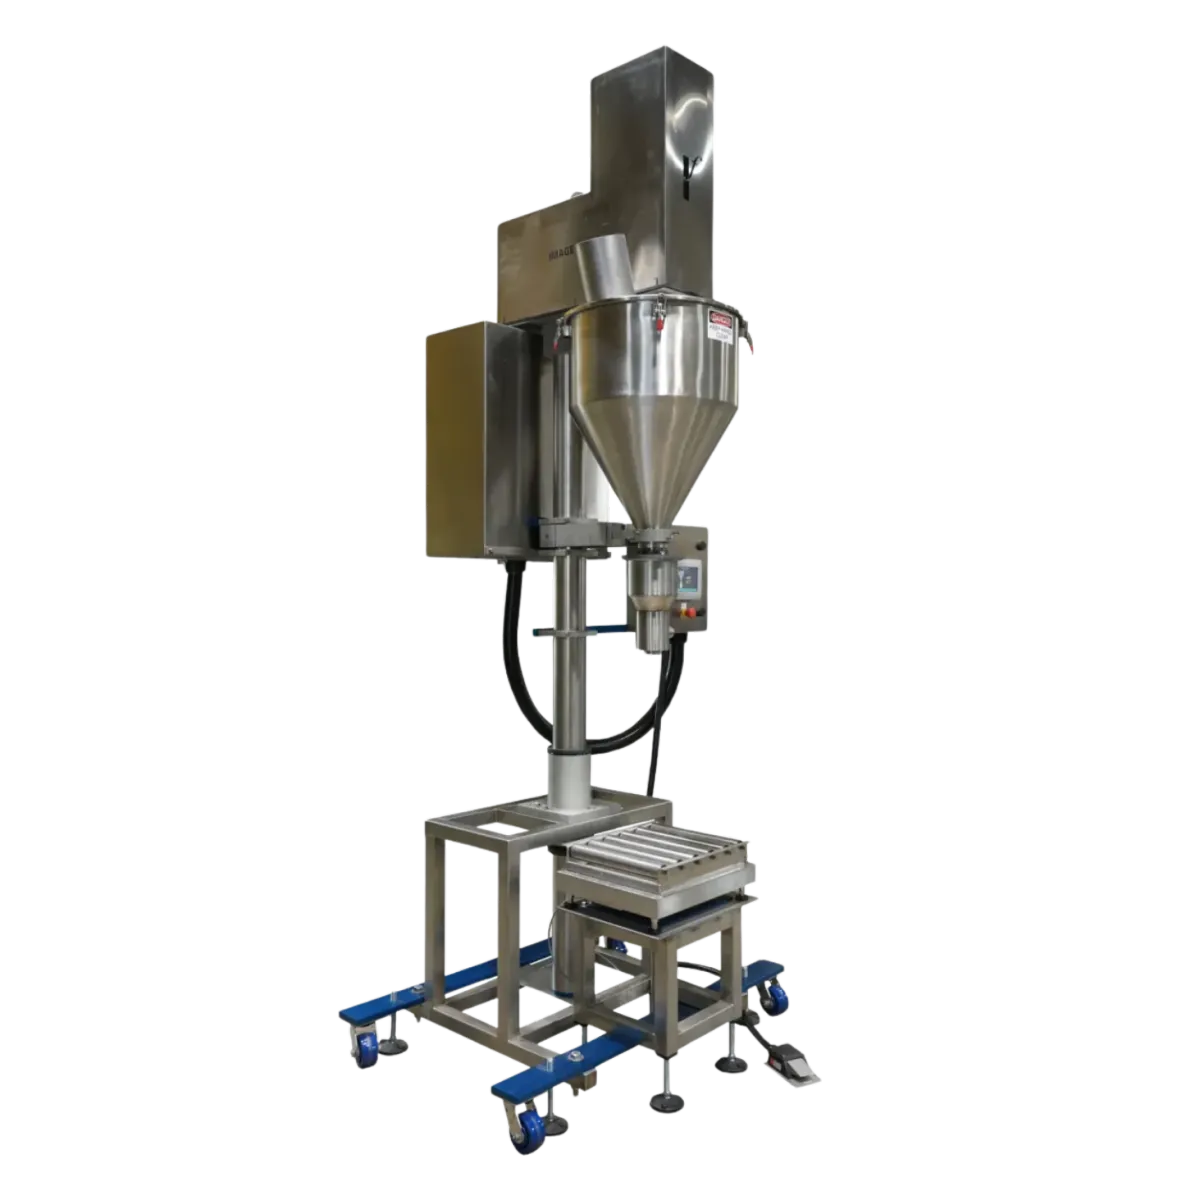
fills 1gram → 5 lBS.
Servo Drive or Clutch Brake Motor.
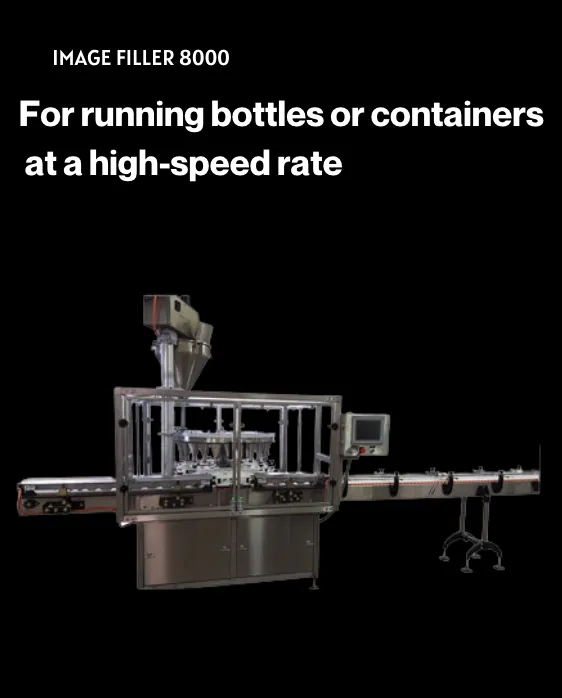
Image 4K
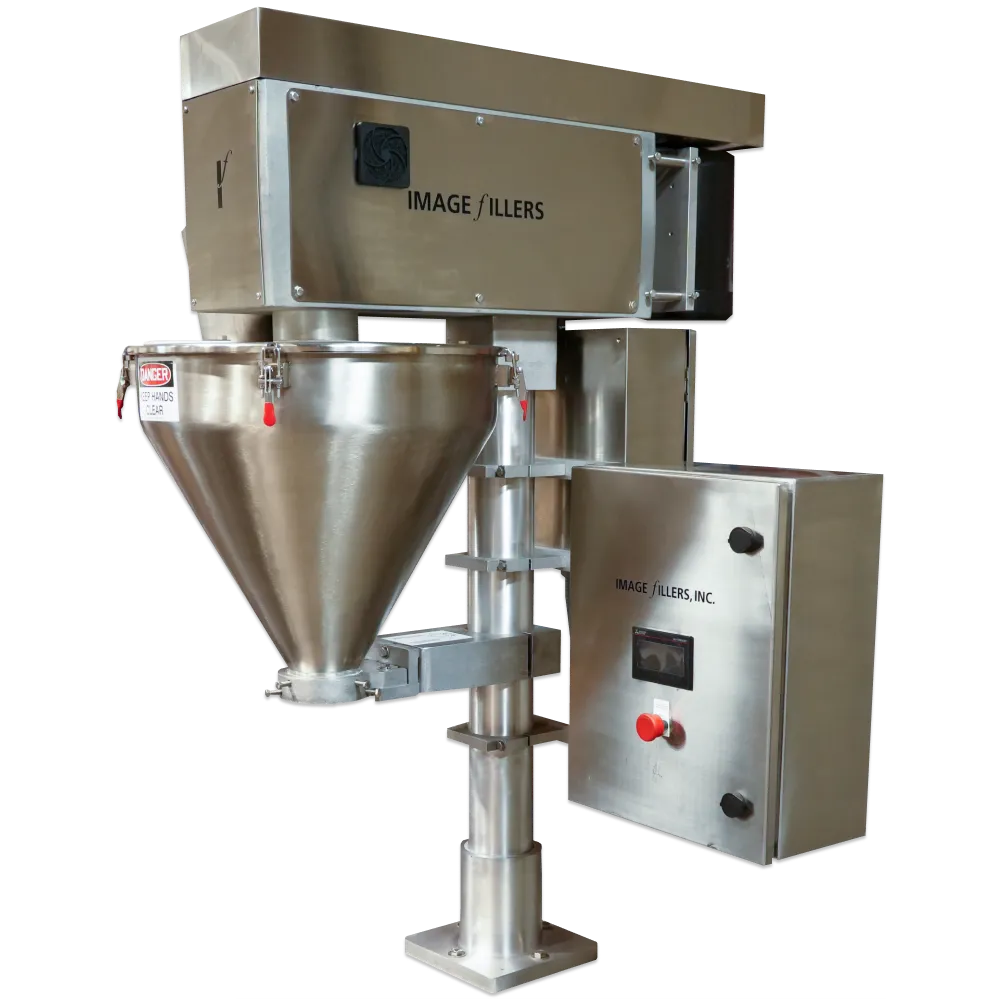
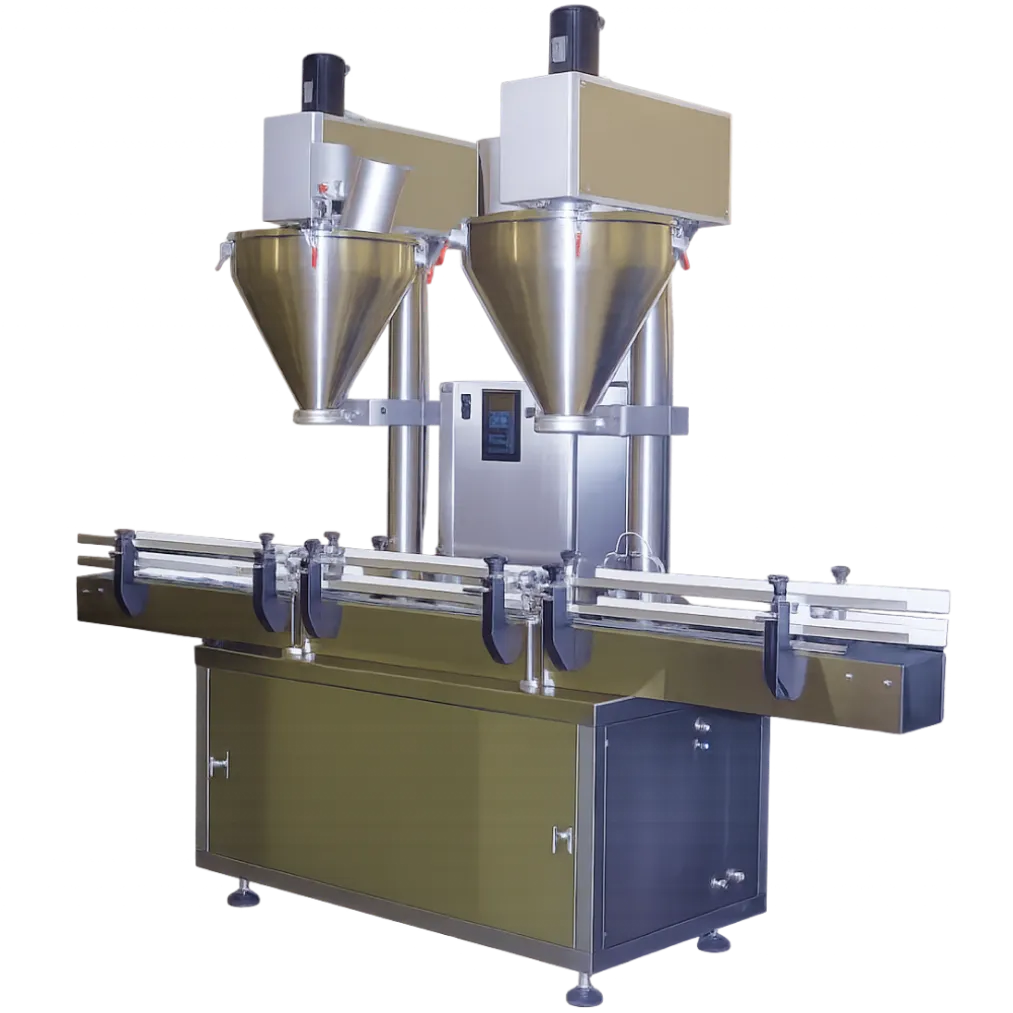
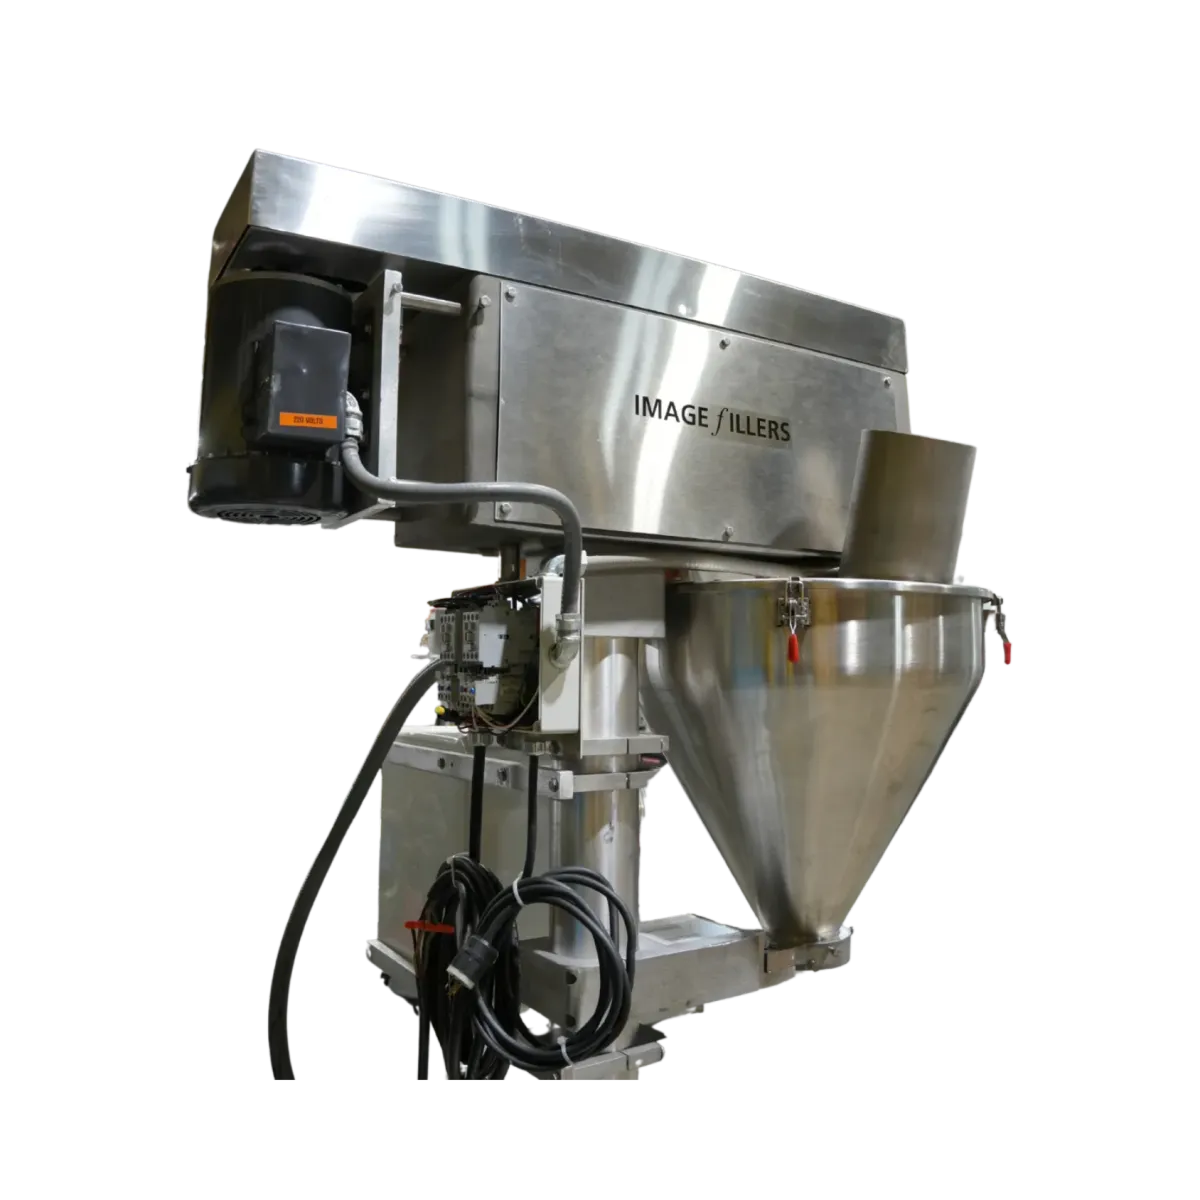
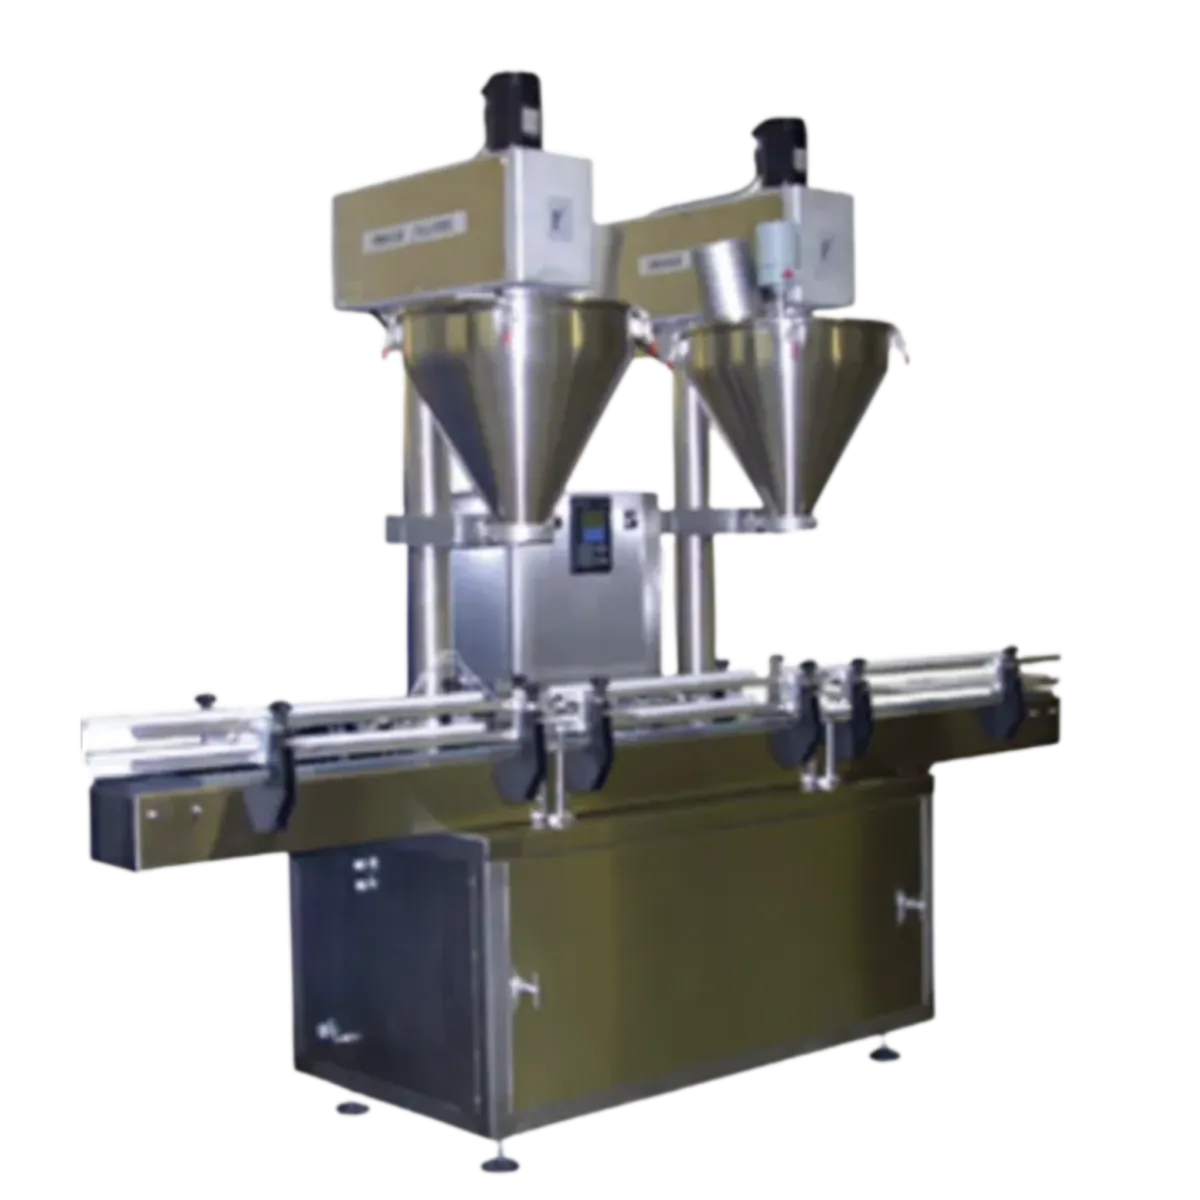
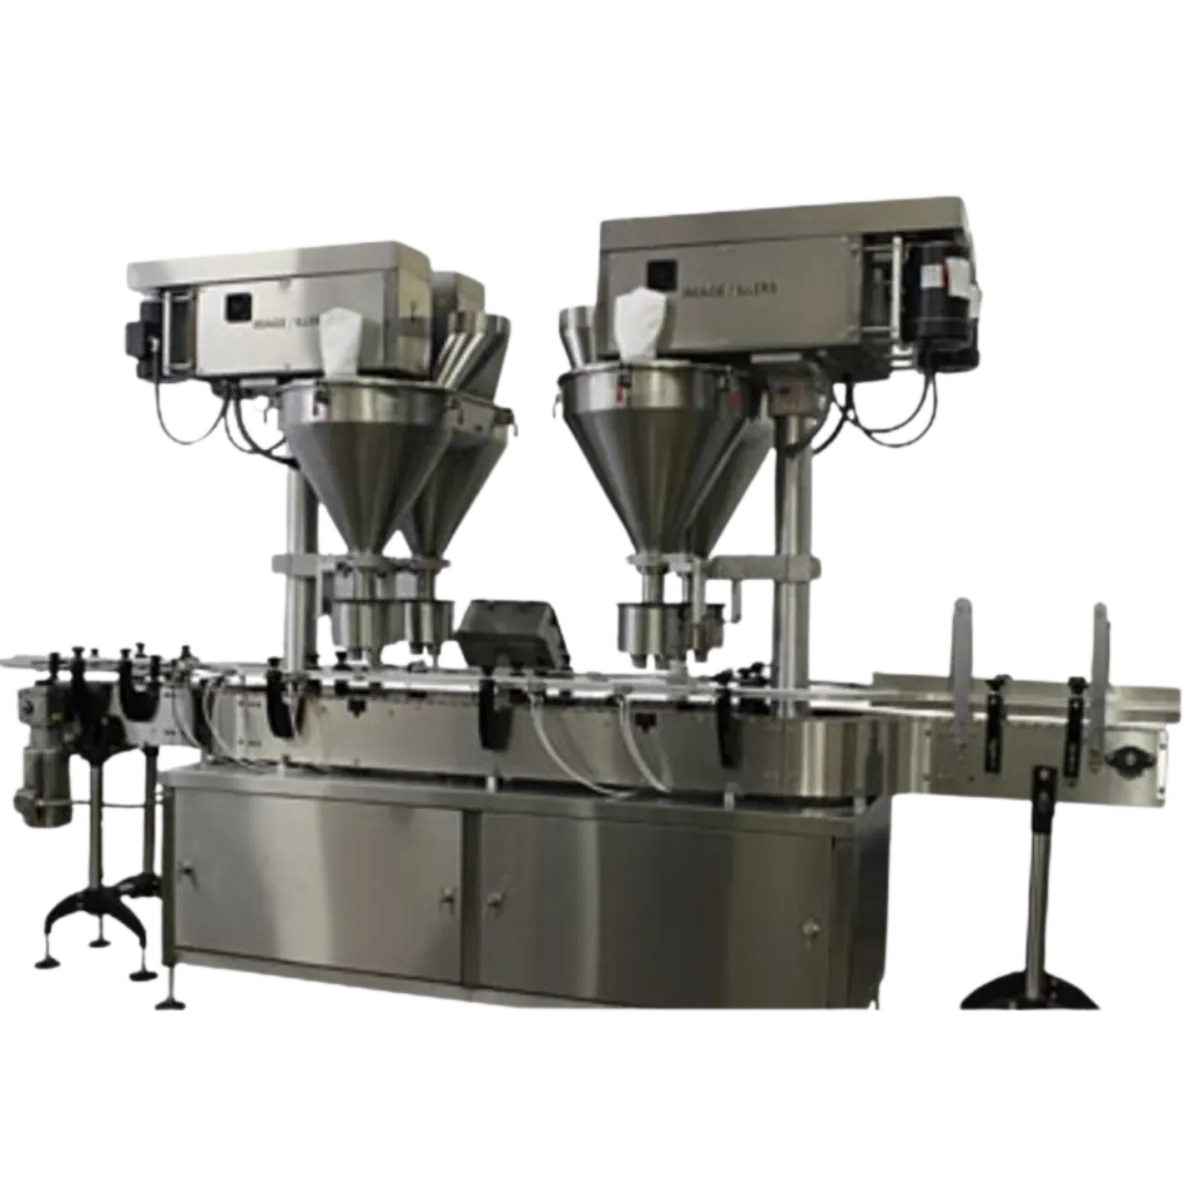
fills 1gram → 5 lBS.
Servo Drive or Clutch Brake Motor.
2 - 4 heads & conveyor.

Image 7K
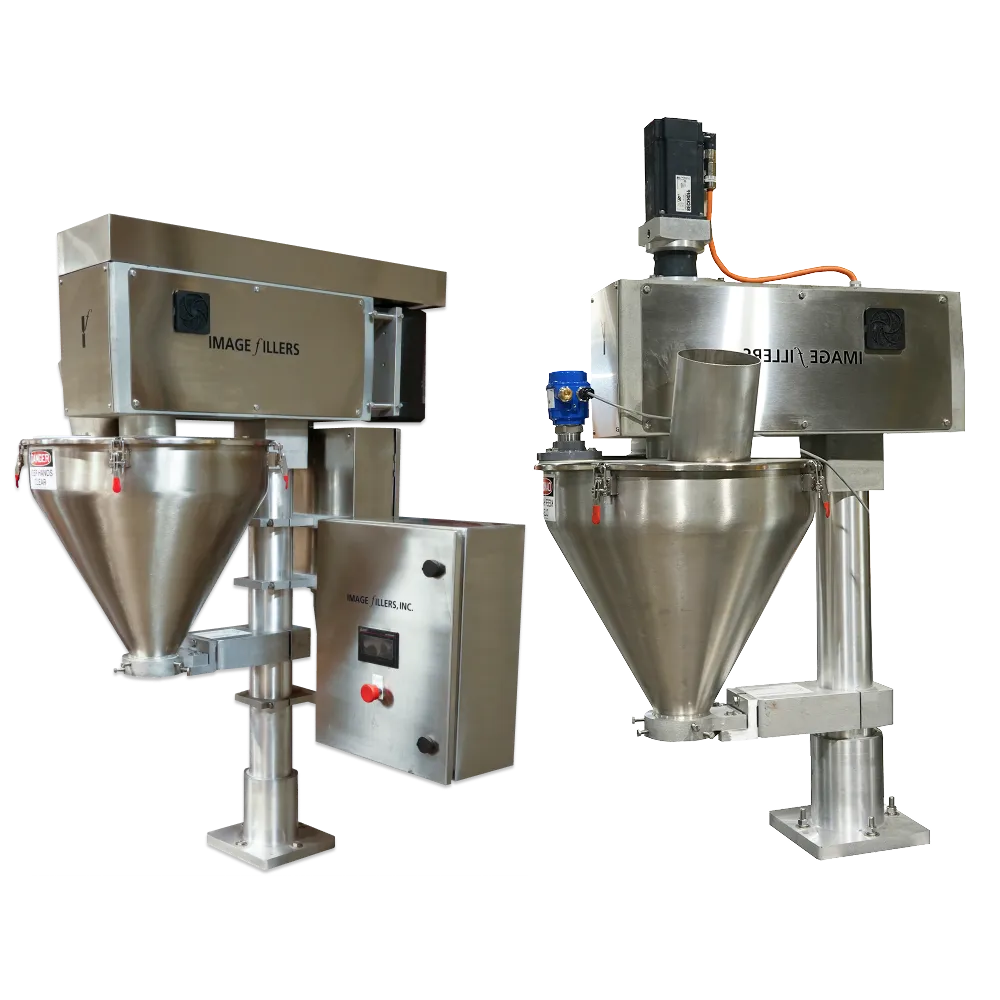
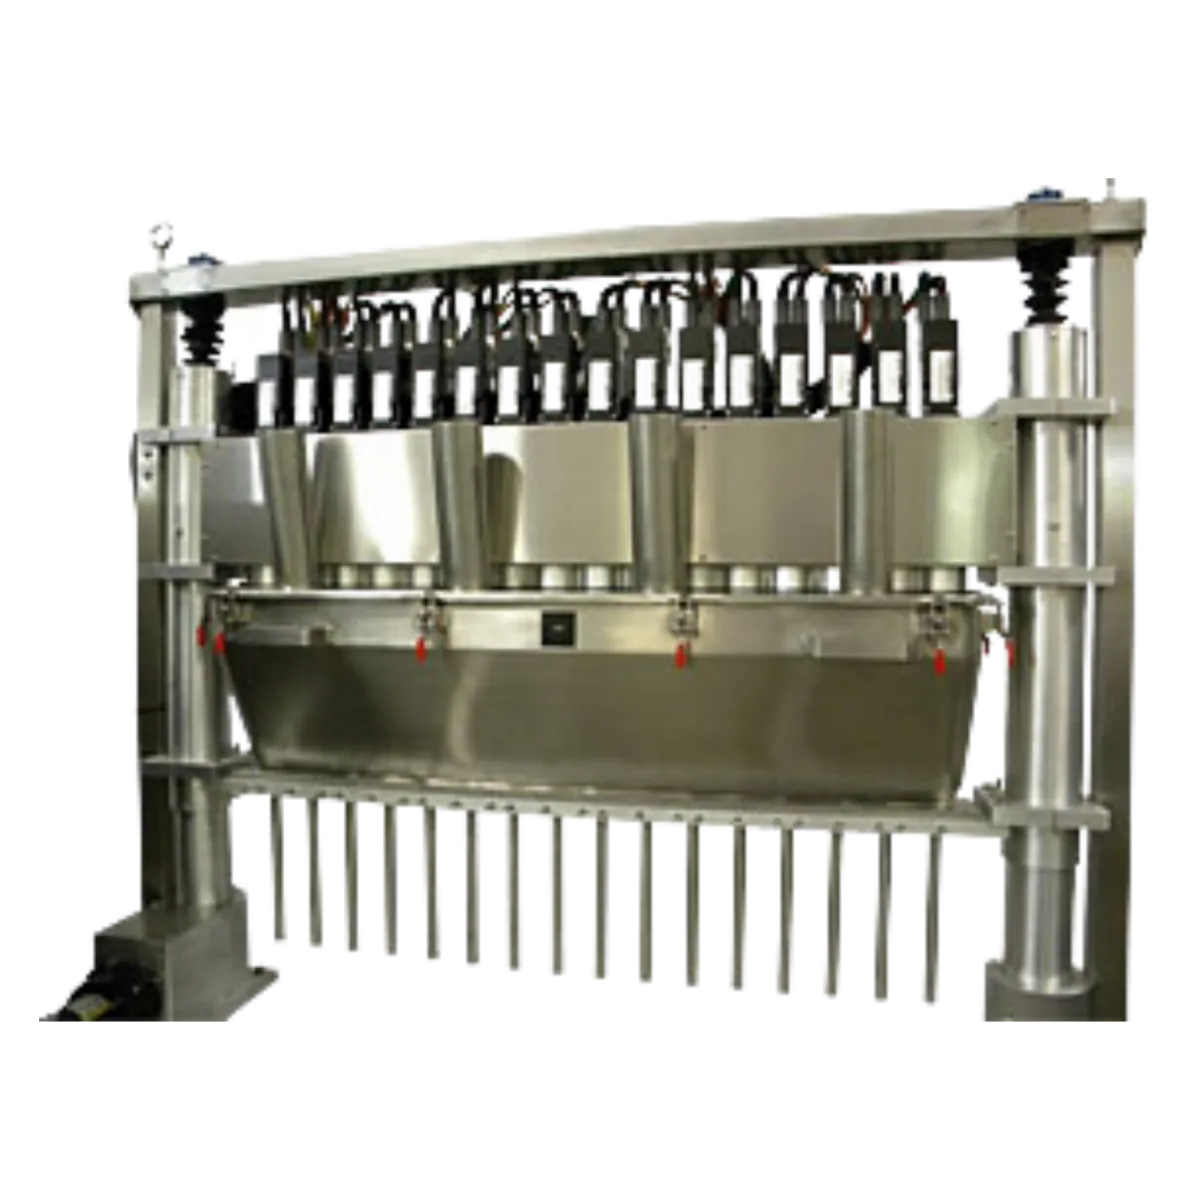
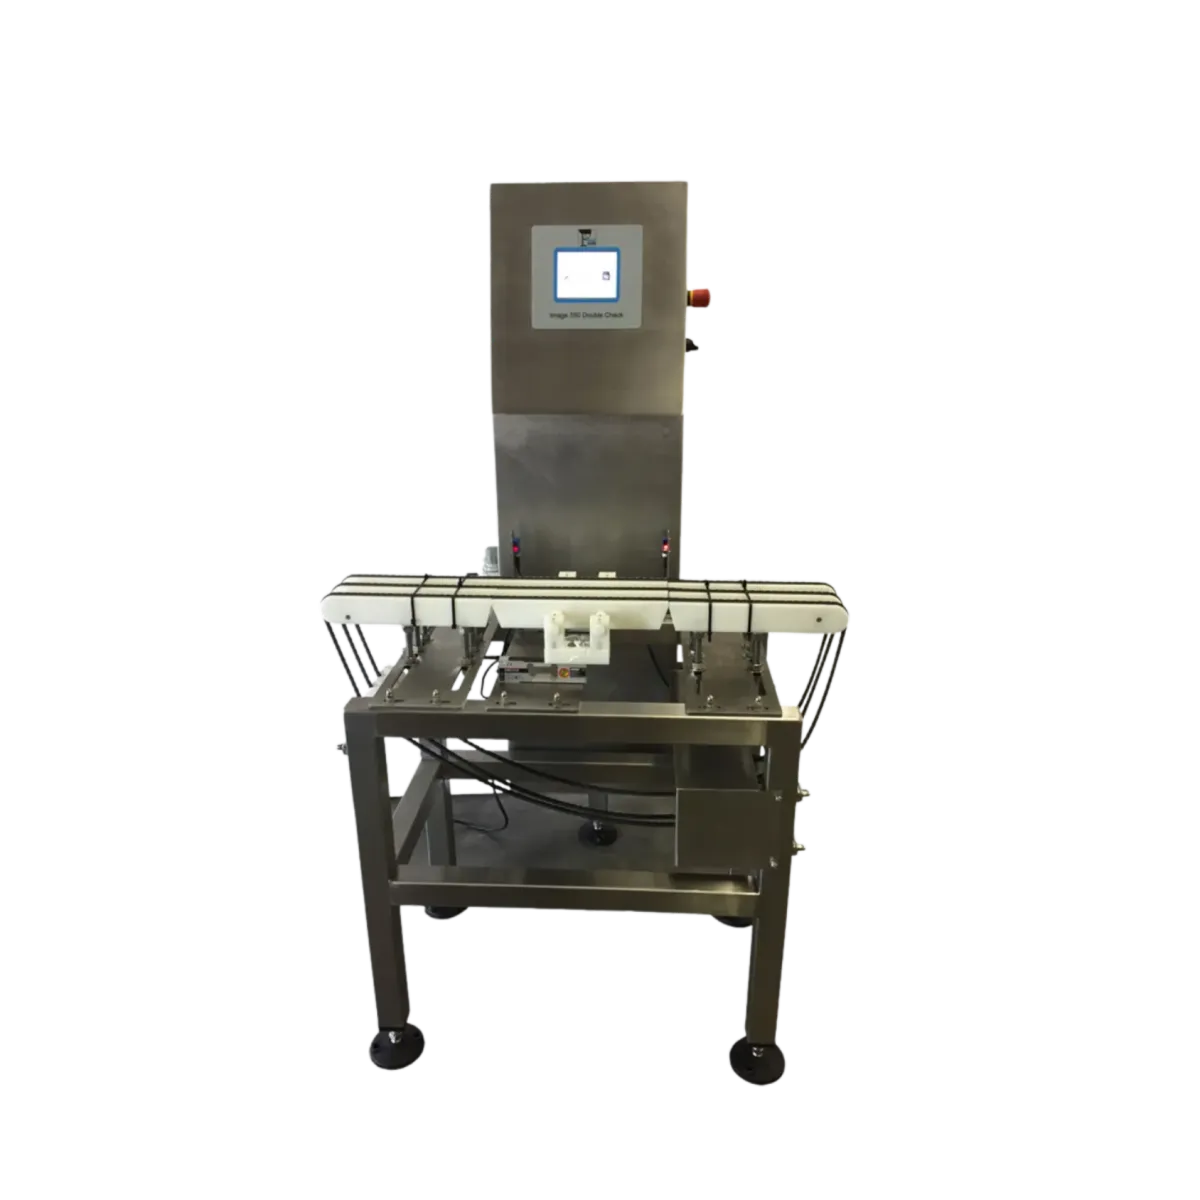
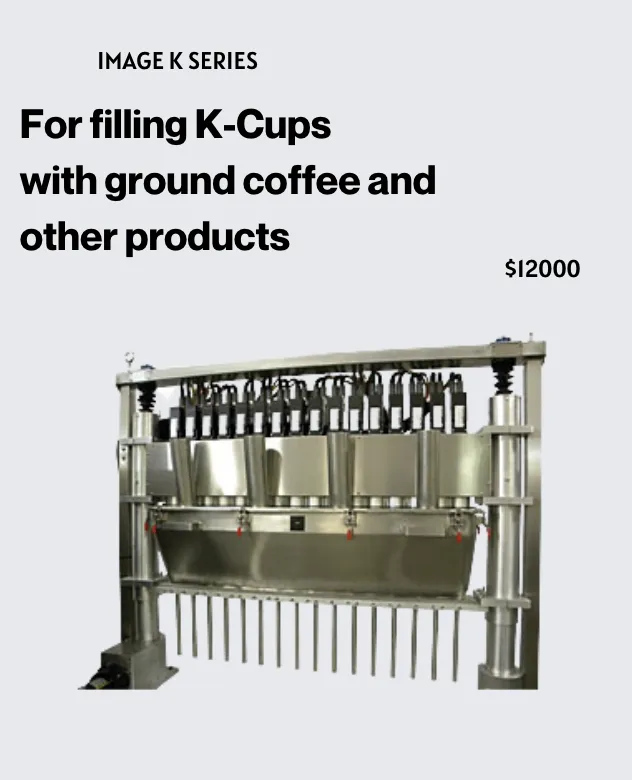
Fills 2-8 packets at once
Multi Head Filler
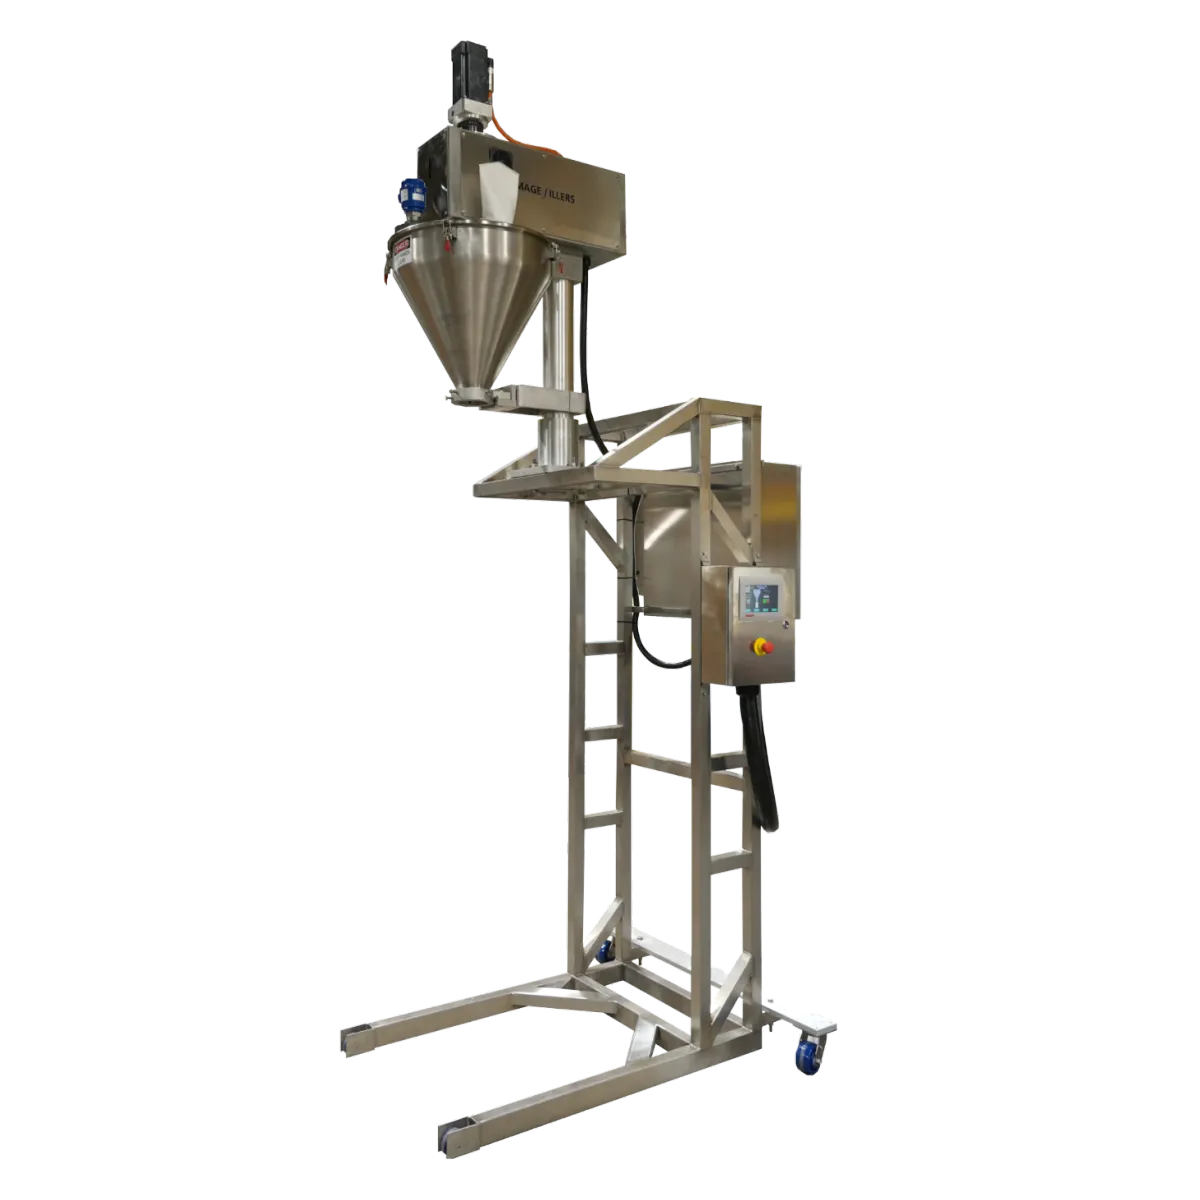
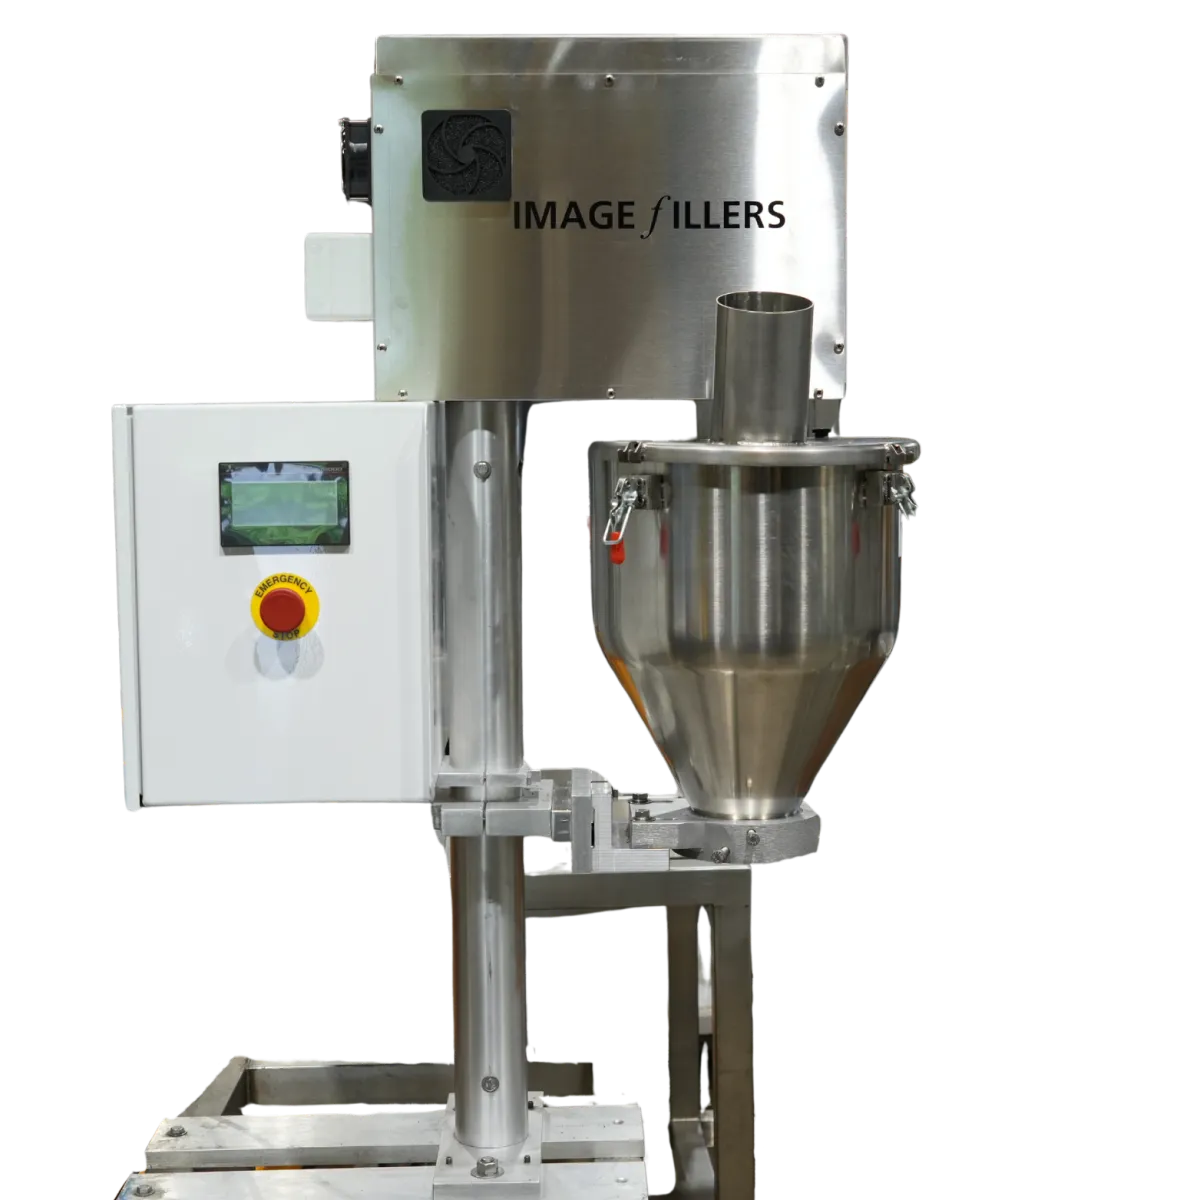
Perfect Solution
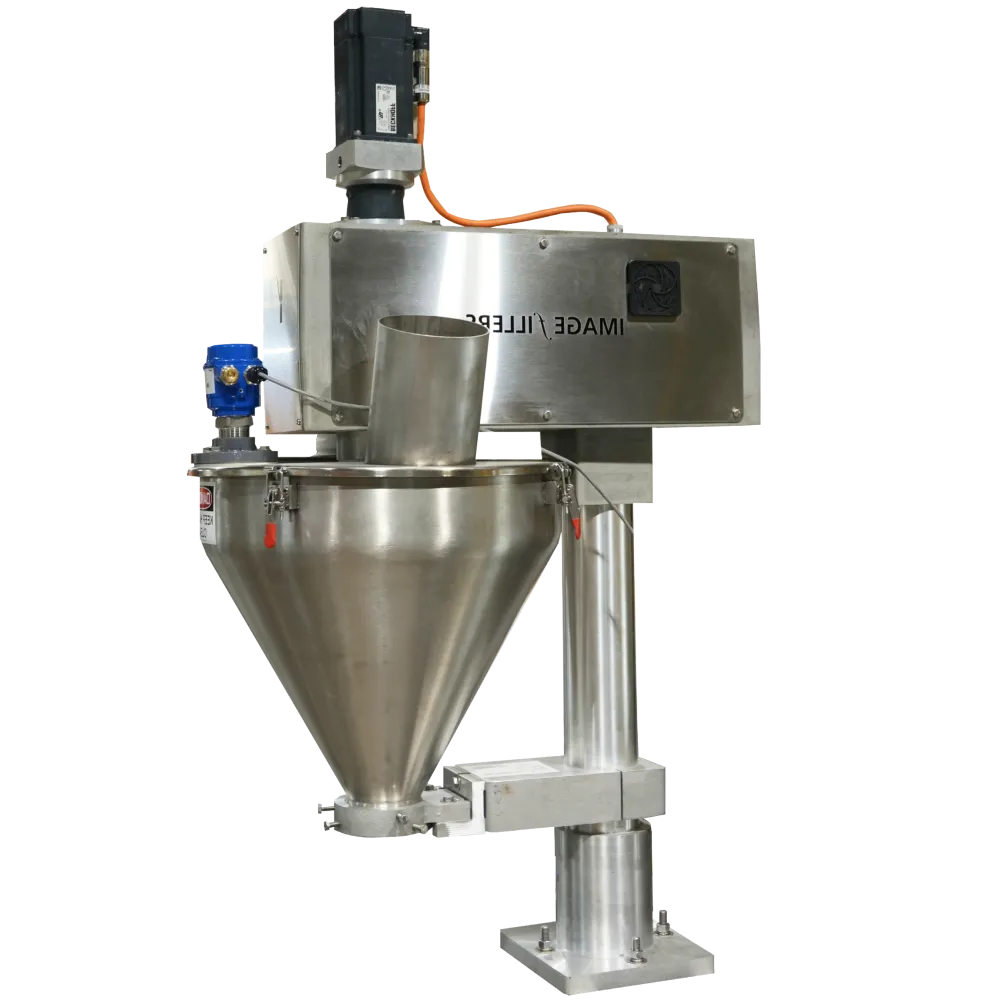
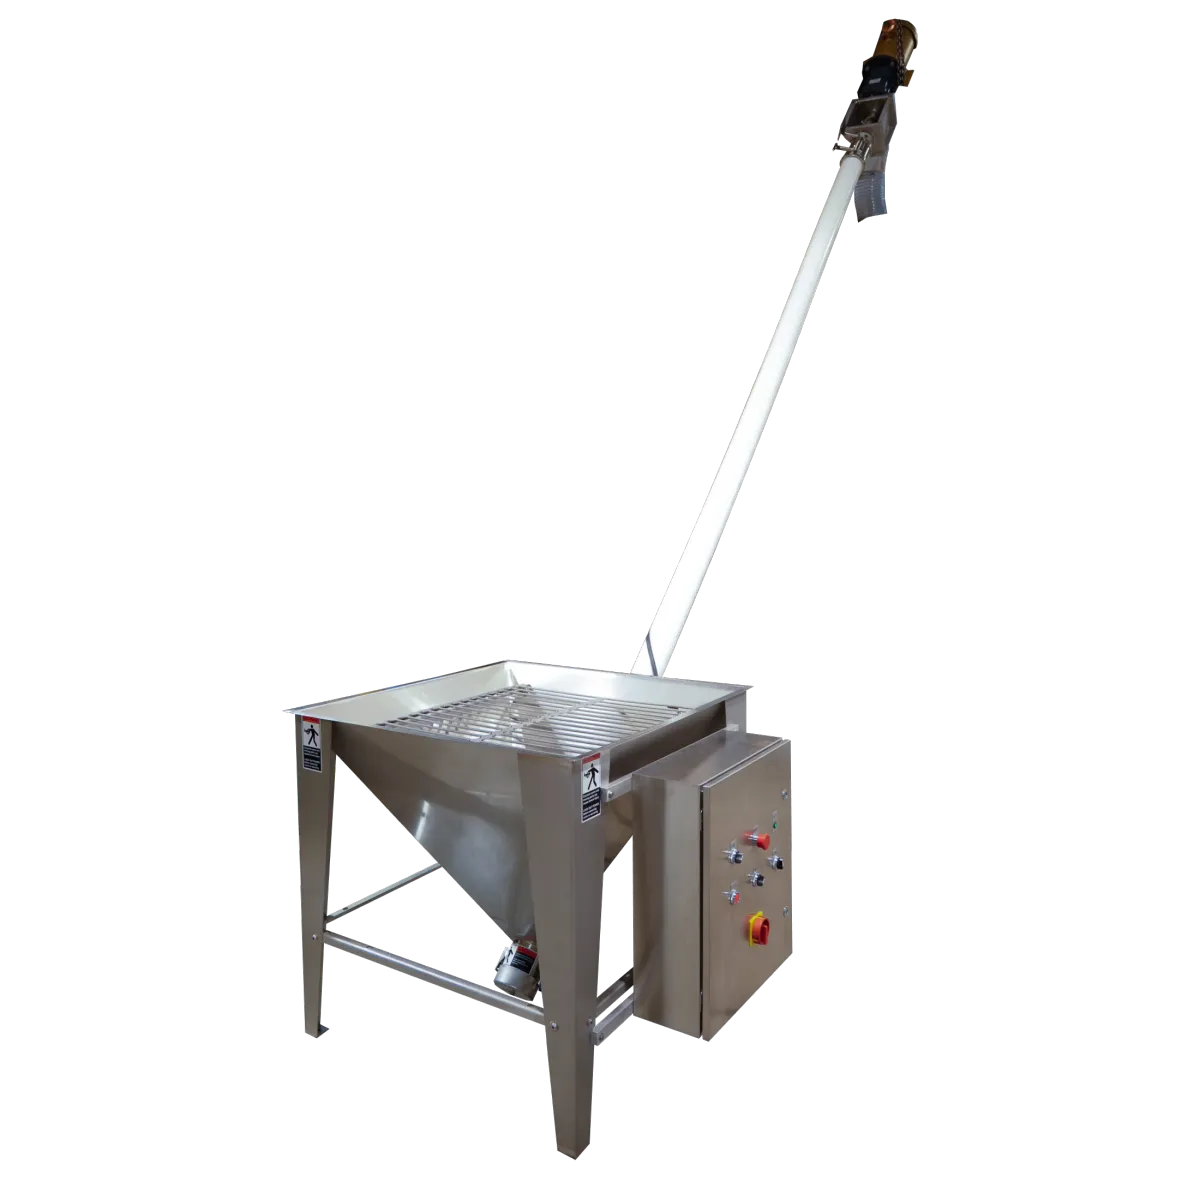
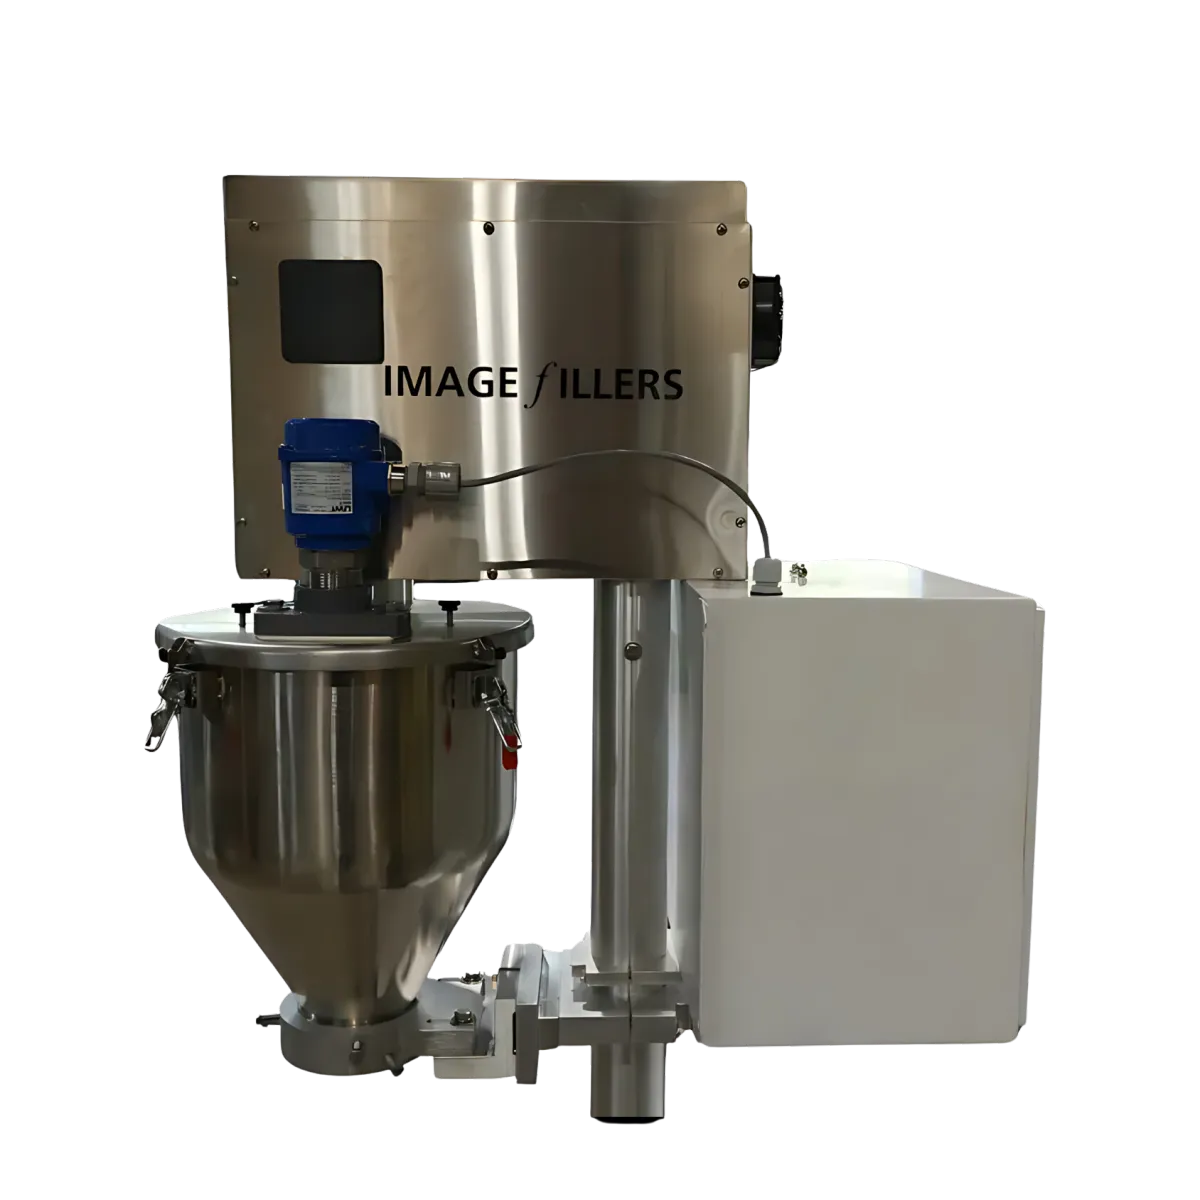
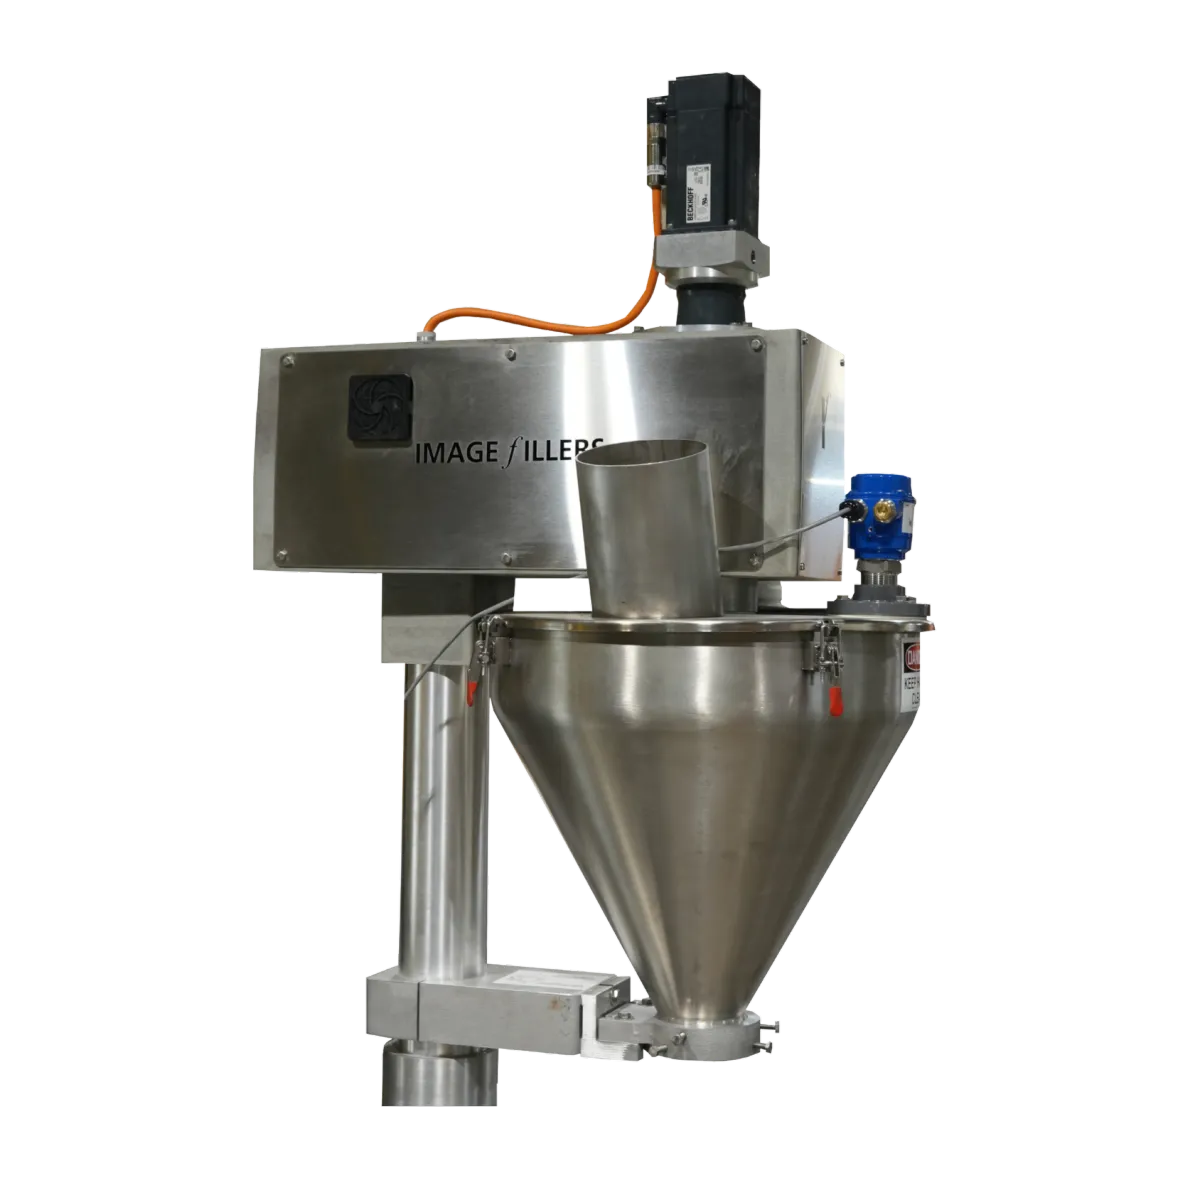
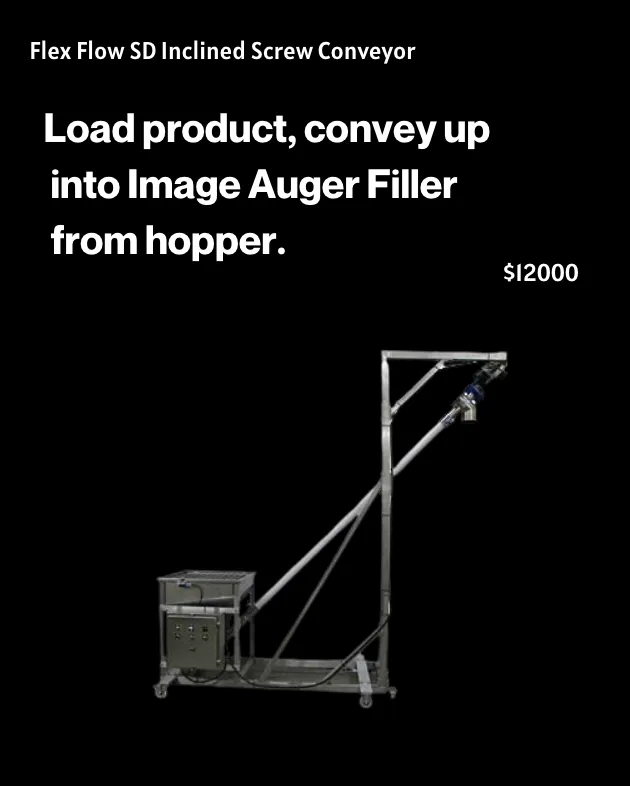
Free standing auger fills 1gram → 5 lBS.
Perfect Solution
Free standing auger fills 1gram → 5 lBS.
Tooling & Parts for your auger filler machine.
filling & Packaging
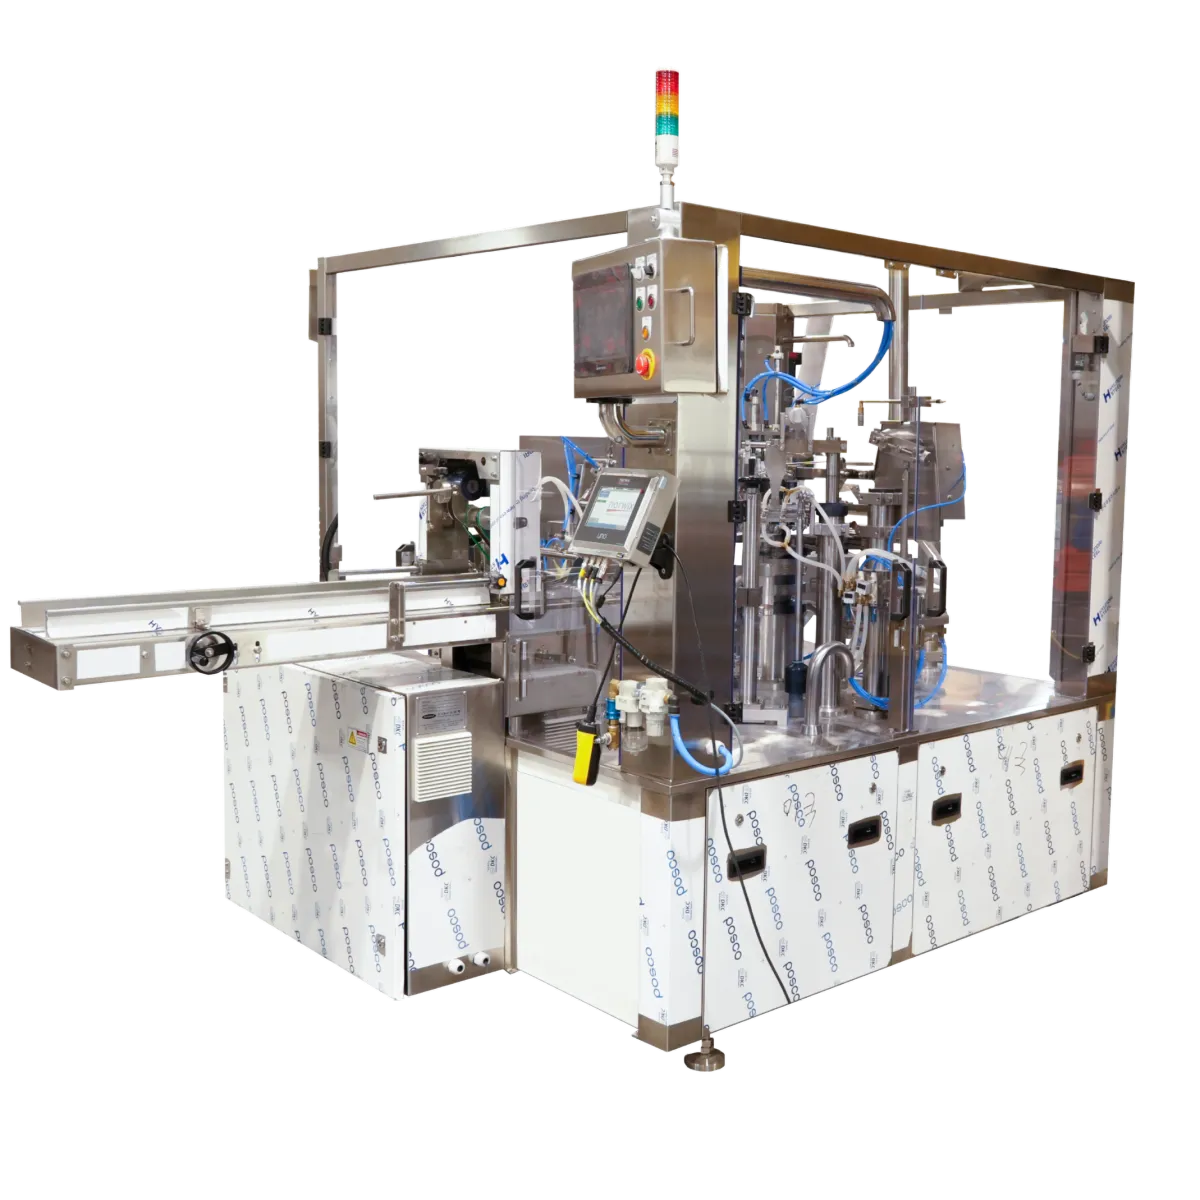
Fully Integrated Packaging Line
Our Fully Integrated Packaging Line offers a complete system that orients, labels, fills, caps, inkjet codes, and collects your products. It can handle powders, viscous products, and liquids, and is fully modular, allowing for additional equipment to be added to the line. Streamline your packaging process with our state-of-the-art technology and cost-effective solution. Contact us to learn more.
Playlists
100+
Clients
100%
5 Star Reviews
200+
Jobs Completed
The latest.
Take a look at what's new, right now.
Top-rated supplier of auger filling machines.
Free Shipping + 2 Free Accessories
Satisfied Customers Speak for Us


Michelle Torres

Image fillers provides excellent products, superior service and offer pricing that is in line with other companies offering the same products. We are always confident when placing an image filler that the equipment will perform as promised.

Jerry Carter
I have purchased several of Image Fillers machines over the years and have been very happy with the machines and the customer service I received from Mike and his team.

Ed Walinski
Mike is a very customer service oriented Sales Manager. I've worked with him for 5-6 years and experienced the same results each time.

Kevin Weber
Mike and his team have solid working knowledge of applications where the equipment is going to be placed. They are responsive to requests and a fair and honest company to work with.
LEARN MORE ABOUT OUR PRODUCTS
↓ WATCH THIS QUICK VIDEO TO LEARN MORE ABOUT OUR PROCESS! ↓

[Customer Name]

[“If you could only show your visitor one testimonial from the past...who would it be? Use this section to present a brief quote from your biggest, most compelling success story!”]

[Customer Name]
[“If you could only show your visitor one testimonial from the past...who would it be? Use this section to present a brief quote from your biggest, most compelling success story!”]

[Customer Name]
[“If you could only show your visitor one testimonial from the past...who would it be? Use this section to present a brief quote from your biggest, most compelling success story!”]
LEARN MORE ABOUT OUR
ROOFING PROCESS!
↓ WATCH THIS QUICK VIDEO TO LEARN MORE ABOUT OUR PROCESS! ↓
Trusted by Organizations Nationwide
Trusted by Organizations Nationwide


August 20, 2024
Auger Alignment
How to Align Your Auger Filler for Smoother Operation and Less Wear
If the auger isn’t aligned correctly, it can grind against the funnel, which is connected to the bottom of the hopper, causing damage to both the auger and other parts of your machine. To keep your machine running efficiently, it’s essential to check the alignment of your auger once a week.
In this guide, we will walk you through the key components involved in this process.
Key Components of the Auger Filler Machine
Before we dive into the alignment process, let’s familiarize ourselves with the three main components you’ll be working with:
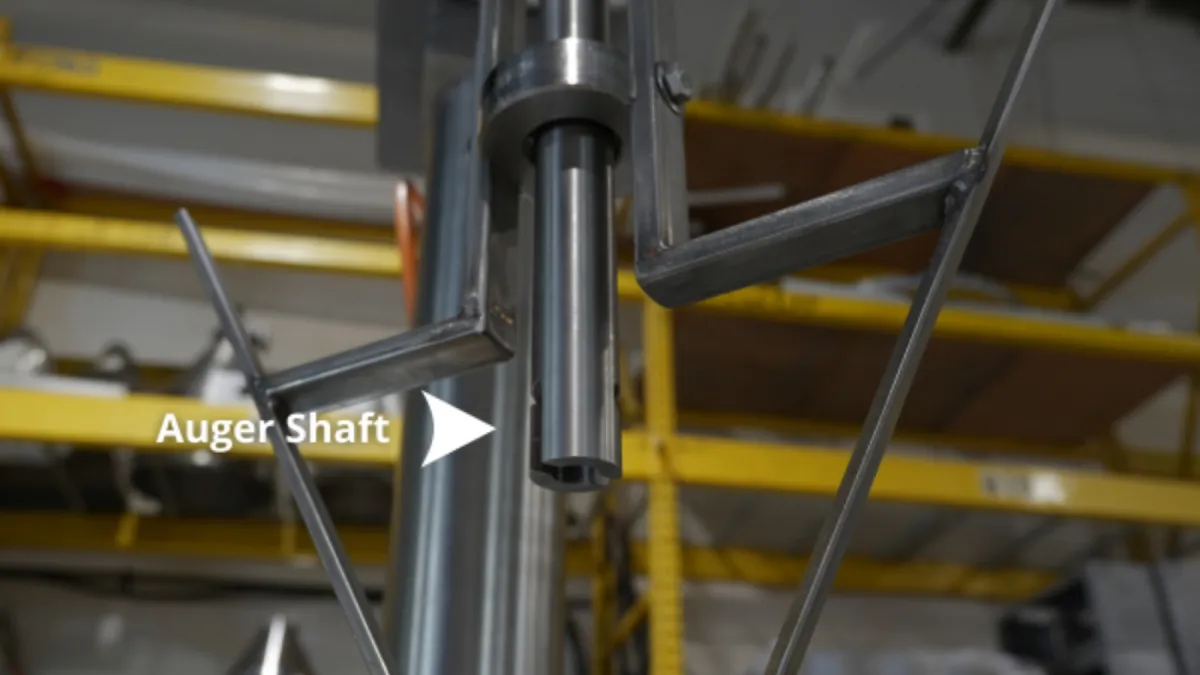
Auger Shaft
The auger slides up into the auger shaft, which holds it in place during operation.
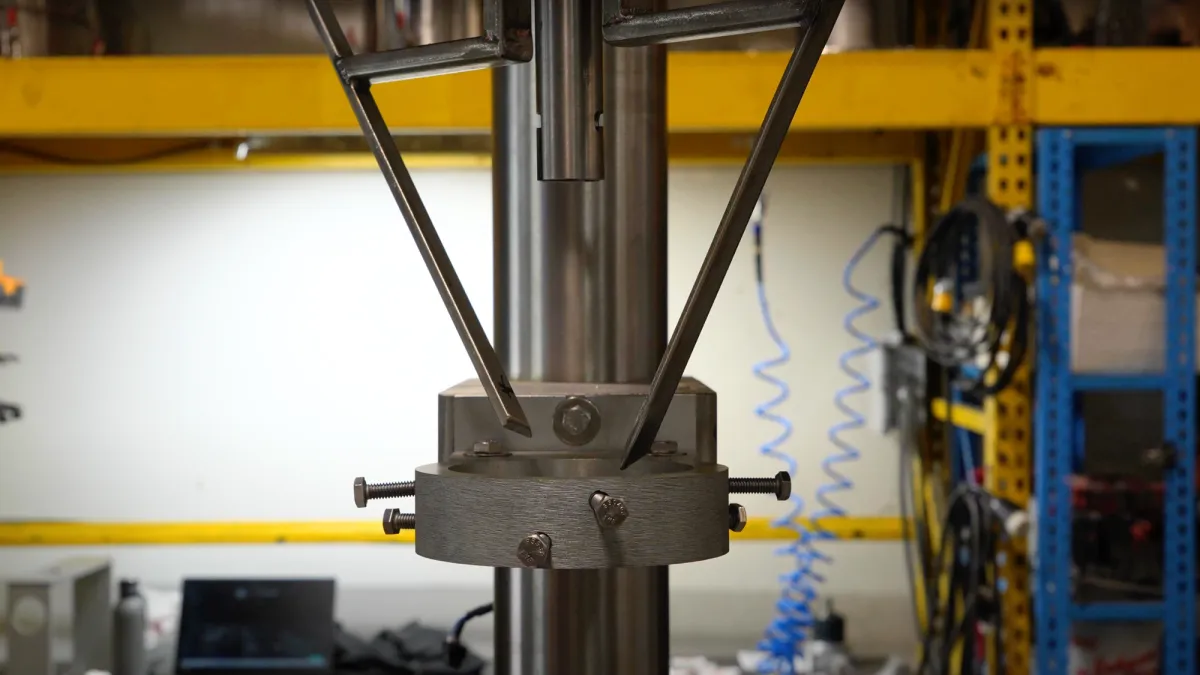
Hopper & Funnel Coupling
This coupling secures the hopper and funnel in place. Adjusting the screws on this coupling is necessary to properly align the auger.
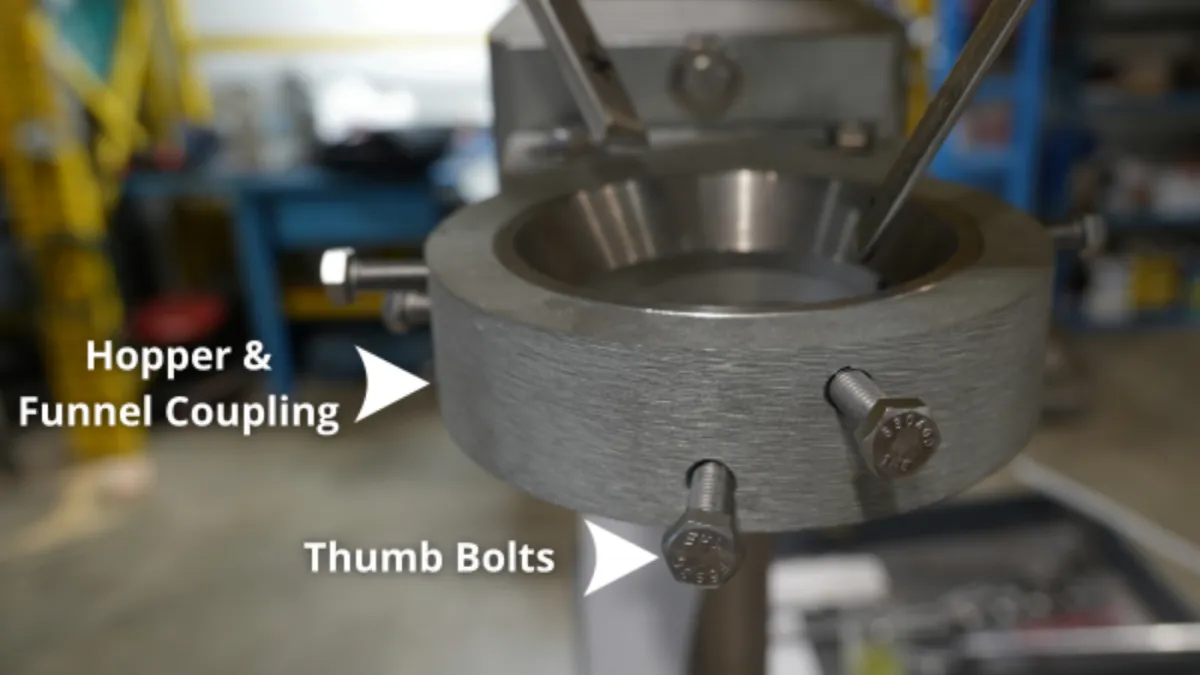
Thumb Bolts
These bolts hold the hopper and funnel in place and are critical during the alignment process.
Step-by-Step Guide to Aligning Your Auger
Aligning the auger can be done with the hopper on or off, but it’s generally easier to perform this task with the hopper off.
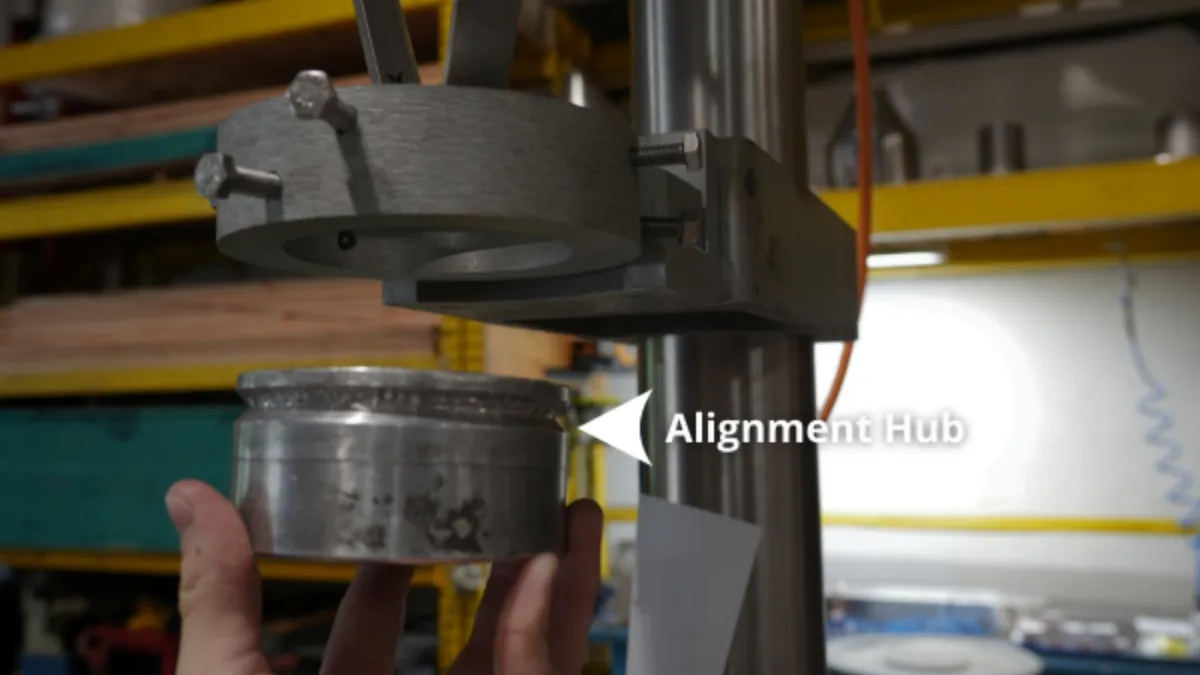
Auger Alignment Tool
You’ll need an auger alignment tool, which consists of an alignment hub and an alignment rod. The hub replaces the funnel and ensures the auger is evenly spaced, while the rod acts as a stand-in for the auger during the alignment process.
Step 1: Remove the Funnel and Auger
Start by removing the lip funnel and auger if you have a non free flow filling machine. For free flow fillers remove the auger, funnel, collector funnel, spinner plate, and left-handed nut.
Step 2: Insert the Alignment Hub
Place the alignment hub into the bottom of the hopper and funnel coupling, securing it with the bottom three thumb bolts, just as you would with the funnel.
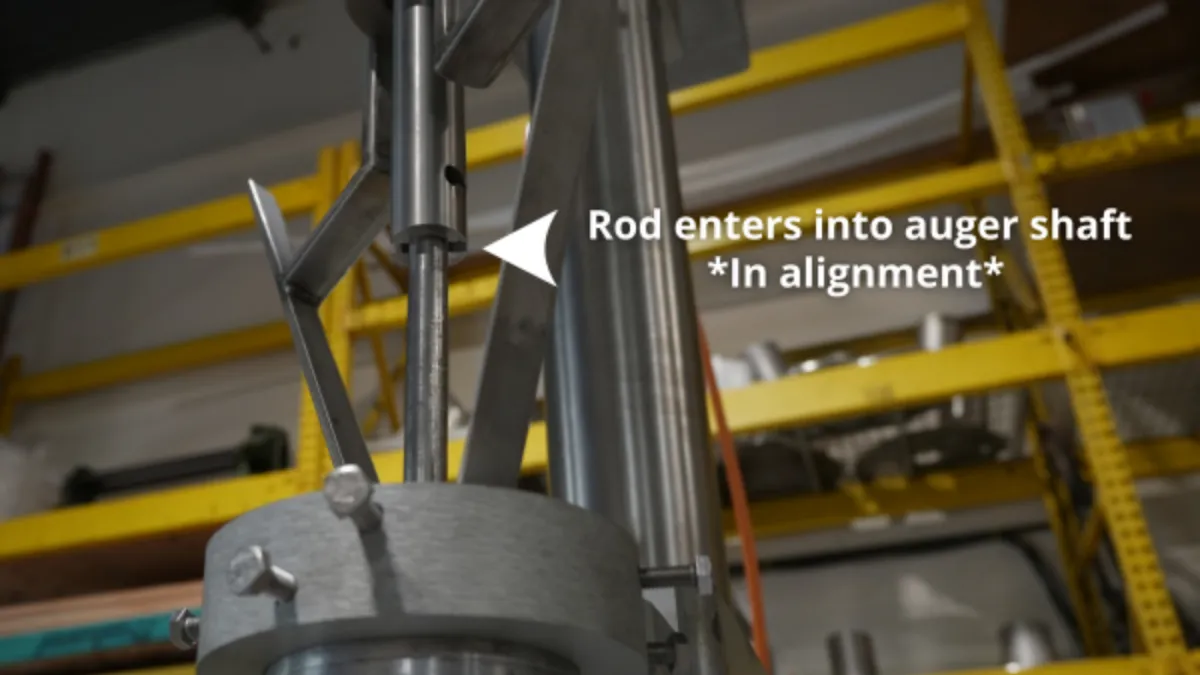
Step 3: Insert the Alignment Rod
Insert the alignment rod into the bottom of the hub, pushing it up through the hub and into the auger shaft. If the rod smoothly enters the auger shaft, your alignment is correct. If not, you’ll need to adjust the hopper and funnel coupling.
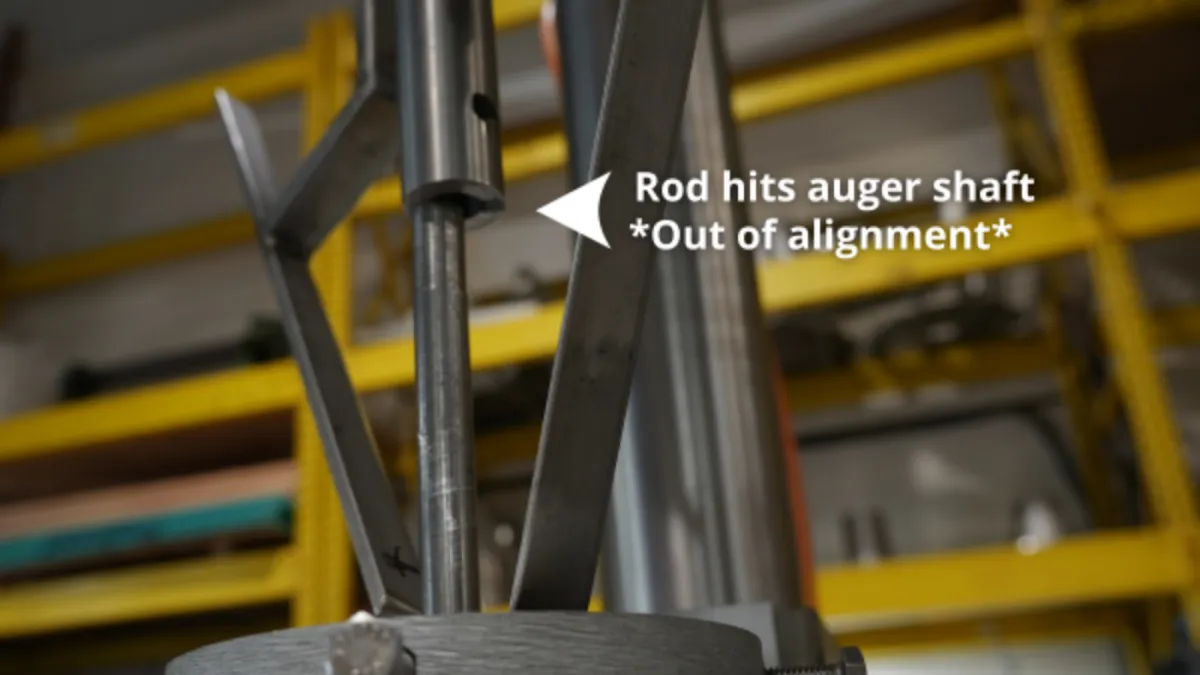
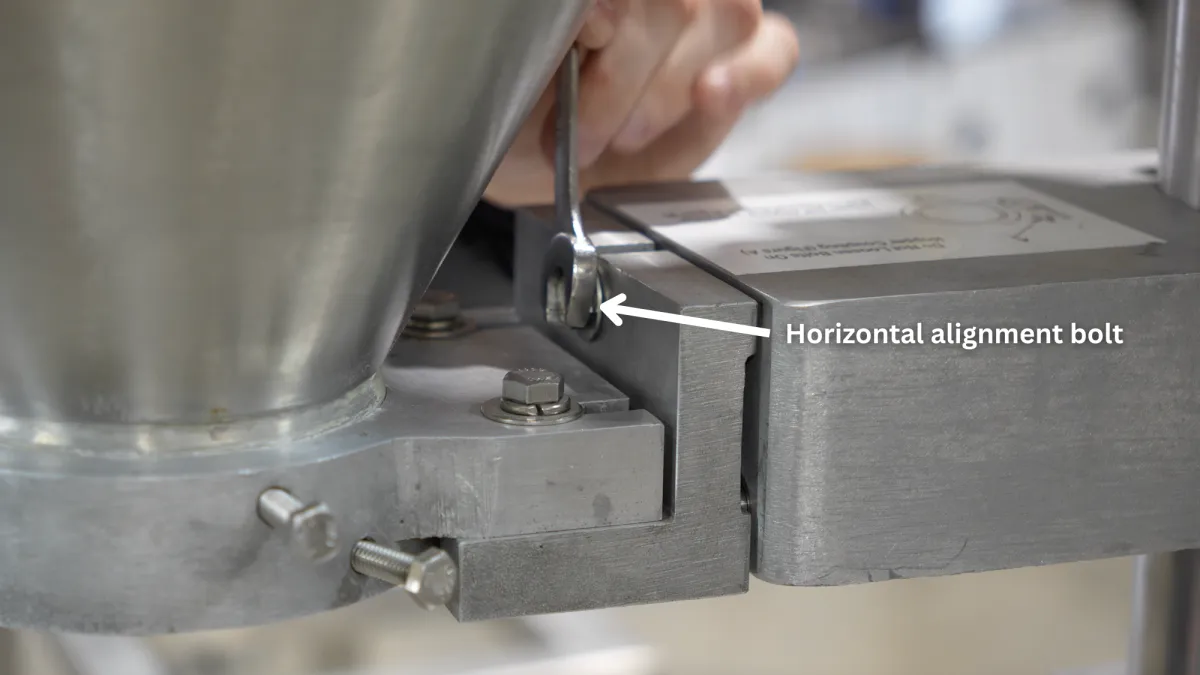
Step 4: Adjust the Coupling
To adjust, loosen the coupling bolts on the backside top of the coupling. Move the coupling horizontally until the alignment rod fits smoothly into the auger shaft. Once aligned, replace the alignment hub and rod with the actual auger and funnel.
Important Notes on Maintenance
The two bolts on the back of the coupling should only be adjusted during the alignment process. Once the auger is aligned, these bolts should remain untouched as long as the auger is in alignment.When cleaning the hopper, avoid loosening the vertical coupling bolts to prevent misalignment. The horizontal bolt is the only one that needs to be removed. The L-Bracket has self-aligning pins which keep the auger correctly aligned.
Regular Maintenance
Regularly checking and aligning your auger is a simple yet vital maintenance step that can save you from significant wear and tear on your auger filler machine. By following these steps and using the proper tools, you’ll ensure your machine runs smoothly and efficiently, reducing downtime and repair costs.
Get the right parts for this job
Get an auger alignment tool
Insights in your inbox
Sign up for updates on products, tips, and more
Contact
Hours: 9 AM - 5 PM
735 Fox Chase Rd # 111, Coatesville, PA 19320
(610) 466-1440

To purchase a machine, call (610) 466-1440 or email [email protected]
Image Fillers © 2025
Made in the United States