

GET A QUOTE TODAY
(610) 466-1440


Maintenance and Parts Instructionals
In Depth Machine instructional
videos on the Image Fillers app
Maintenance and Parts Instructionals
In Depth Machine instructional
videos on the Image Fillers app
Gain access to the app when you buy a machine
PLC Instructions
How to use the Mitsubishi PLC on
the Image 2K
Image 2500 HH PLC Instructions
Cleaning
How to disassemble your non free flow auger
filler for cleaning
Adjustments
How to Adjust the Spinner Plate Distance to
the Funnel
How to Correctly Align your Auger
Part Replacement
How to replace the slow speed bearing housing
How to Remove and Reinstall the Clutch Brake
Motor

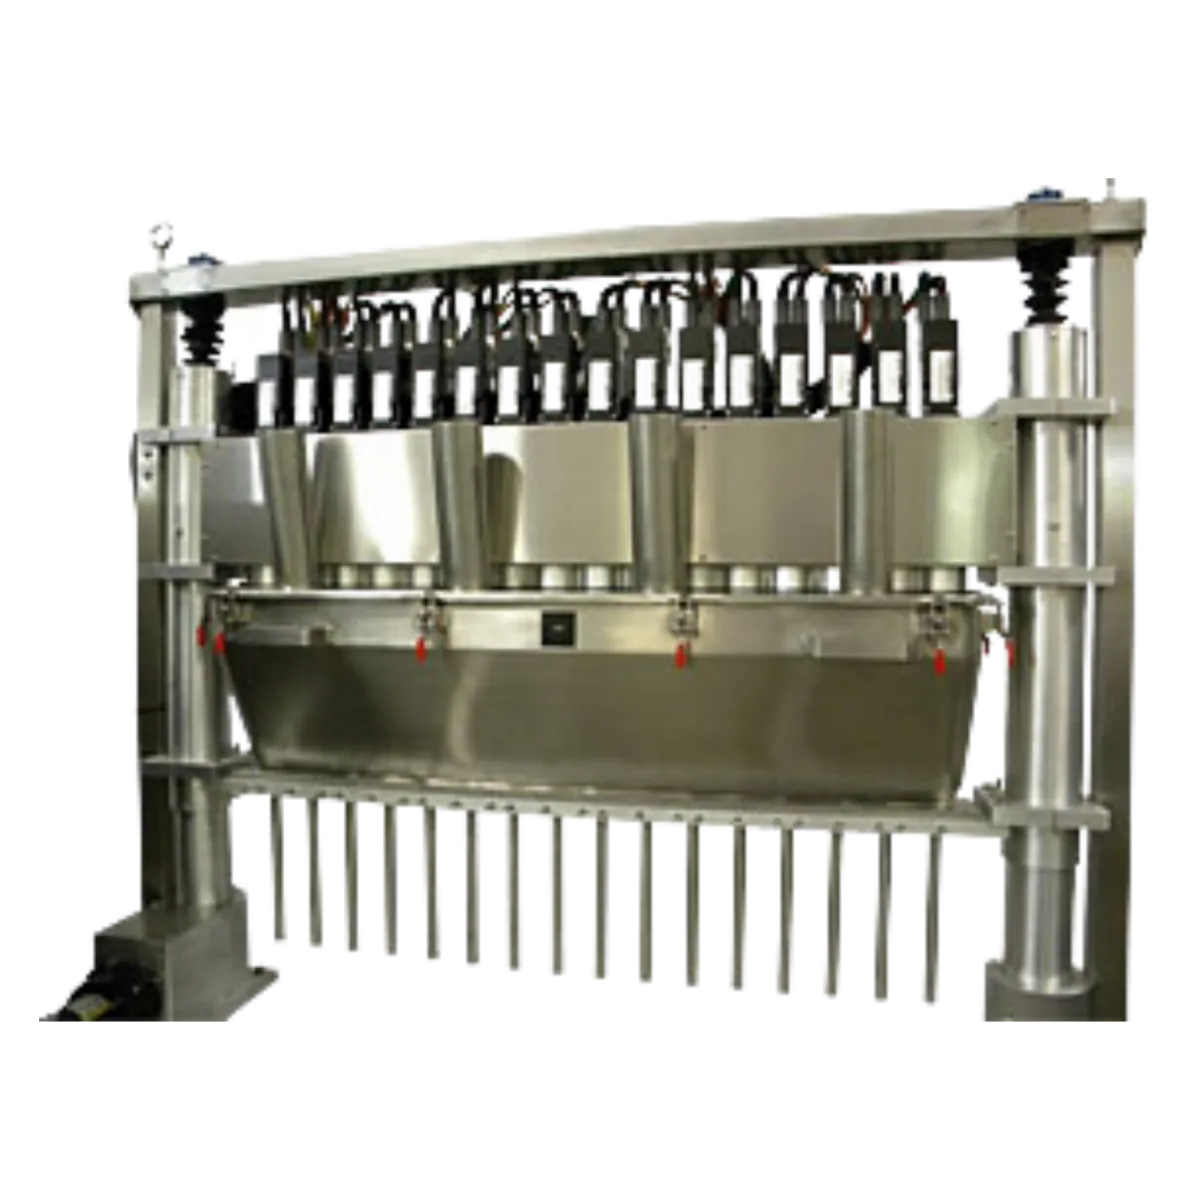
Image Fillers Fully Integrated Packaging Line
Image Fillers Inc.
Beginning of Imagefillers Inc.
1996
Image Fillers Inc.
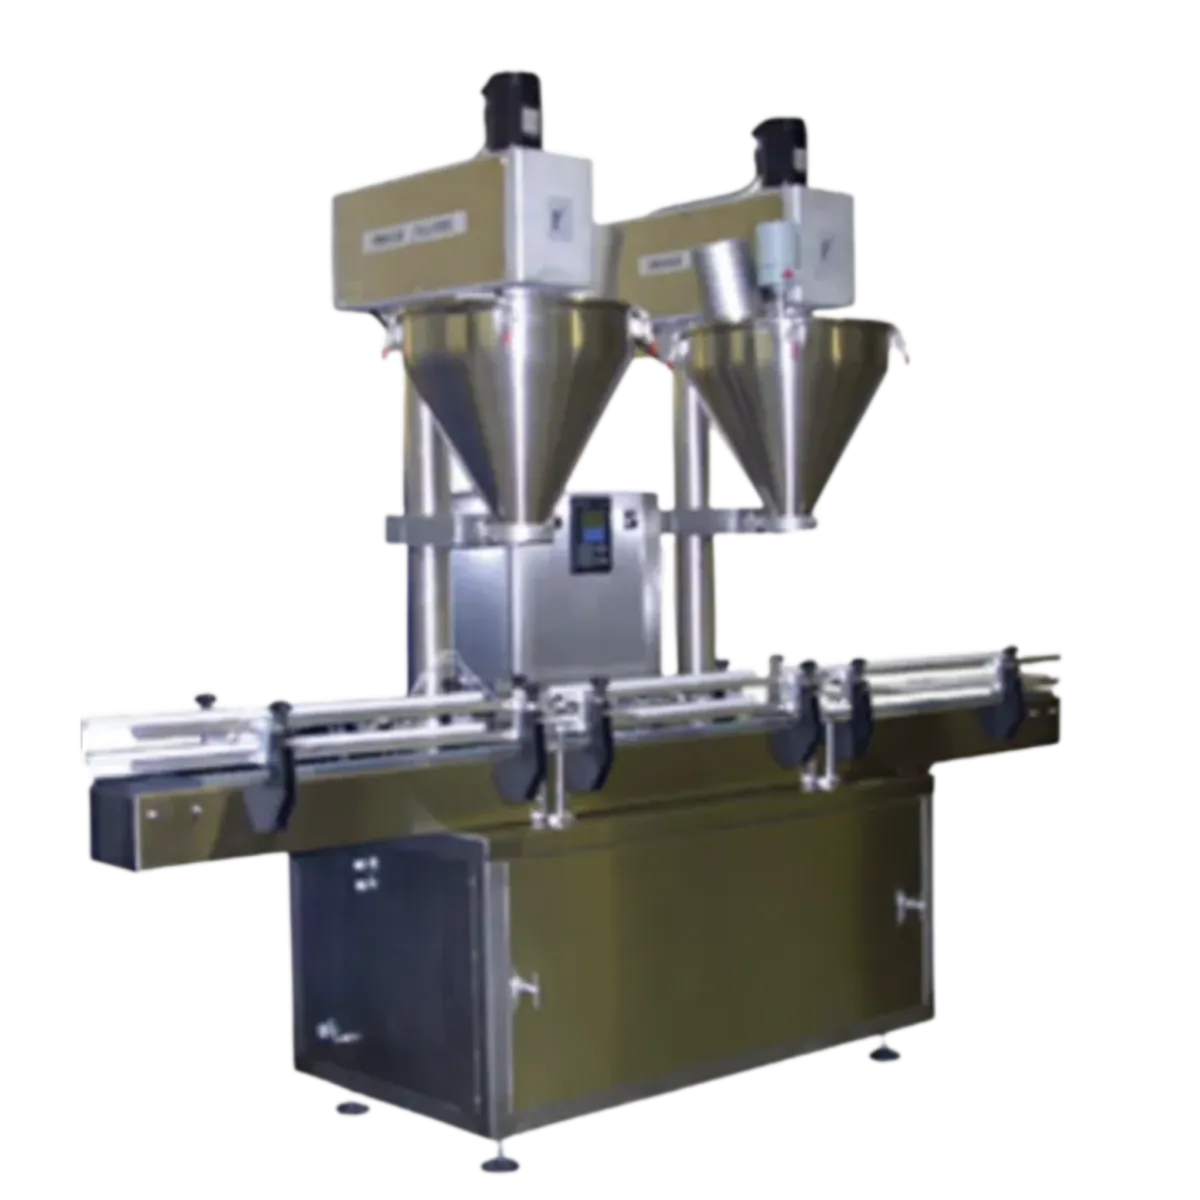
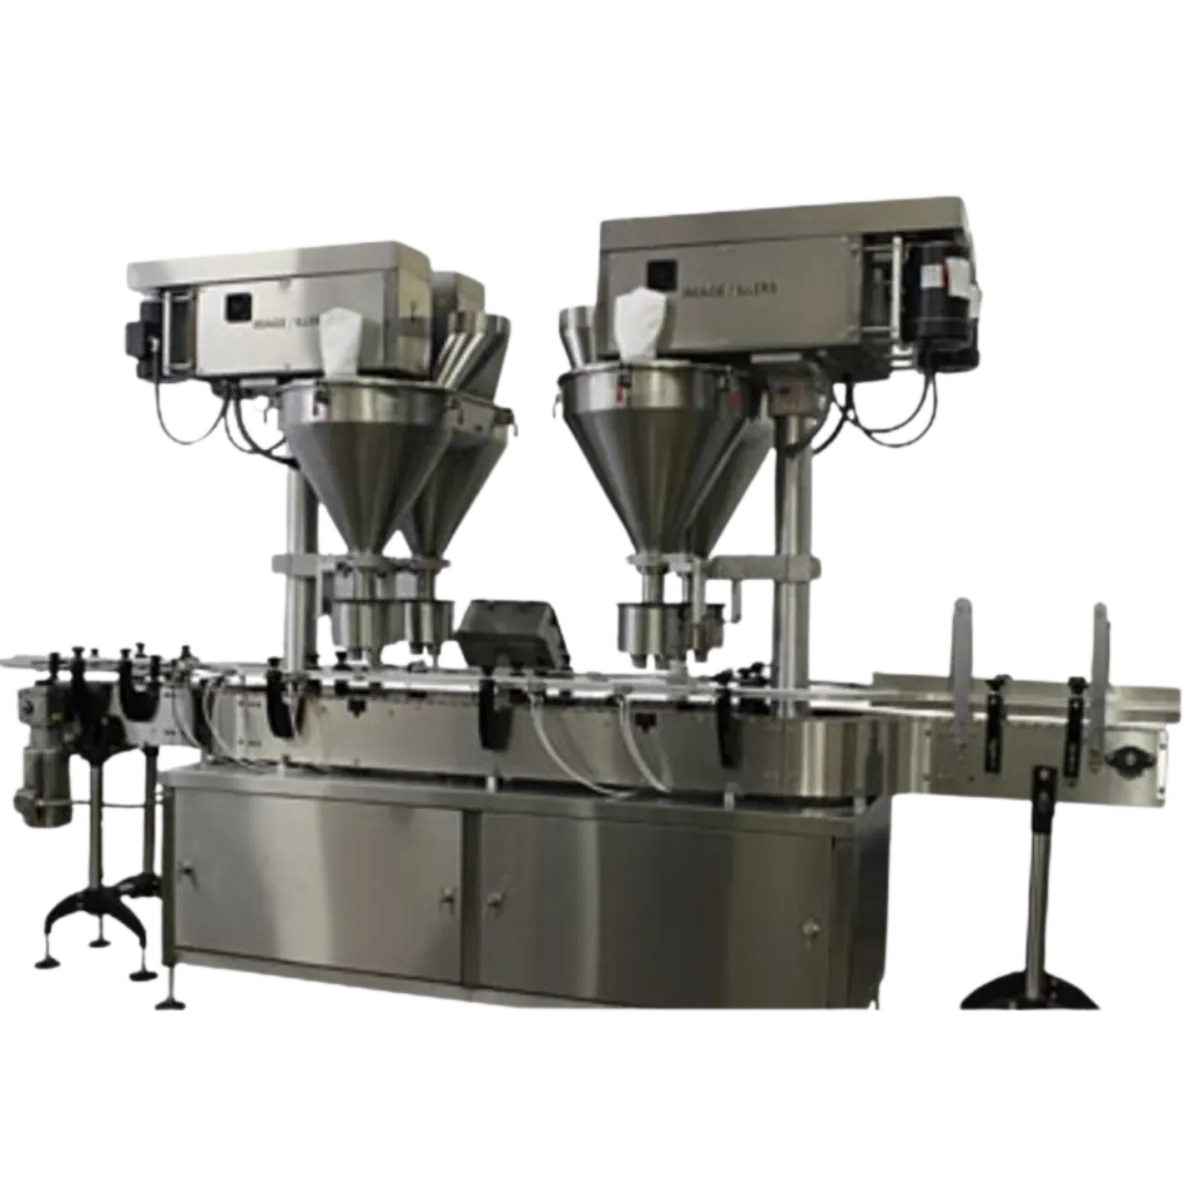
McCormick Spice Line Dual Head Filler
Image Fillers Inc.
Filling Coffee With Image 3500 Servo Auger Filler
Image Fillers Inc.
Perfect Solution Filler Demo - Image Fillers
Image Fillers Inc.
Fill Liquids With Your Powder Filler
Image Fillers Inc.

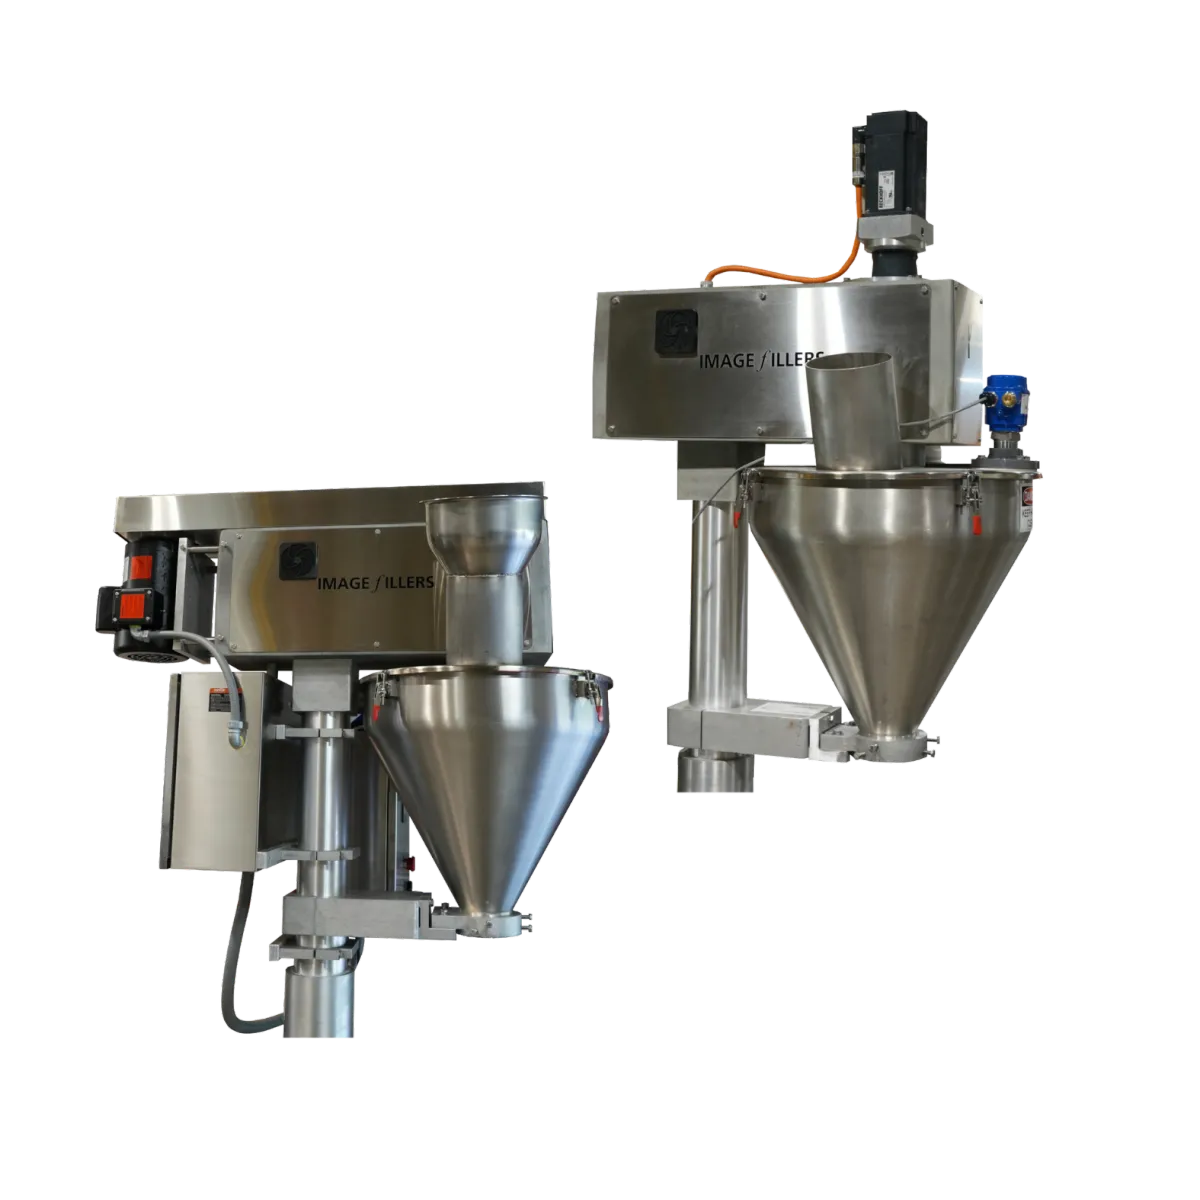
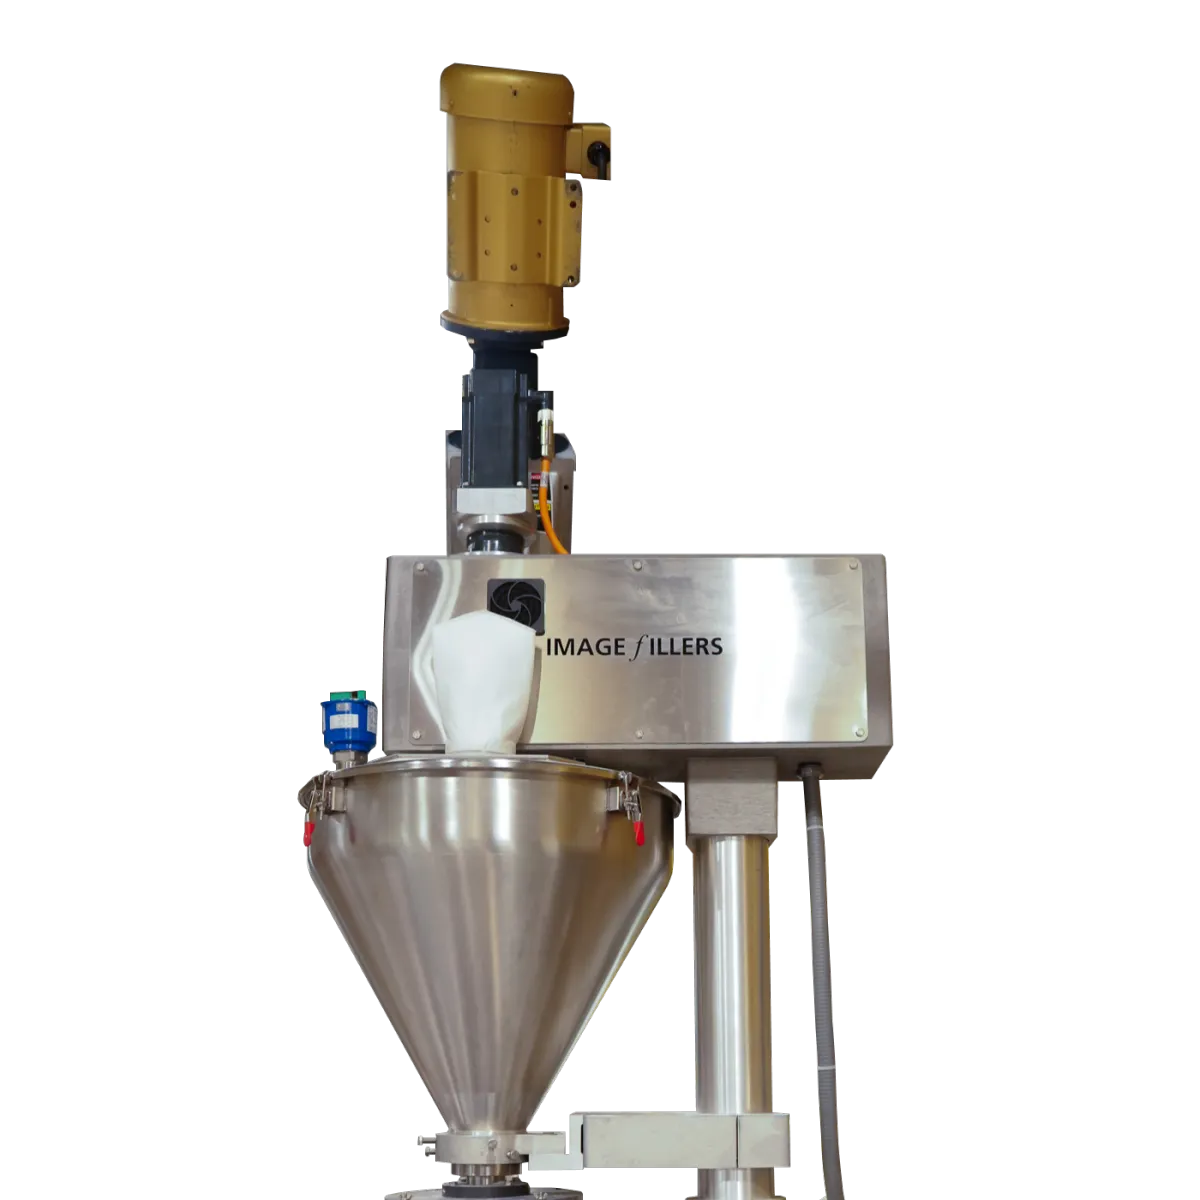
How to Disassemble and Clean Your Non-Free Flow Auger Fille
Keeping your auger filler parts clean is essential for sanitation and plays a crucial role in making parts lasting longer. I am going to delve into how disassemble your non free flow auger filler for cleaning. We will cover how to clean your free flow auger filler here: imagefillers.com/free-flow-cleaning.
Here is a nom free flow tooling diagram that shows all the parts we will go over.

Step 1: Turn off the machine
Turn off the main disconnect to the machine located on the back control box.

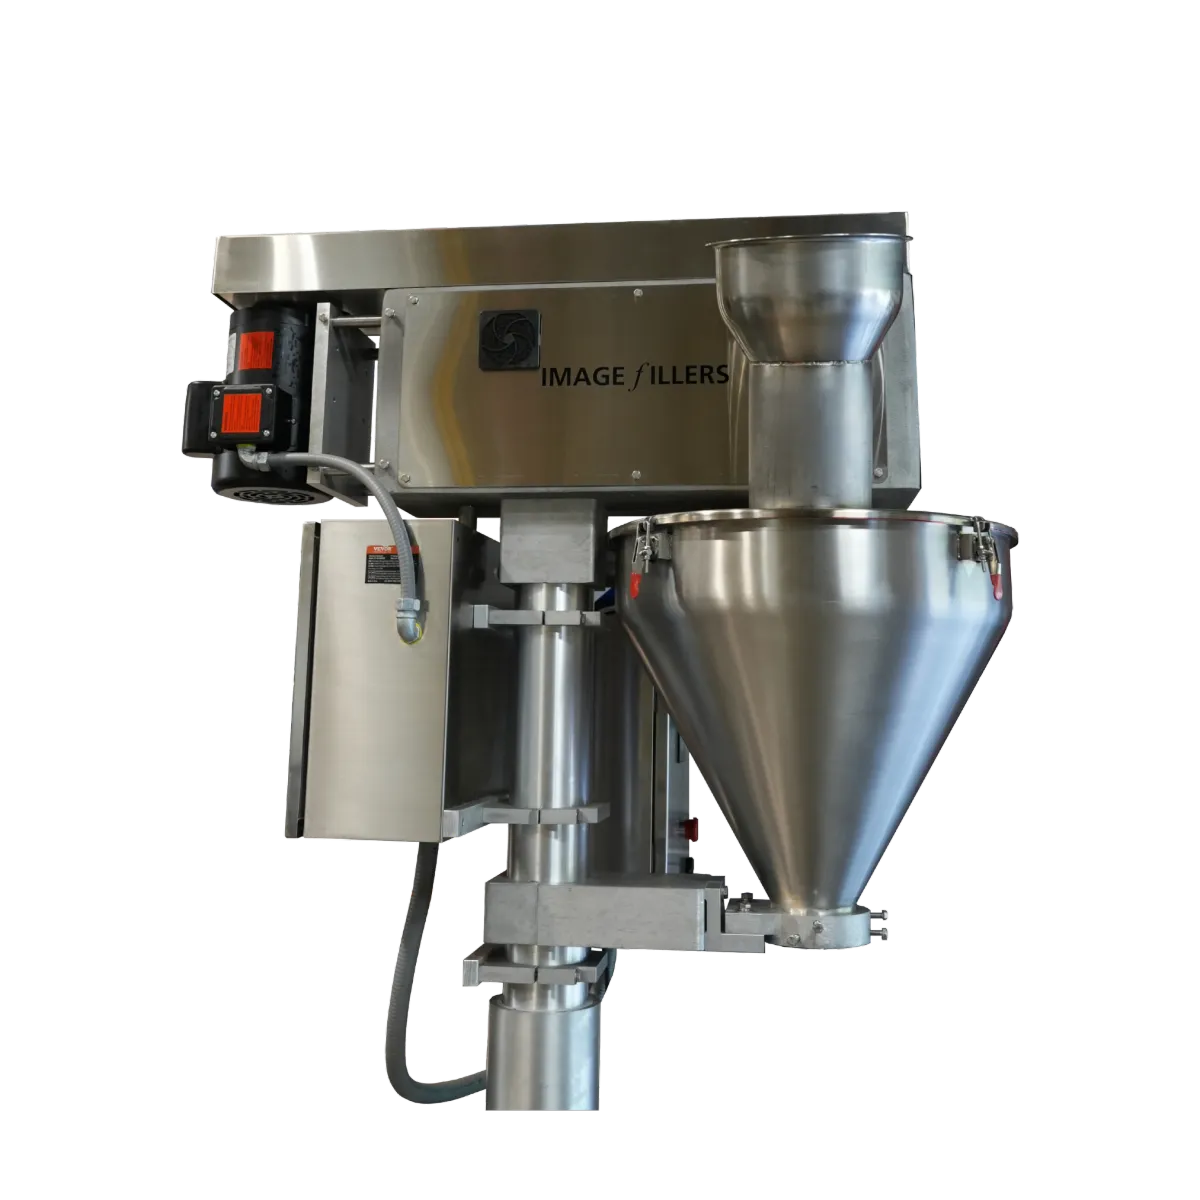
Step 2: Take off the funnel
There are 6 total thumb bolts on the coupling. The bottom 3 thumb bolts need to be loosened and then slide out the funnel.

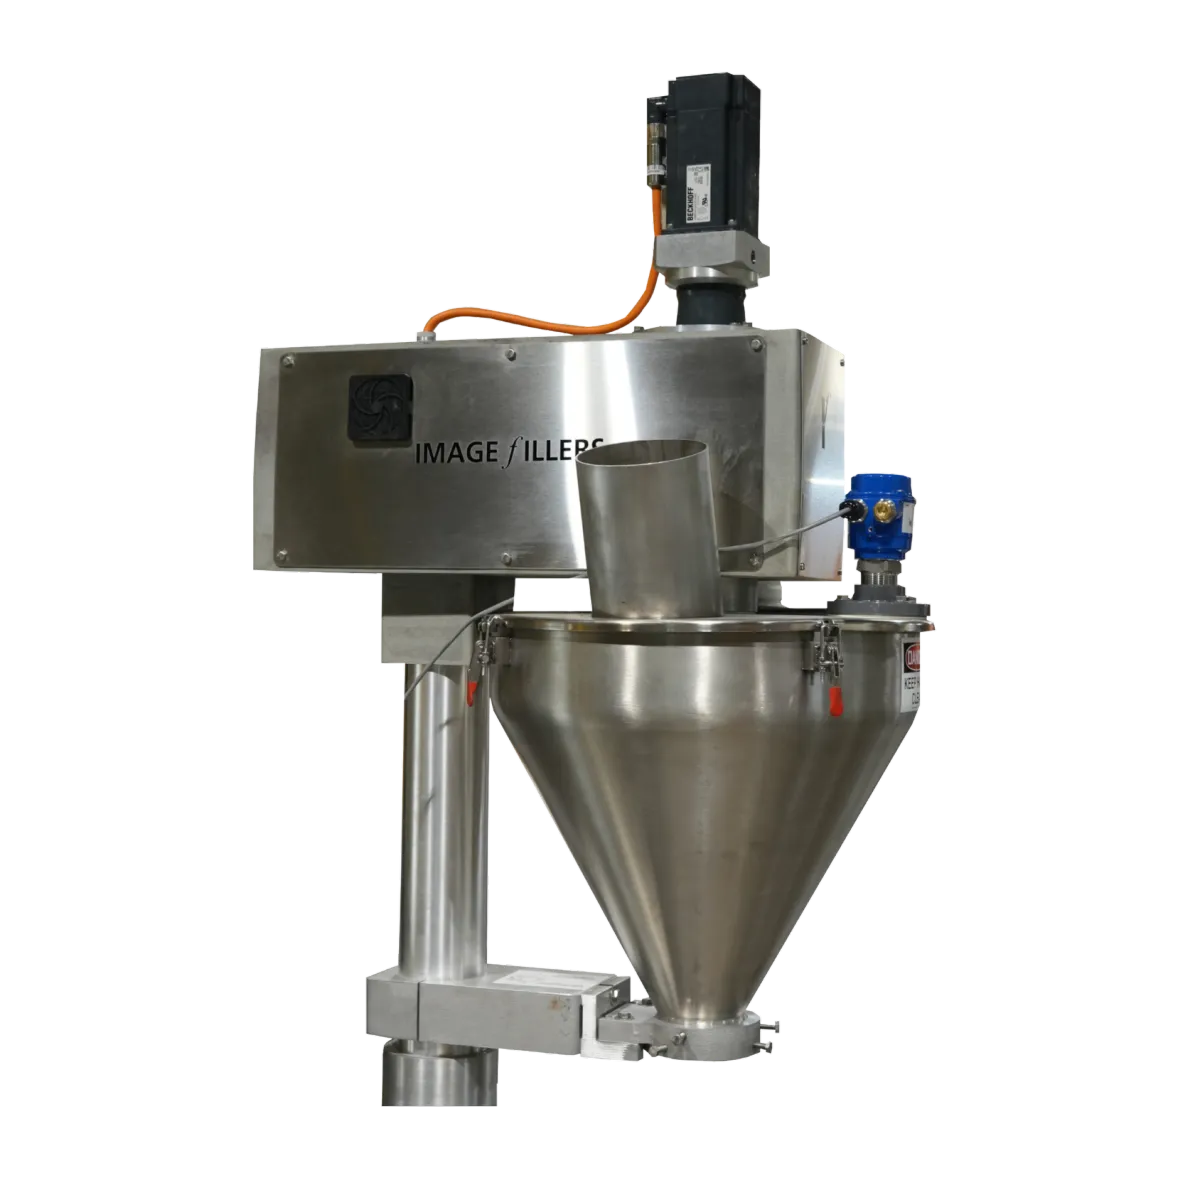
Step 3: Remove the auger
The auger is spring loaded so you need to push it up first into the spring, then rotate it counterclockwise, then down and out of the auger shaft. The spring loaded mechanism is shown below.

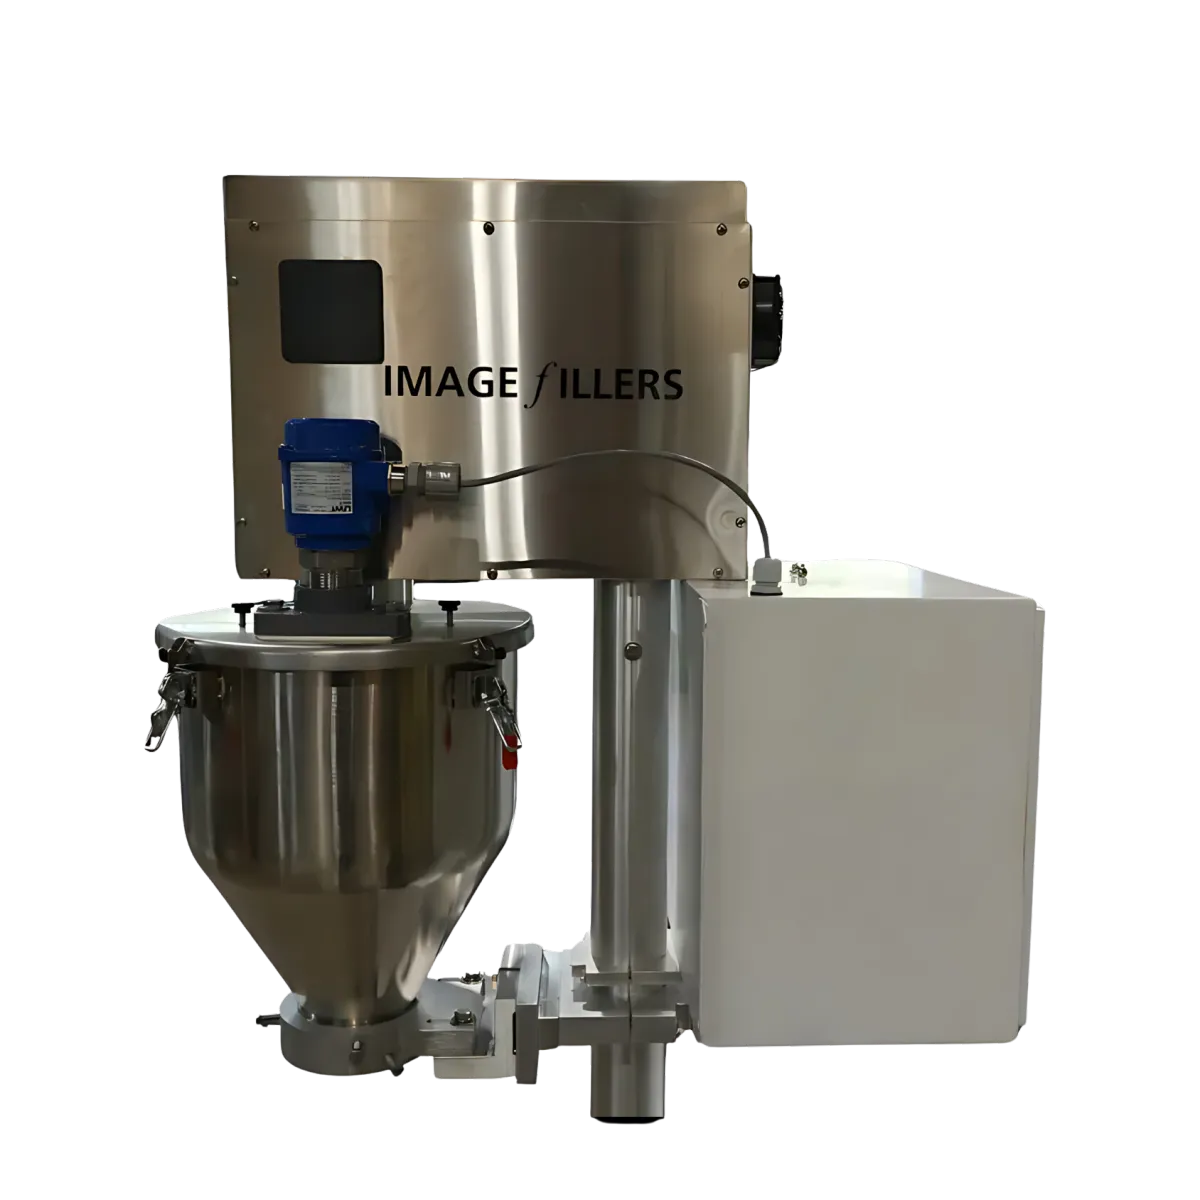
Step 4: Remove the hopper
First remove the 4 quick release clamps at the top of the hopper.

Remove the horizontal alignment bolt. Don't touch the 2 vertical alignments bolts because they are already set with proper alignment. Remove the hopper.

Step 5: Remove the auger shaft and agitation blade
There is a bolt on both the auger shaft and agitation blade that needs to be removed to take off these two pieces of tooling.


Step 6: Clean everything
All the parts that we remove are stainless steel so wash accordingly. Usually just soap and water is necessary for cleaning.
Step 7: Reassemble the auger filler
Reassemble everything the same way your removed it.
Reattach the auger shaft and agitation blade.
Reattach the hopper, horizontal alignment bolt, and quick release clamps.
Insert the auger into the auger shaft by pushing it up turn it clockwise until it stops and it should lock into place.
Reattach the funnel until it fits snug into the coupling and then tighten the 3 bottom thumb bolts.
⚠️ The auger shaft and auger have to be set correctly before filling. If you want to learn how to do this go check out our auger alignment article here: Imagefillers.com/auger-alignment

If you want to watch the video showing how to do this you can check it out on YouTube here:


Copyright © 2024 Image Fillers Inc. All rights reserved.
Made In The United States

Facebook
Instagram
X
LinkedIn
Youtube