

GET A QUOTE TODAY
(610) 466-1440


Playlists
Maintenance and Parts Instructionals
Watch a video or read an article to learn about auger fillers
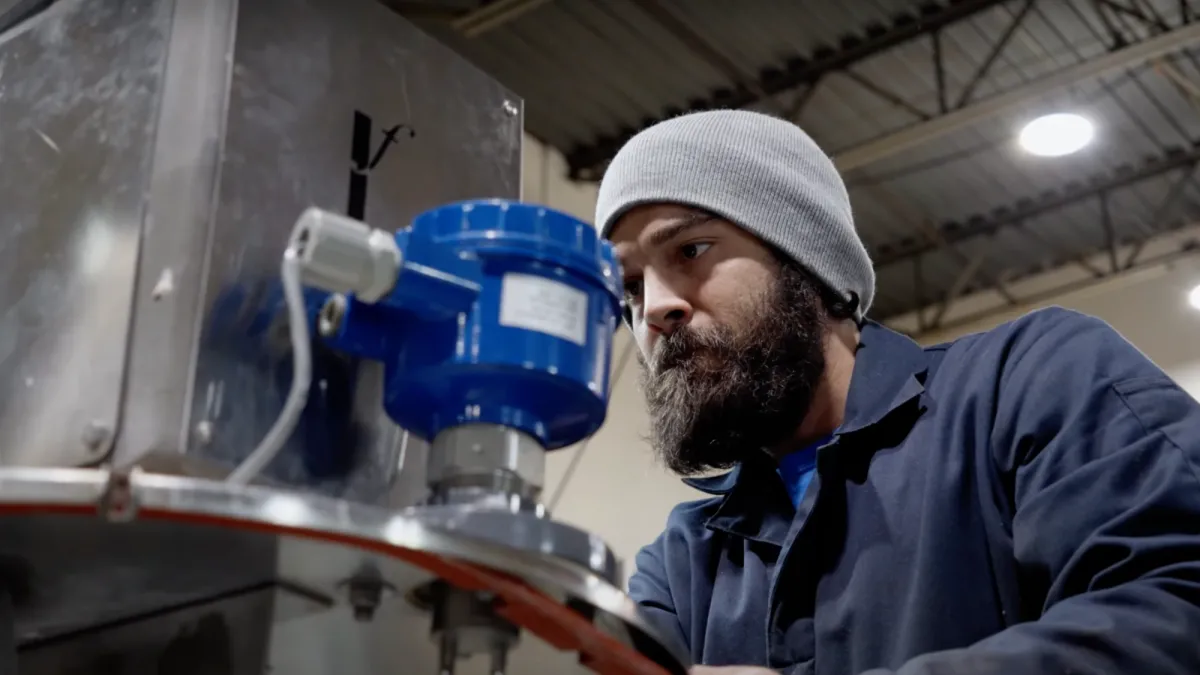
How to - Align Your Auger
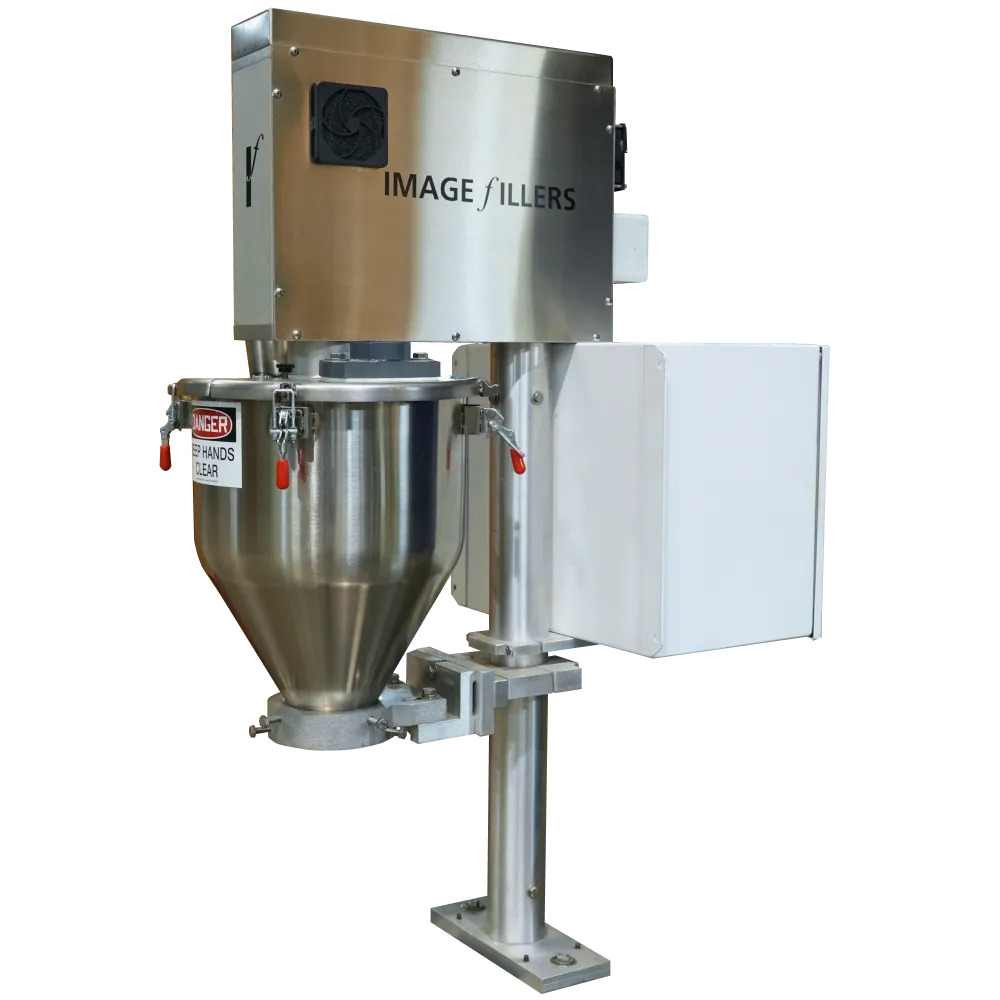
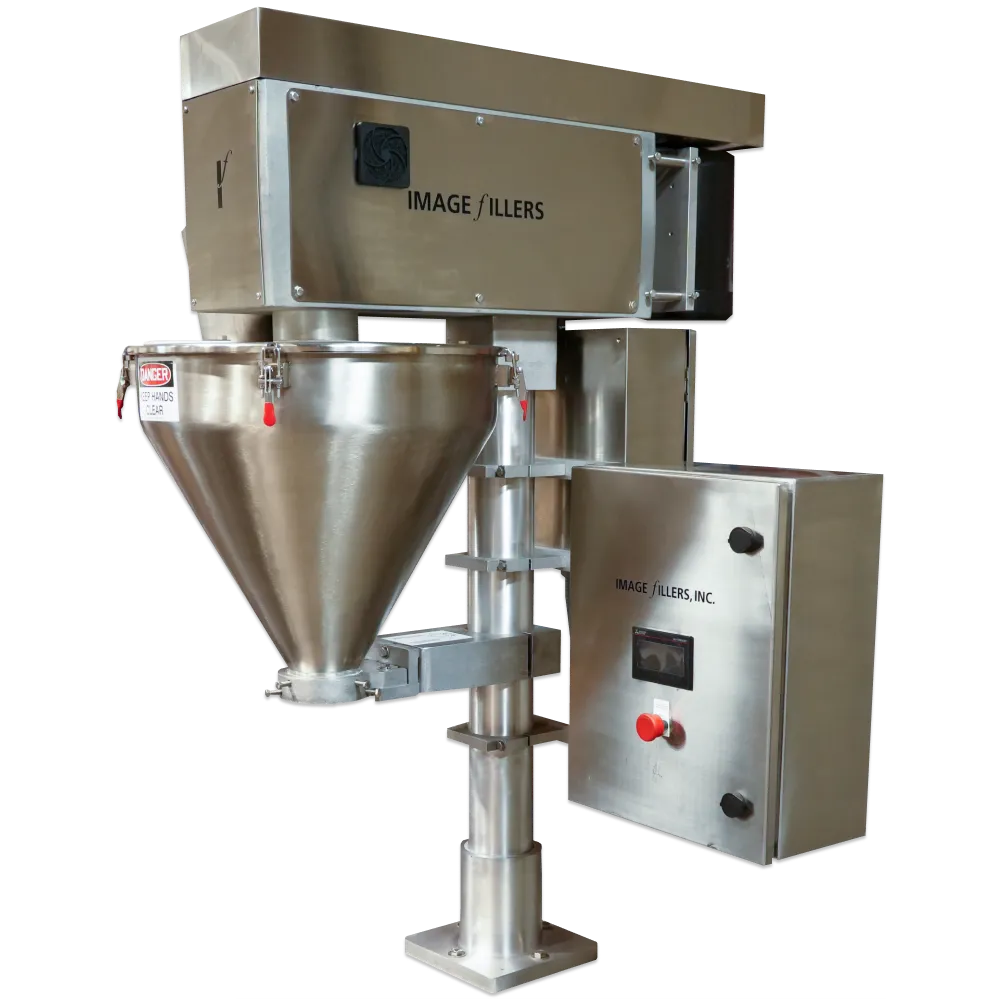
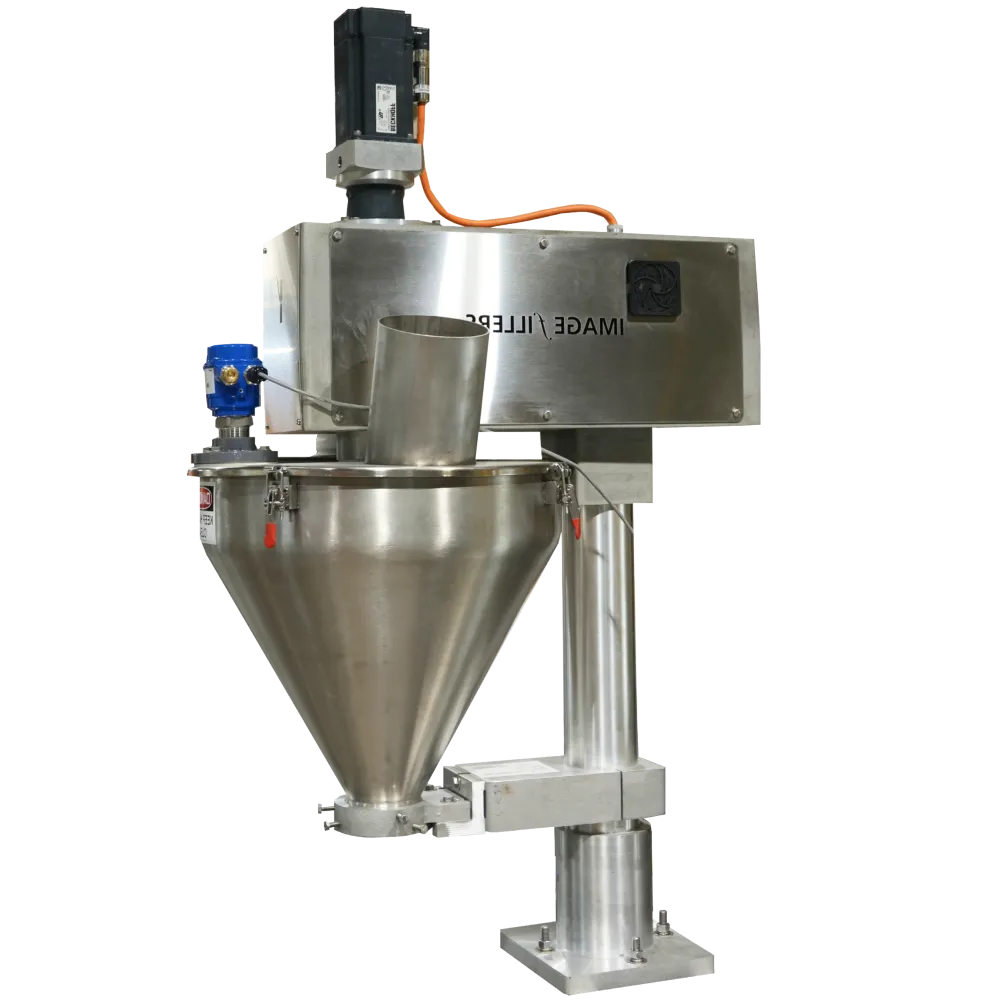
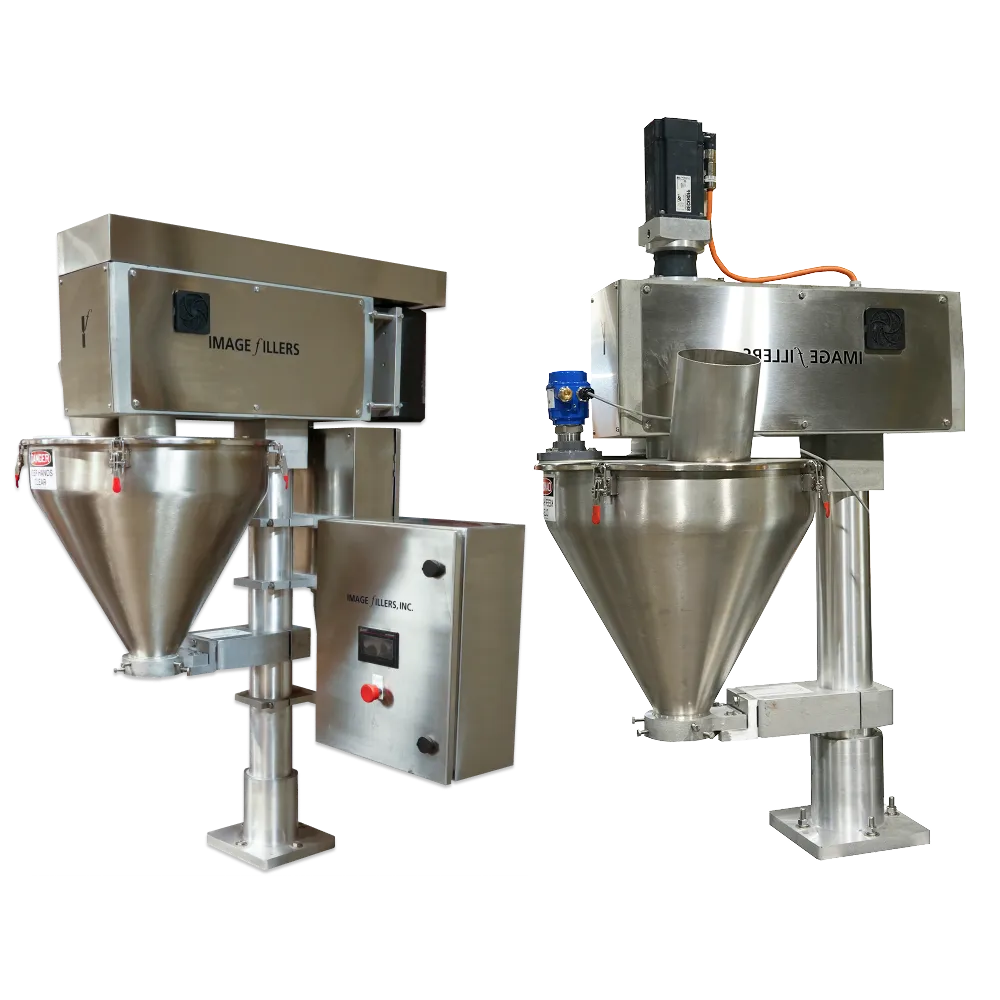
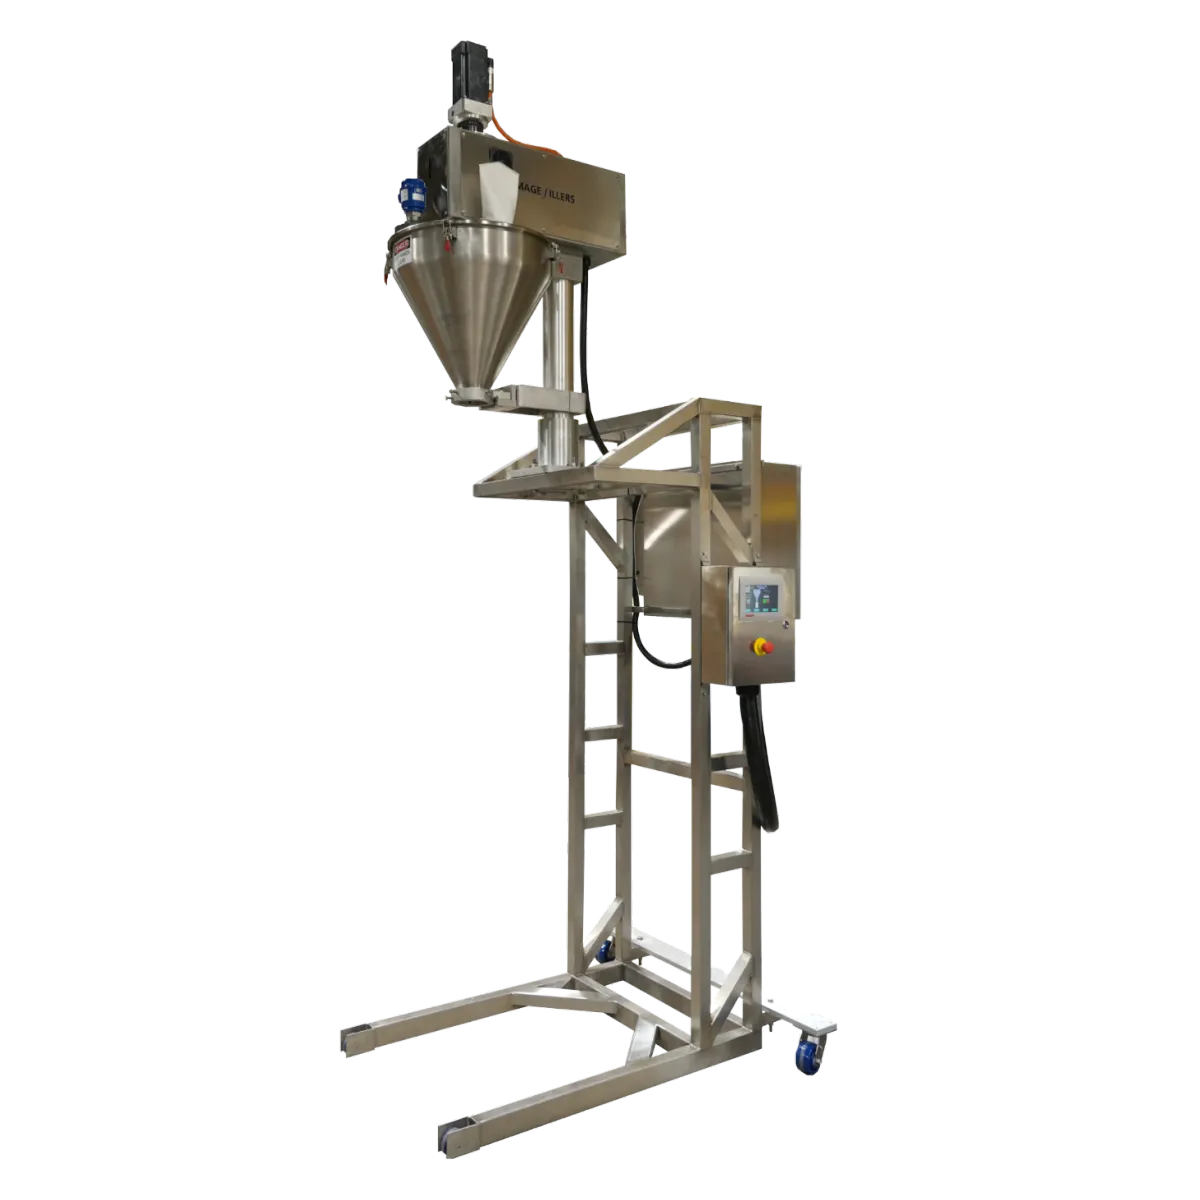
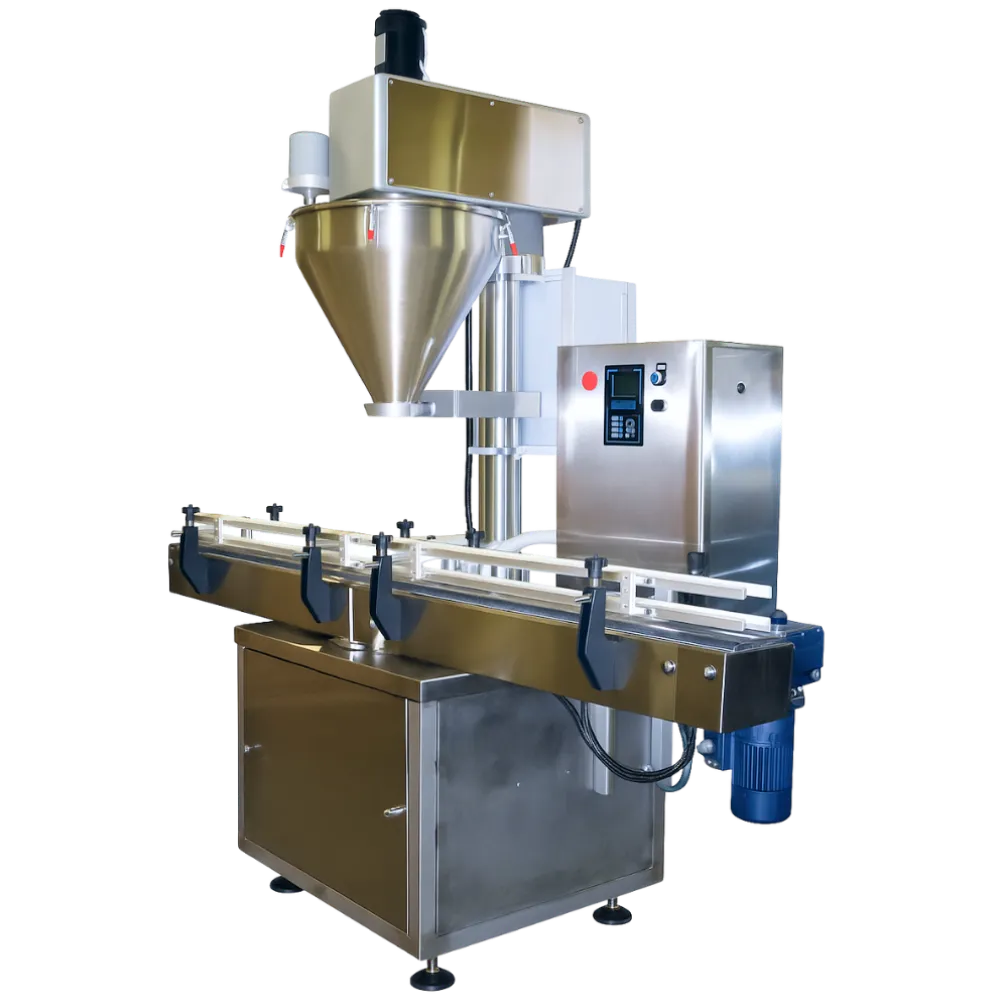
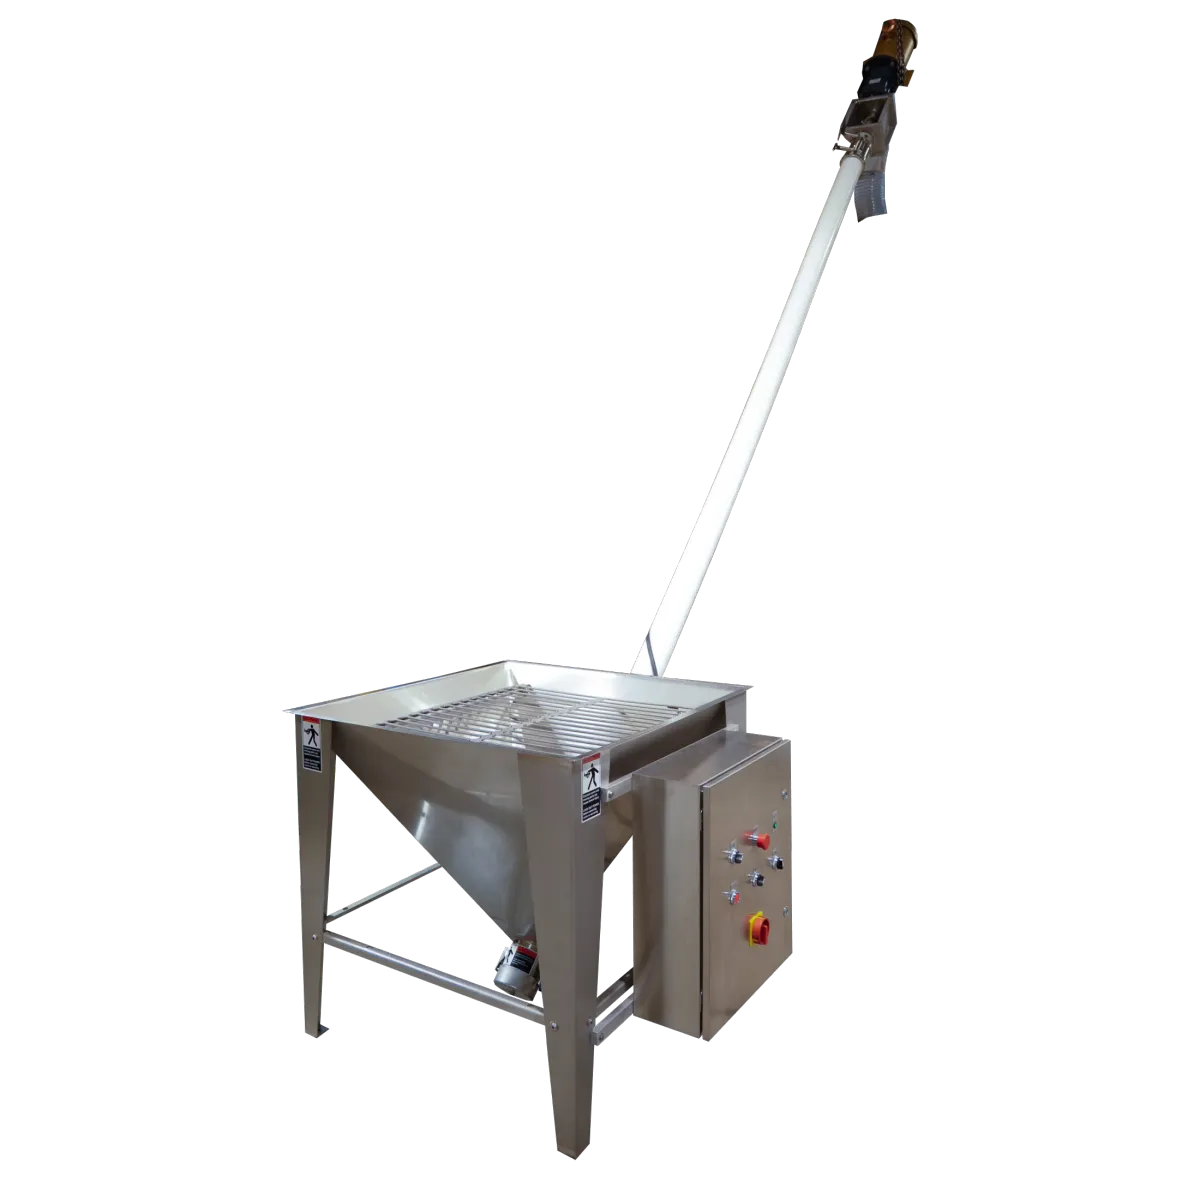
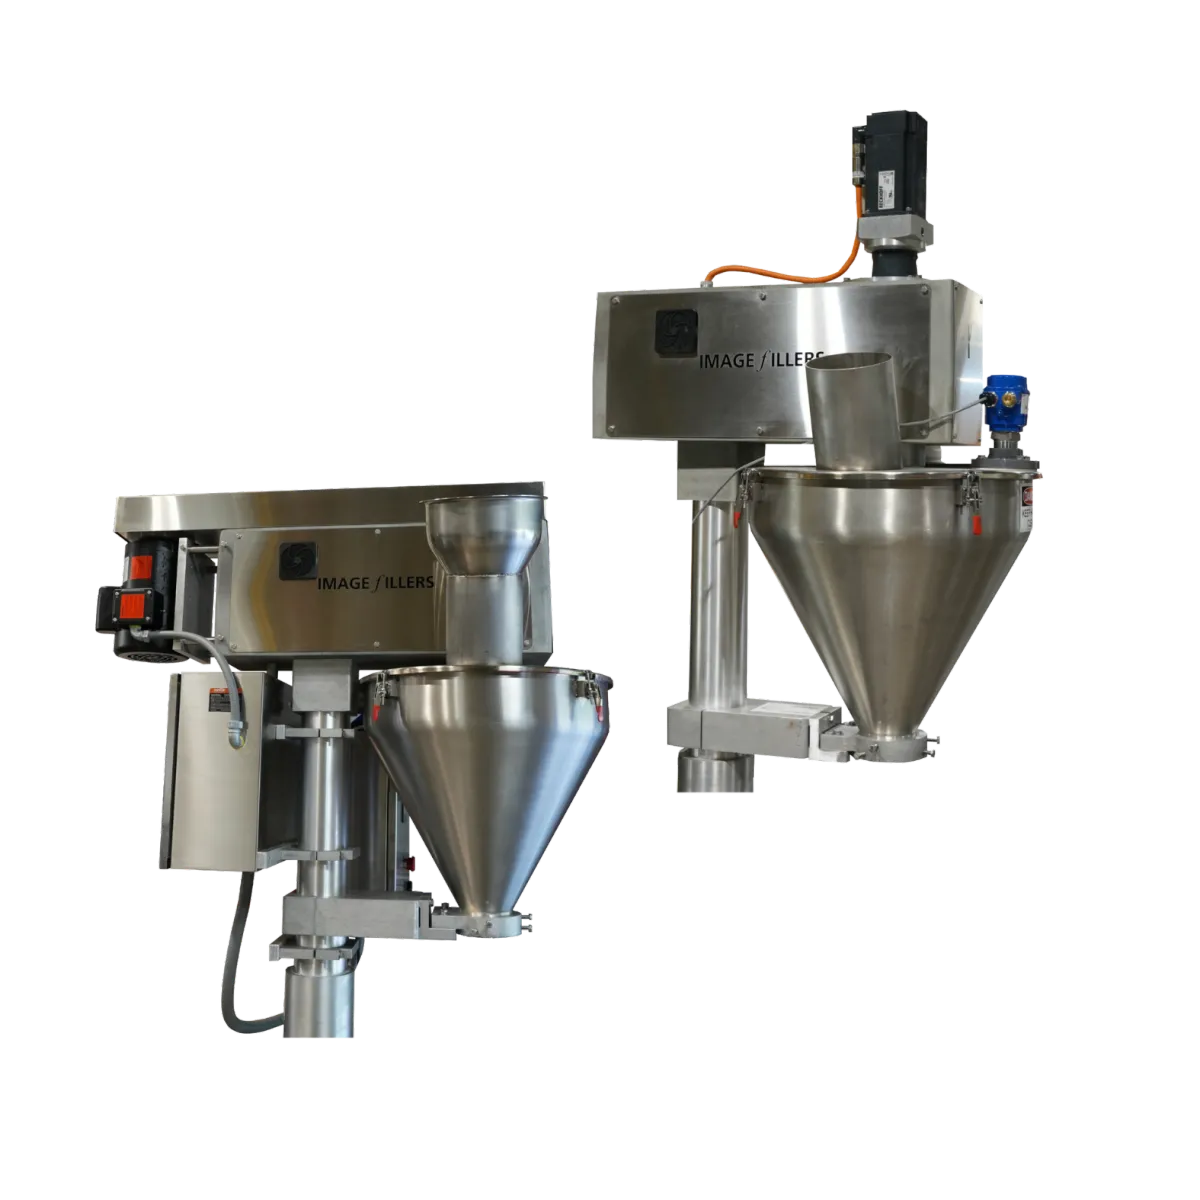
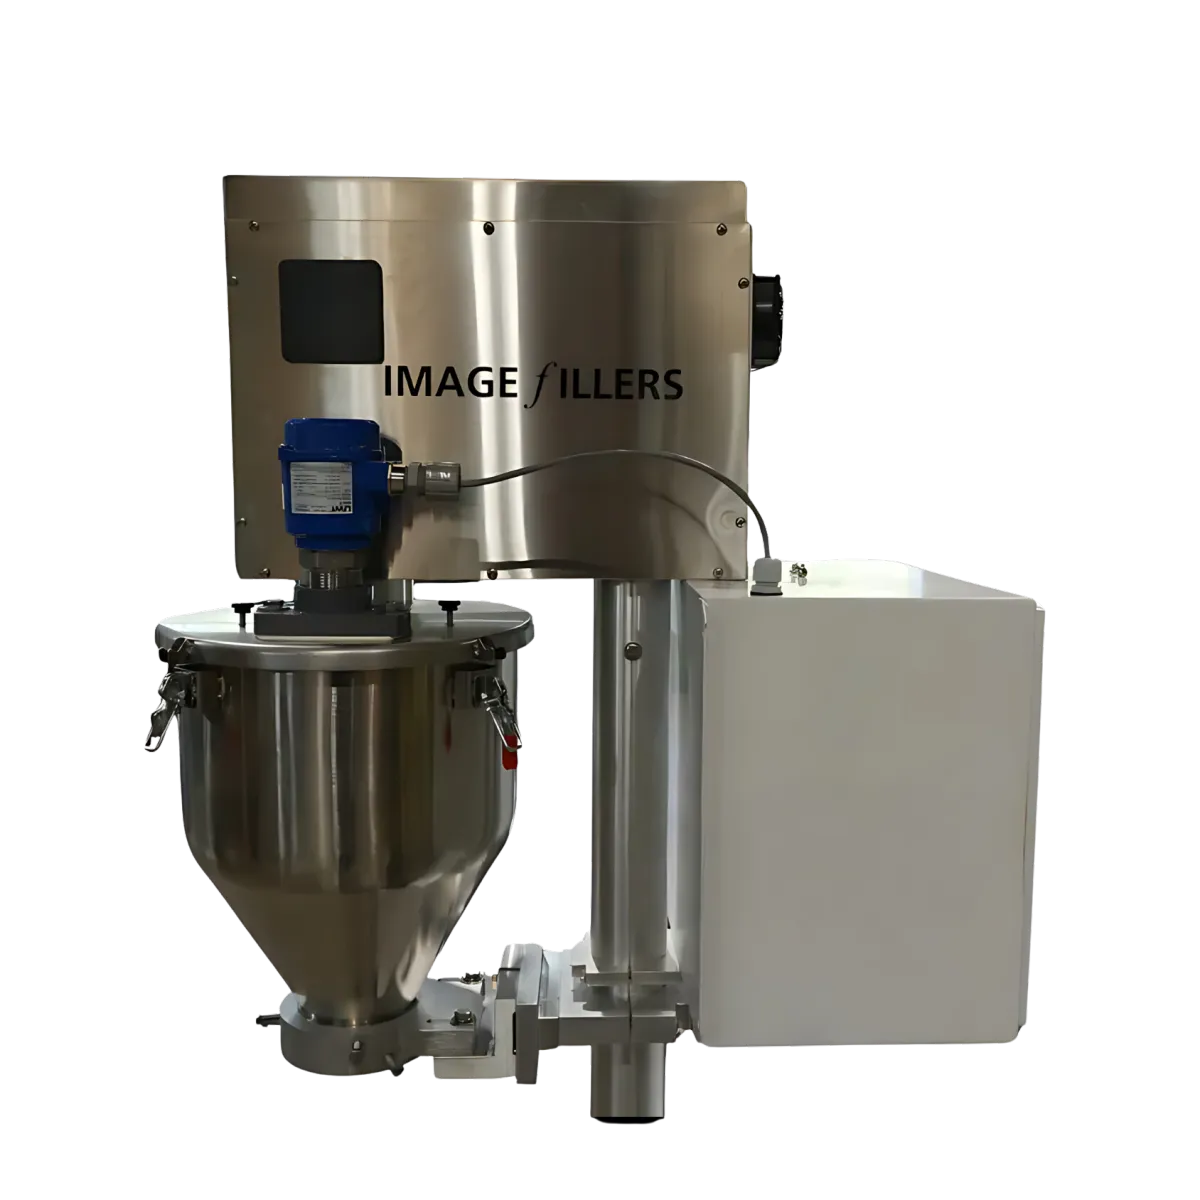
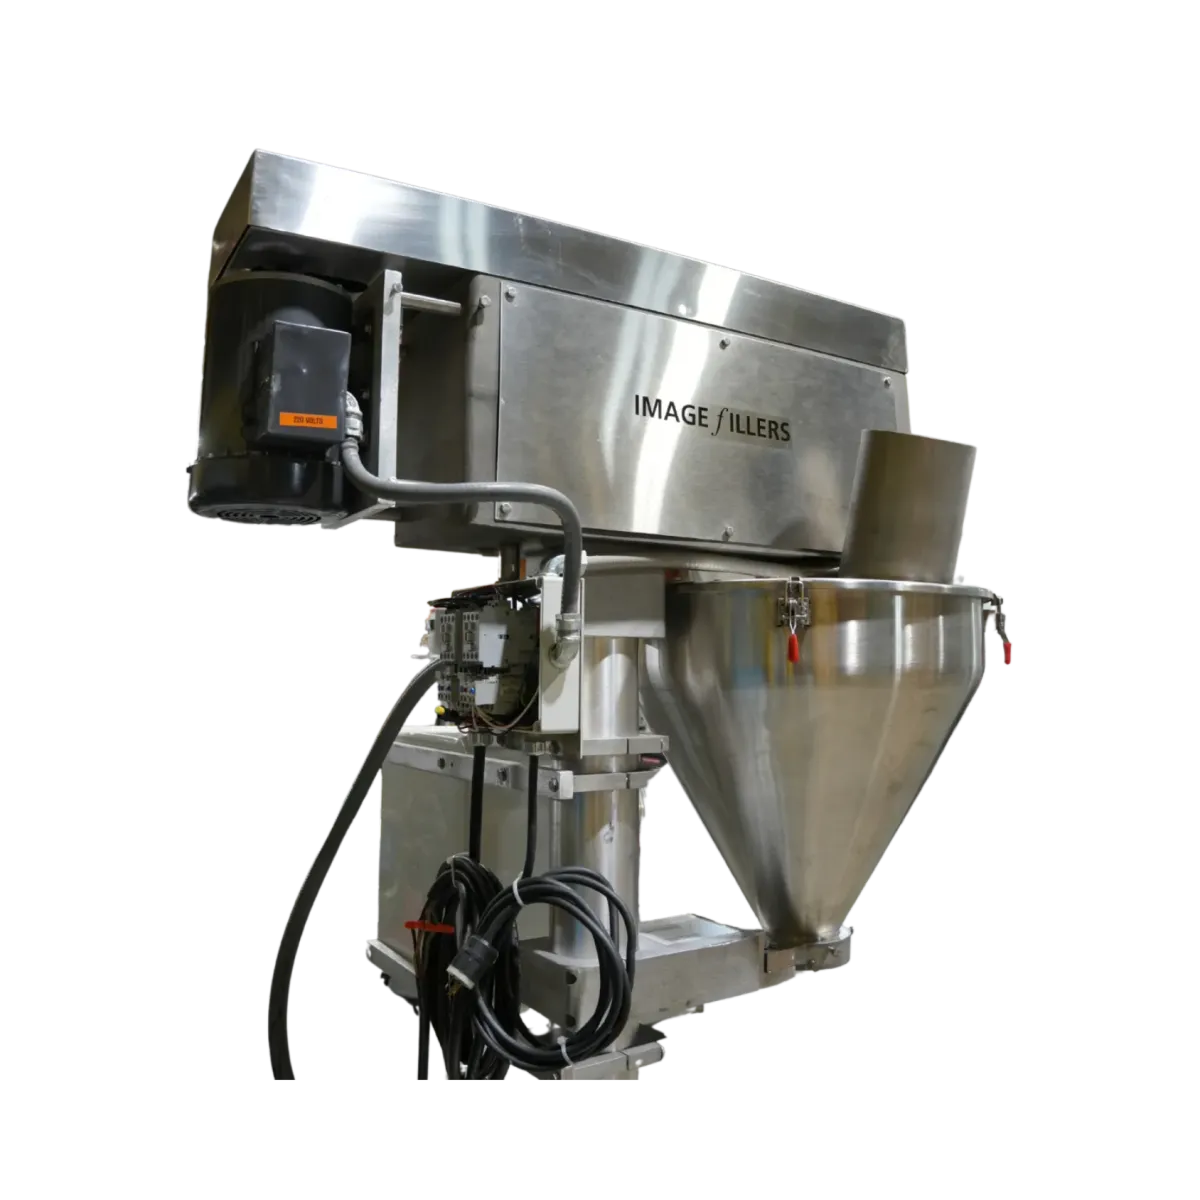
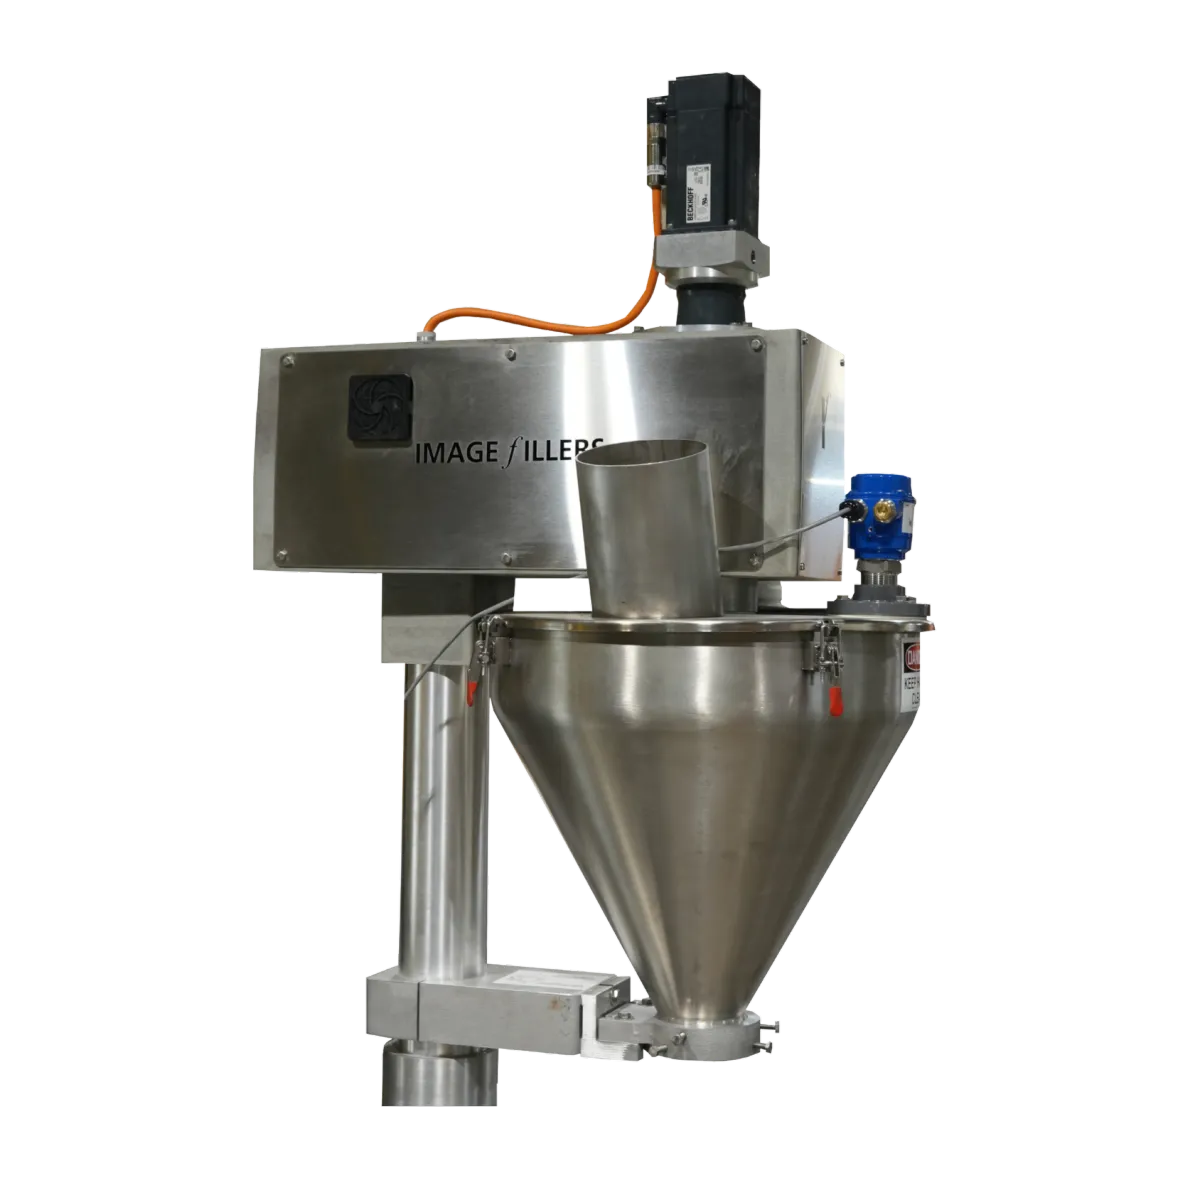
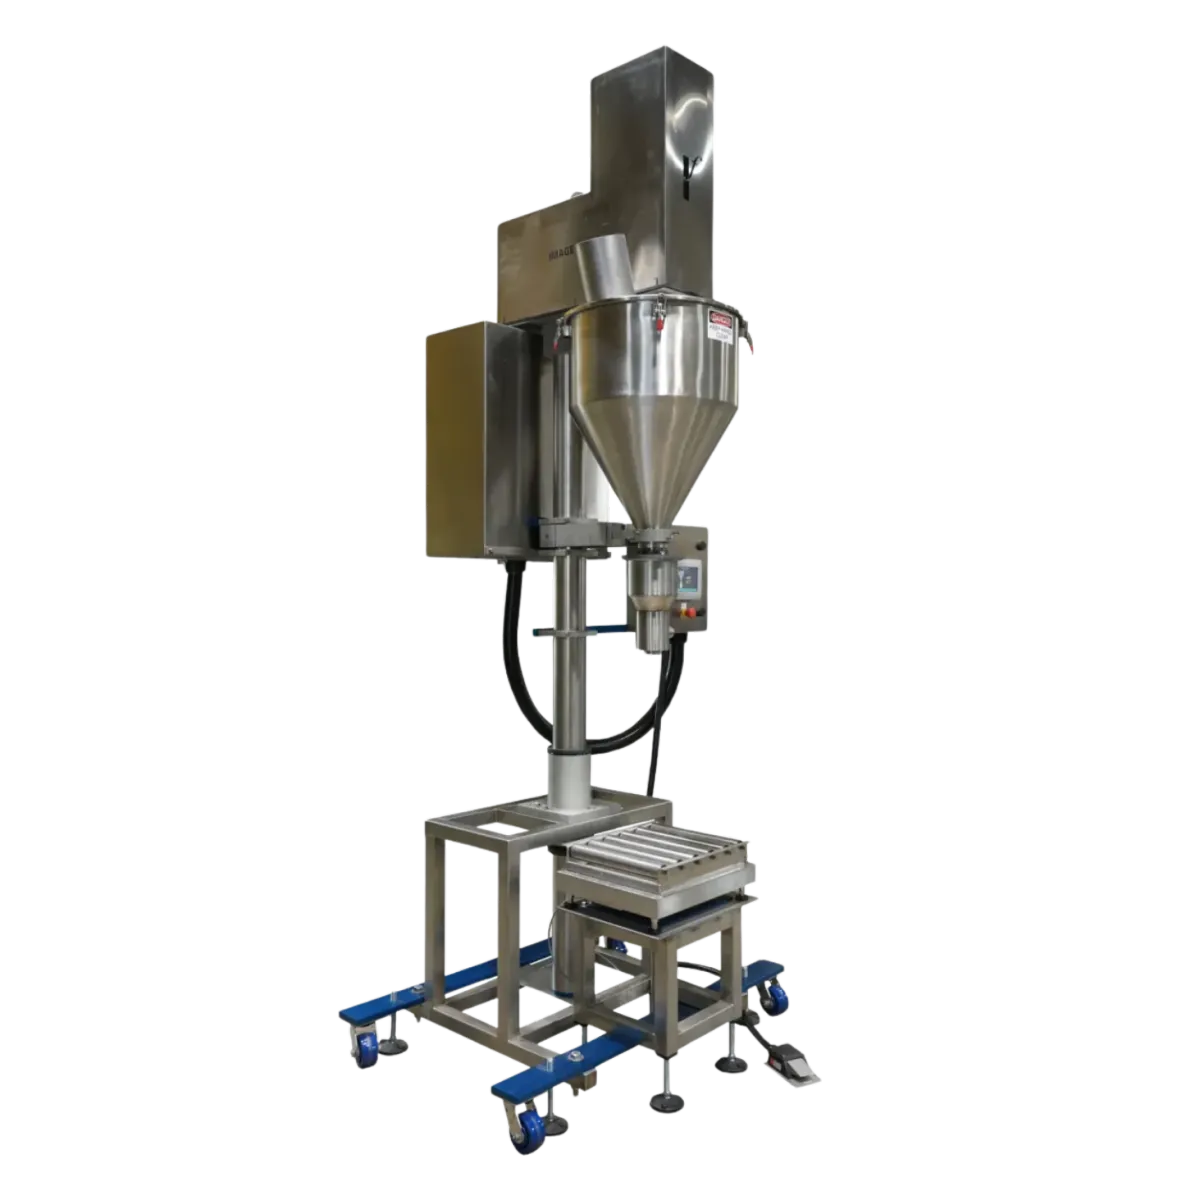
Maintaining the proper alignment of your auger in an auger filler machine is crucial for ensuring smooth operation and preventing costly wear and tear. The auger, a large helical bit, is responsible for moving product through the hopper—a stainless steel container where the product is filled. If the auger isn’t aligned correctly, it can grind against the funnel, which is connected to the bottom of the hopper, causing damage to both the auger and other parts of your machine.
To keep your machine running efficiently, it’s essential to check the alignment of your auger once a week. In this guide, we’ll walk you through the key components involved in this process and provide step-by-step instructions on how to align your auger to avoid wear and tear.
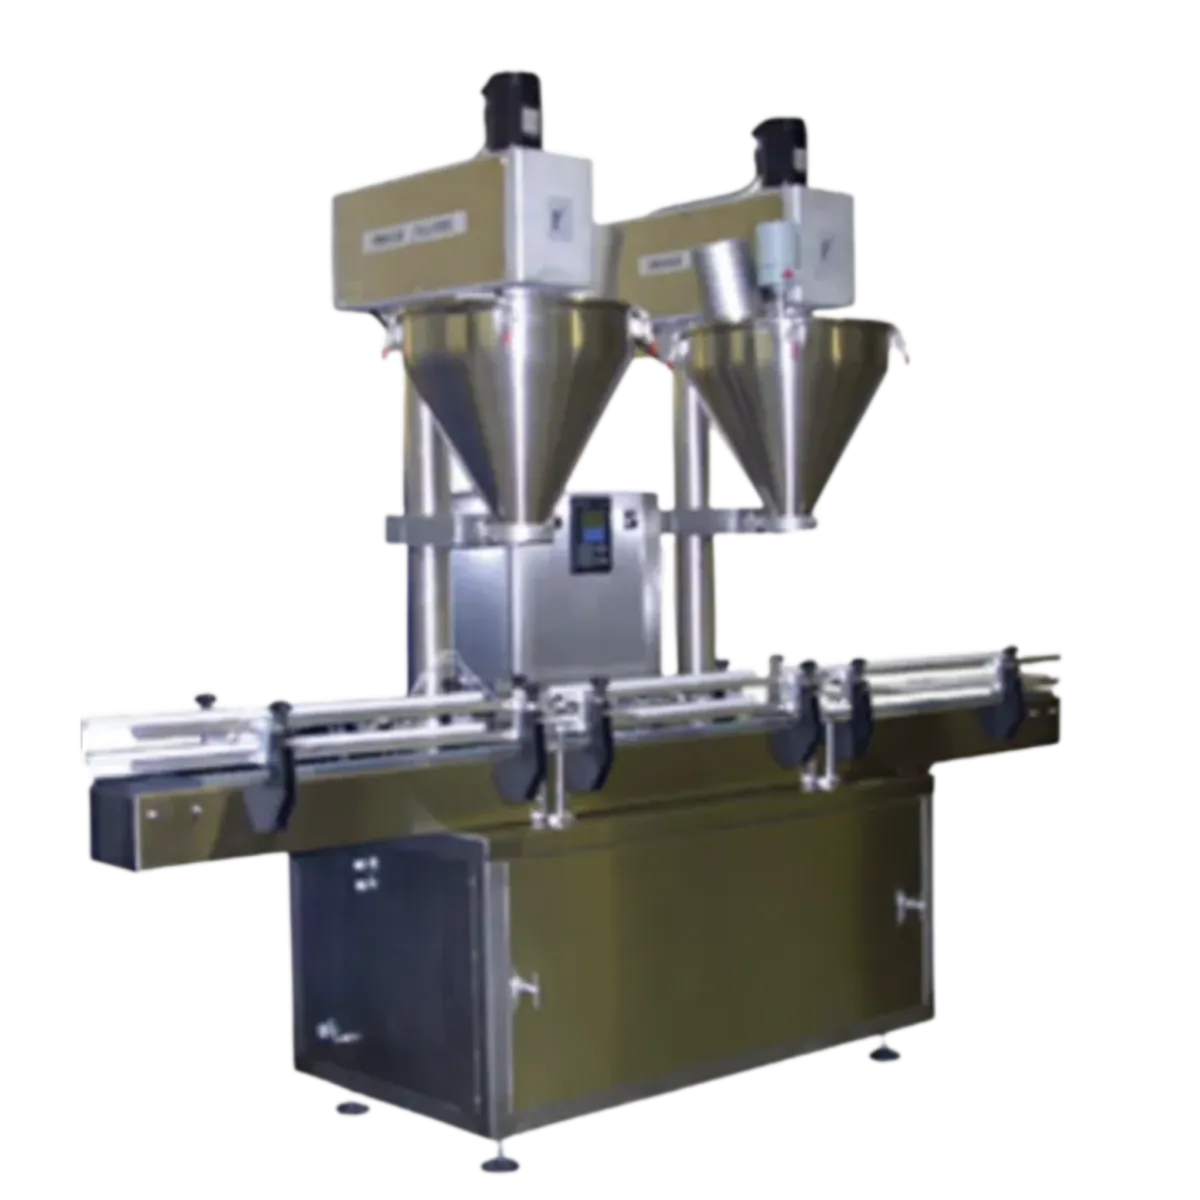
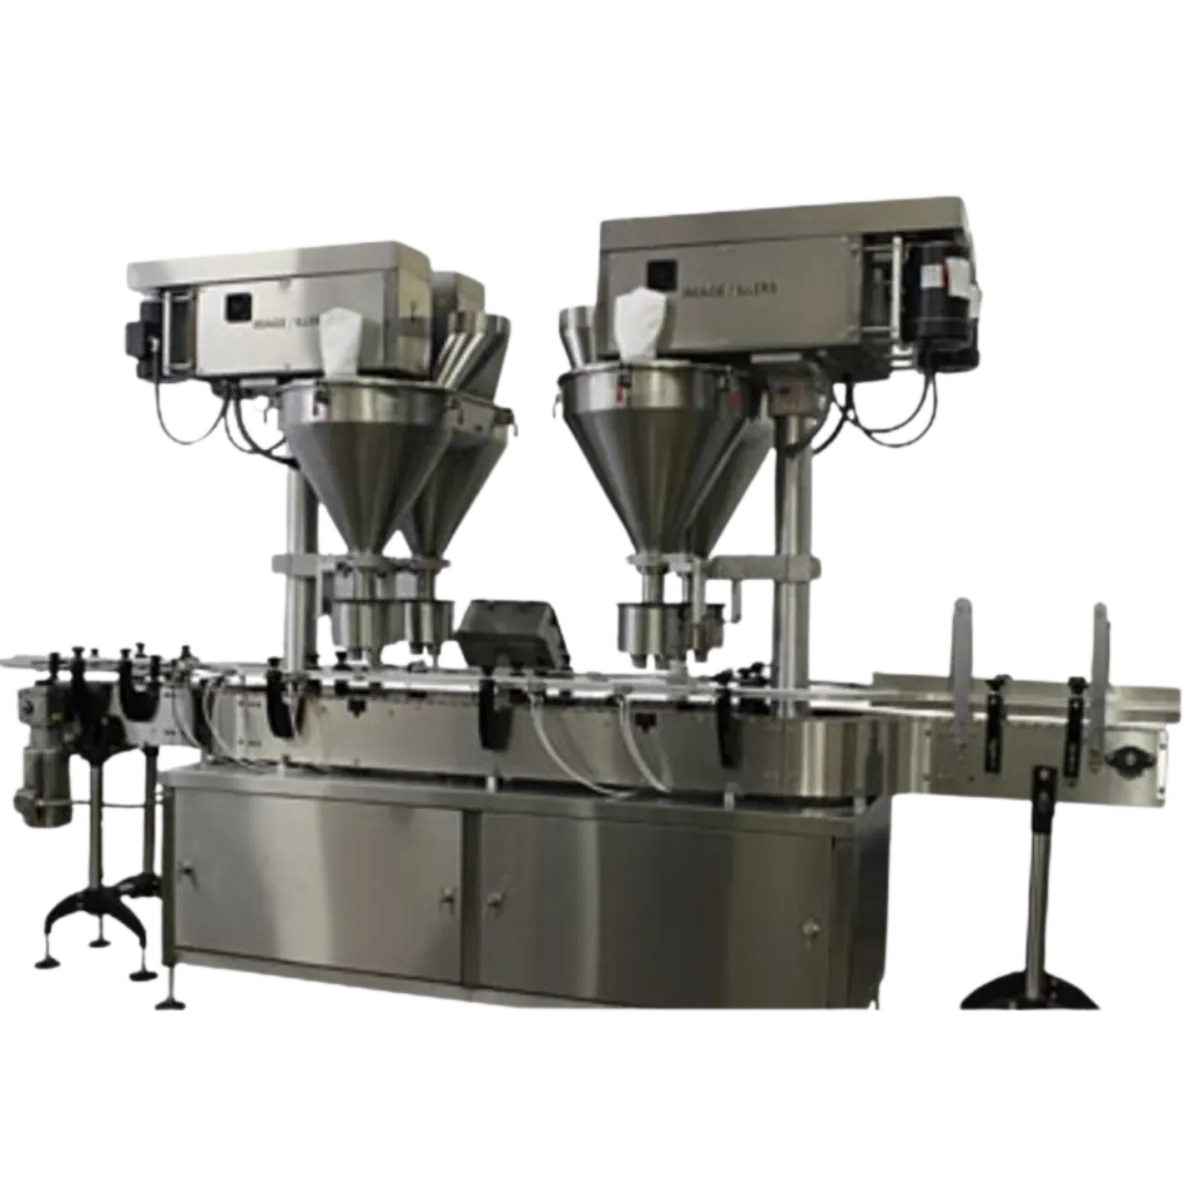
Key Components of the Auger Filler Machine
Before we dive into the alignment process, let’s familiarize ourselves with the three main components you’ll be working with:
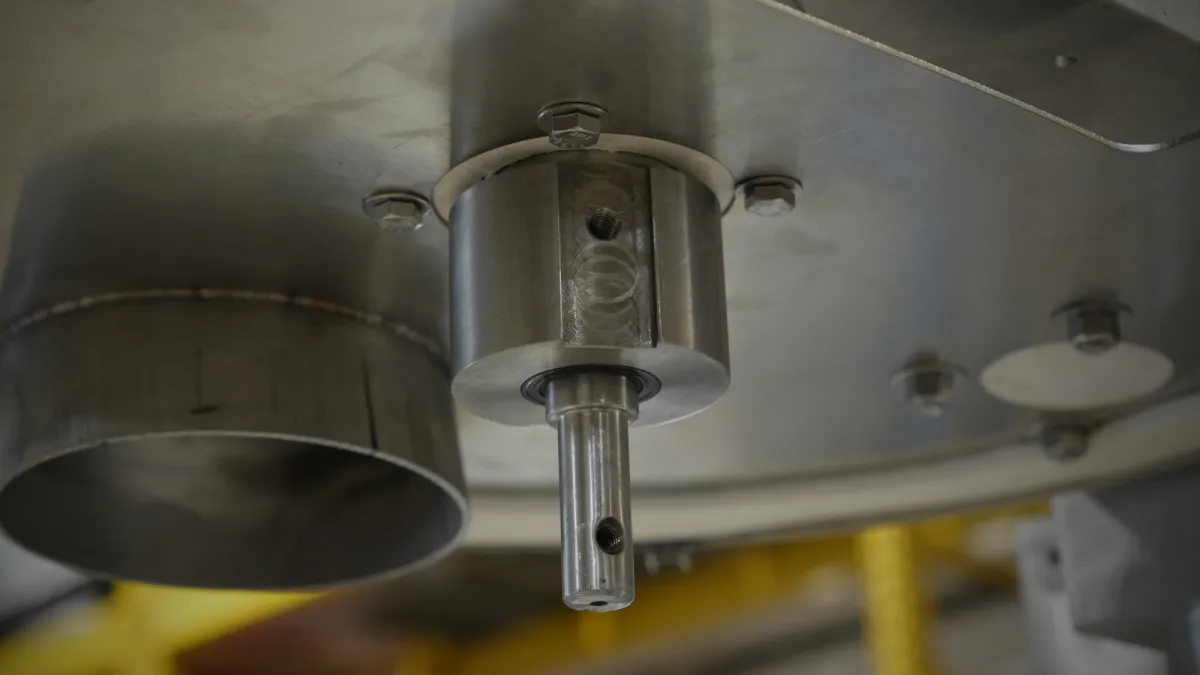
Auger Shaft: The auger slides up into the auger shaft, which holds it in place during operation.

Hopper & Funnel Coupling: This coupling secures the hopper and funnel in place. Adjusting the screws on this coupling is necessary to properly align the auger.
Thumb Bolts: These bolts hold the hopper and funnel in place and are critical during the alignment process.

Step-by-Step Guide to Aligning Your Auger
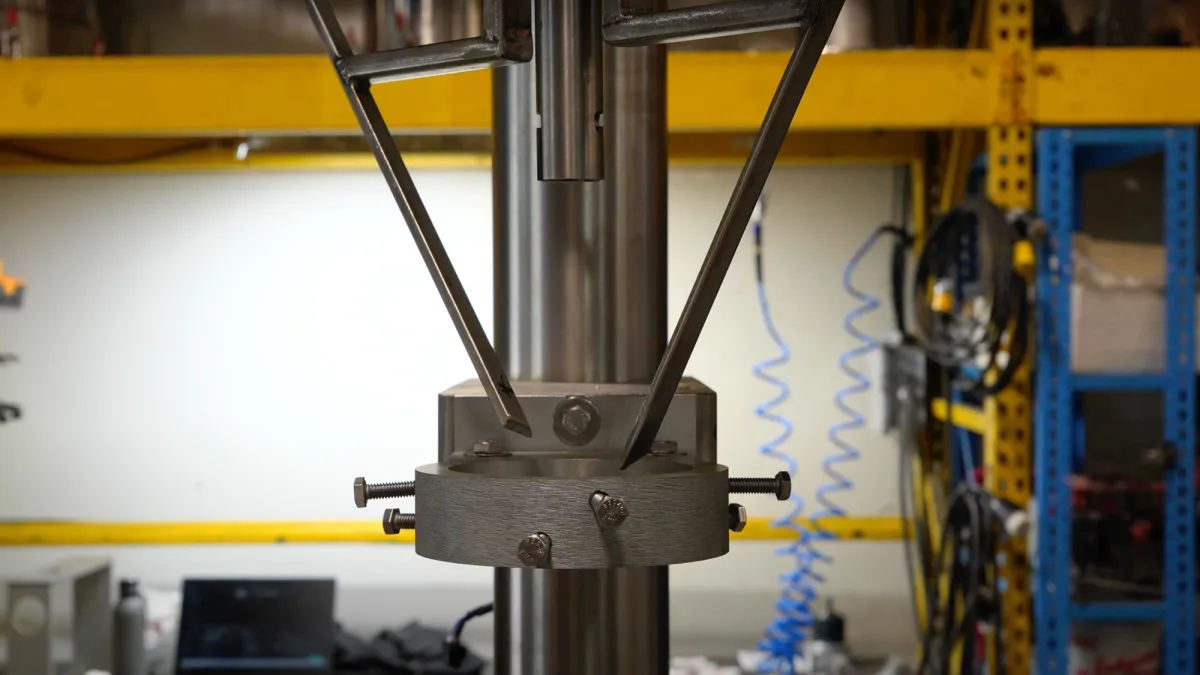
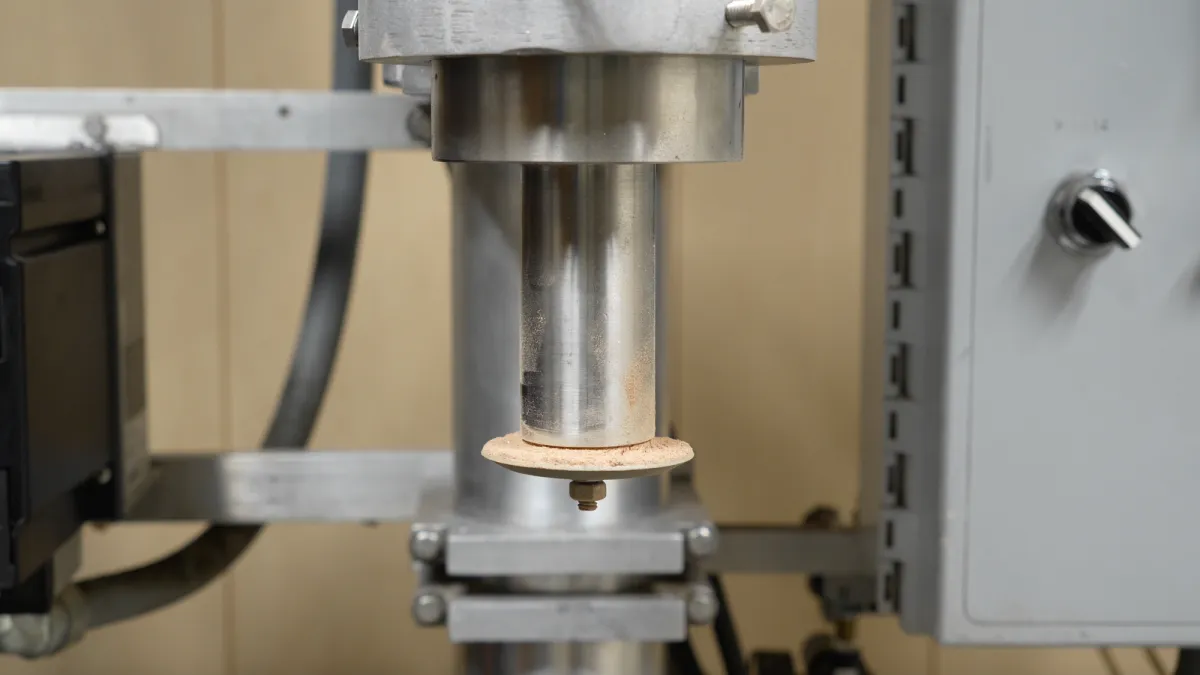
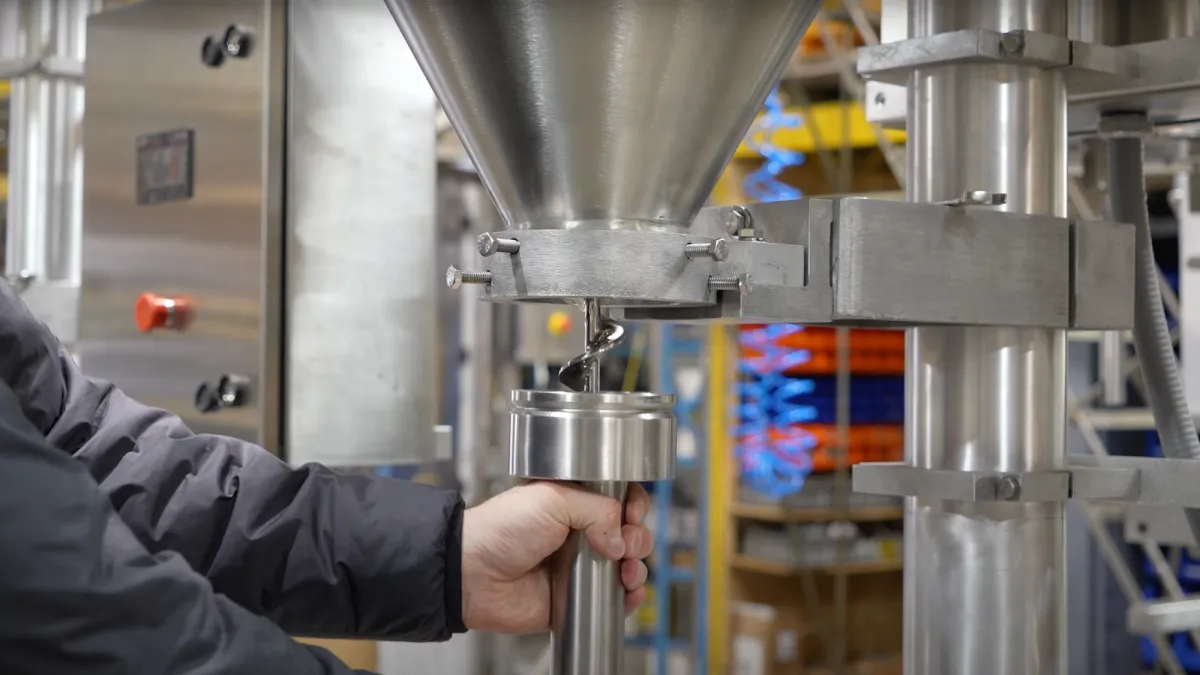
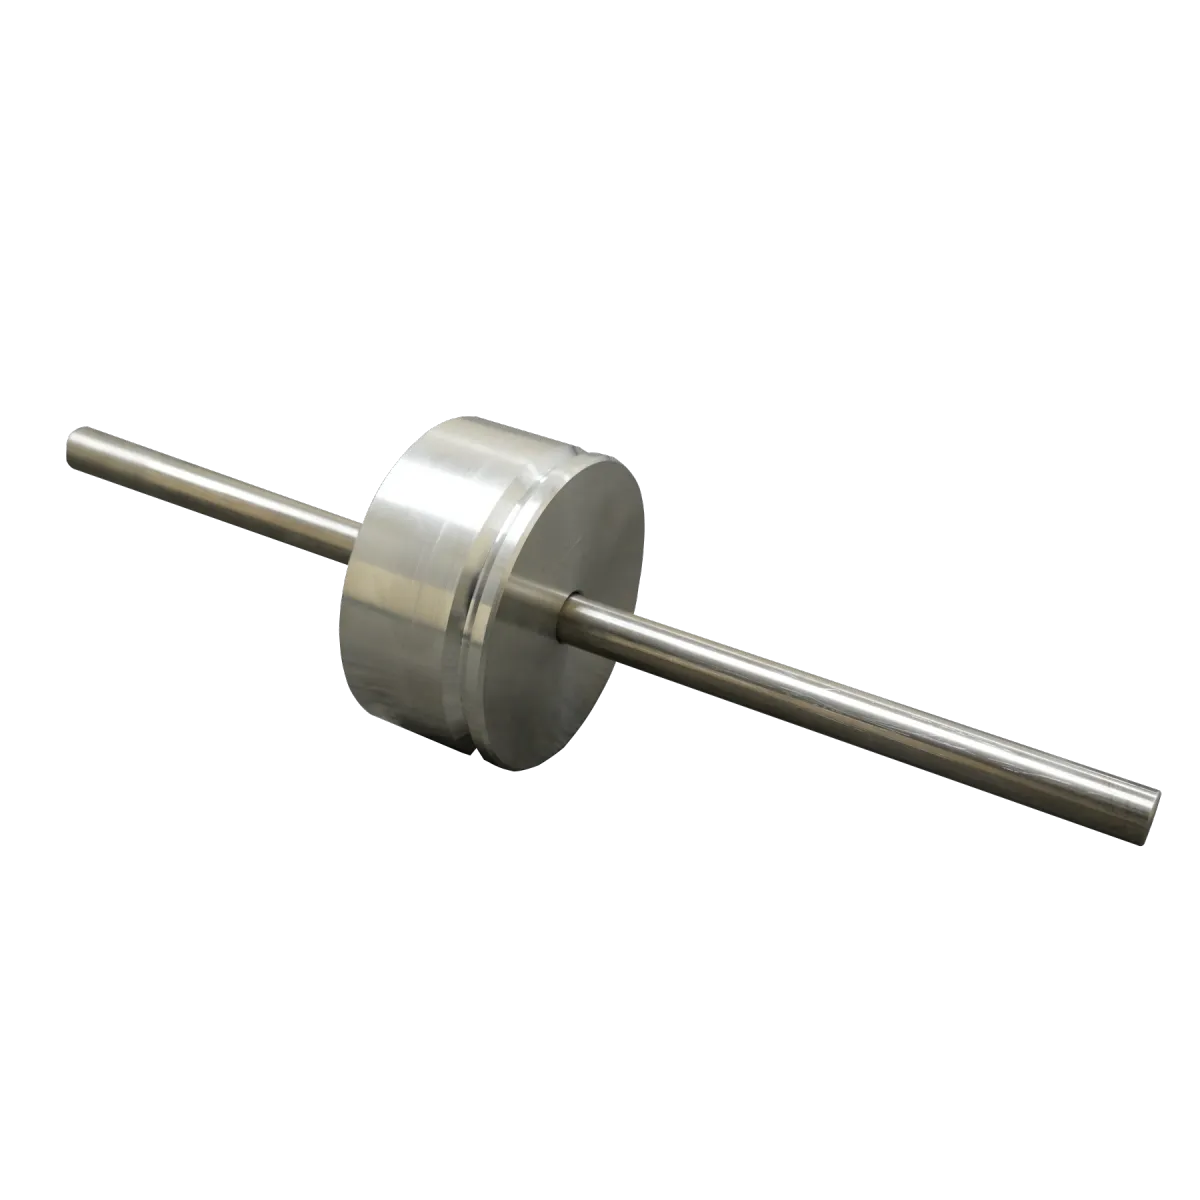
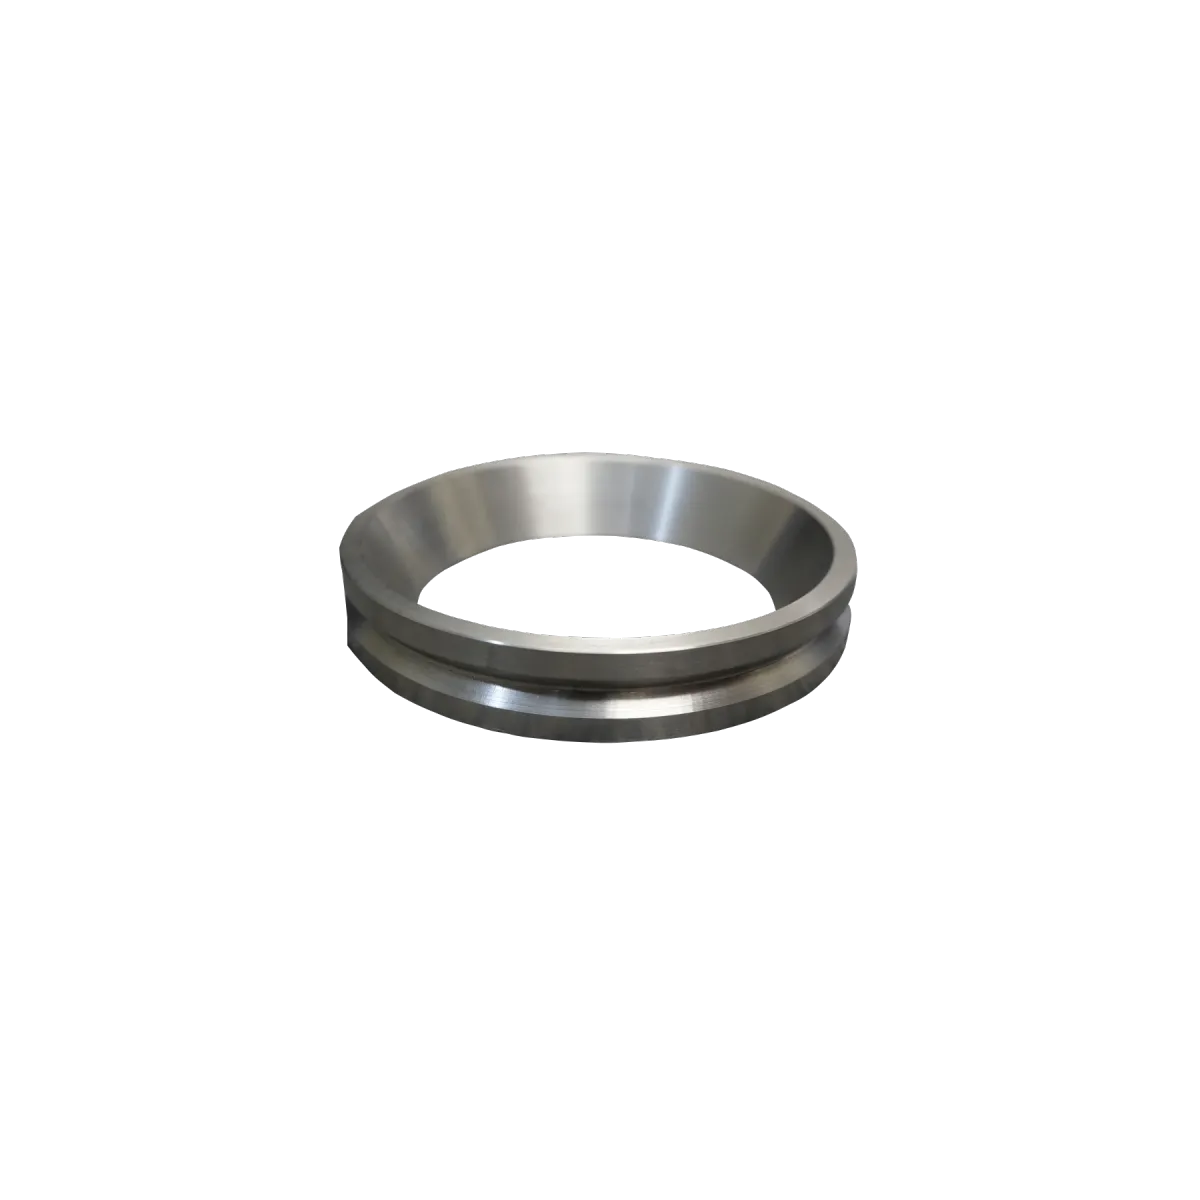
Aligning the auger can be done with the hopper on or off, but it’s generally easier to perform this task with the hopper off. You’ll need an auger alignment tool, which consists of an alignment hub and an alignment rod. The hub replaces the funnel and ensures the auger is evenly spaced, while the rod acts as a stand-in for the auger during the alignment process.
1. Remove the Funnel and Auger
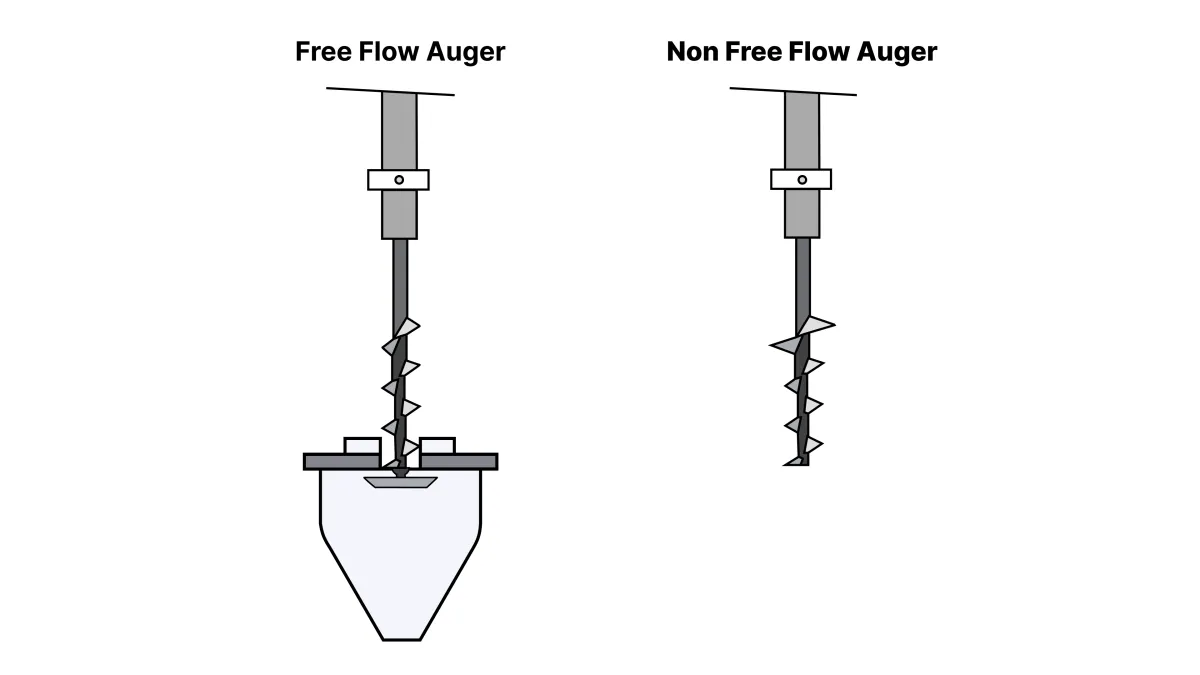
Start by removing the lip funnel and auger if you have a non-free-flow filling machine.
For free-flow fillers remove the auger, funnel, collector funnel, spinner plate, and left-handed nut.
2. Insert the Alignment Hub
Place the alignment hub into the bottom of the hopper and funnel coupling, securing it with the bottom three thumb bolts, just as you would with the funnel.

3. Insert the Alignment Rod
Insert the alignment rod into the bottom of the hub, pushing it up through the hub and into the auger shaft. If the rod smoothly enters the auger shaft, your alignment is correct. If not, you’ll need to adjust the hopper and funnel coupling.

4. Adjust the Coupling
To adjust, loosen the coupling bolts on the backside top of the coupling. Move the coupling horizontally until the alignment rod fits smoothly into the auger shaft. Once aligned, replace the alignment hub and rod with the actual auger and funnel.

Important Notes on Maintenance
The two bolts on the back of the coupling should only be adjusted during the alignment process. Once the auger is aligned, these bolts should remain untouched as long as the auger is in alignment.
When cleaning the hopper, avoid loosening the vertical coupling bolts to prevent misalignment. The horizontal bolt is the only one that needs to be removed. The L-Bracket has self-aligning pins which keep the auger correctly aligned.
Conclusion
Regularly checking and aligning your auger is a simple yet vital maintenance step that can save you from significant wear and tear on your auger filler machine. By following these steps and using the proper tools, you’ll ensure your machine runs smoothly and efficiently, reducing downtime and repair costs.
For more detailed instructions or to purchase alignment tools, visit the "Parts & Tooling" section of our website. Keep your auger aligned, and your machine will thank you!

Maintenance and Parts Instructionals
Watch a video or read an article to learn about auger fillers
Setup videos

Spinner plate adjustment
Auger alignment
Non free flow auger adjustment
Setup videos
Spinner plate adjustment
Auger alignment
Non free flow auger adjustment
Find repair tooling
Auger alignment tool
Auger alignment
Hopper ring
Auger alignment
Disassembly & Repair Instruction
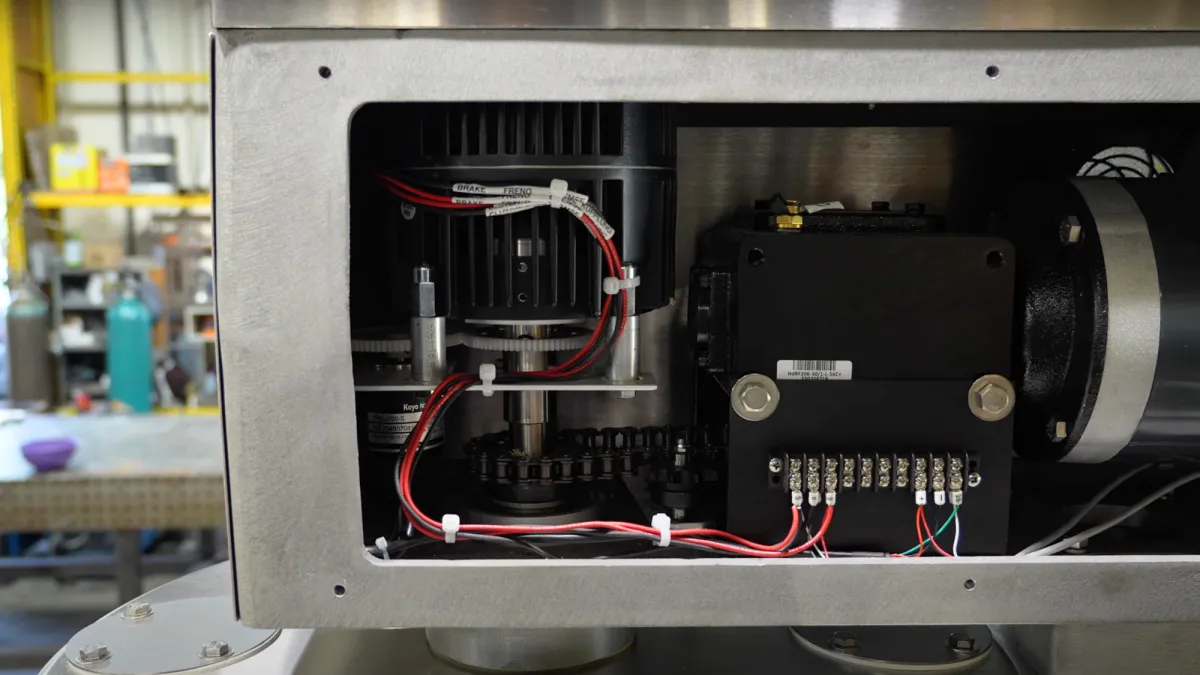

Slow speed bearing housing replacement
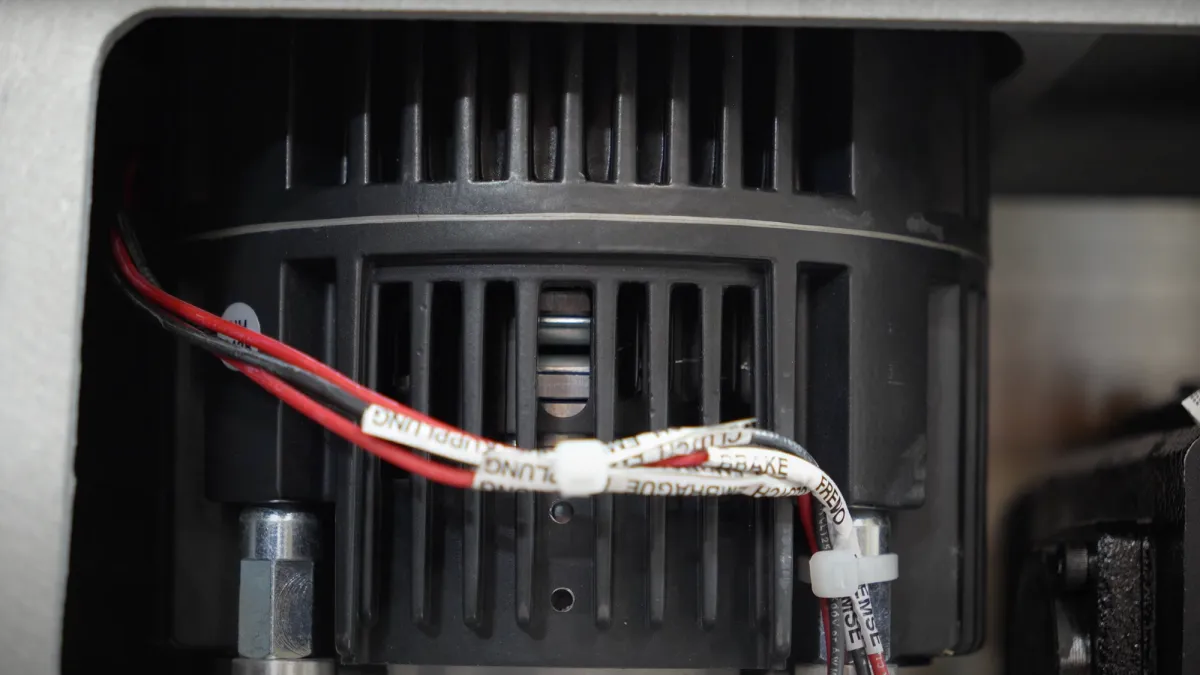
Clutch brake motor replacement
Non free flow auger filler disassembly
Fix your clutch brake armature plates
Disassembly Instruction
Slow speed bearing housing replacement
Clutch brake motor replacement
Non free flow auger filler disassembly
Fix your clutch brake armature plates
Find disassembly parts
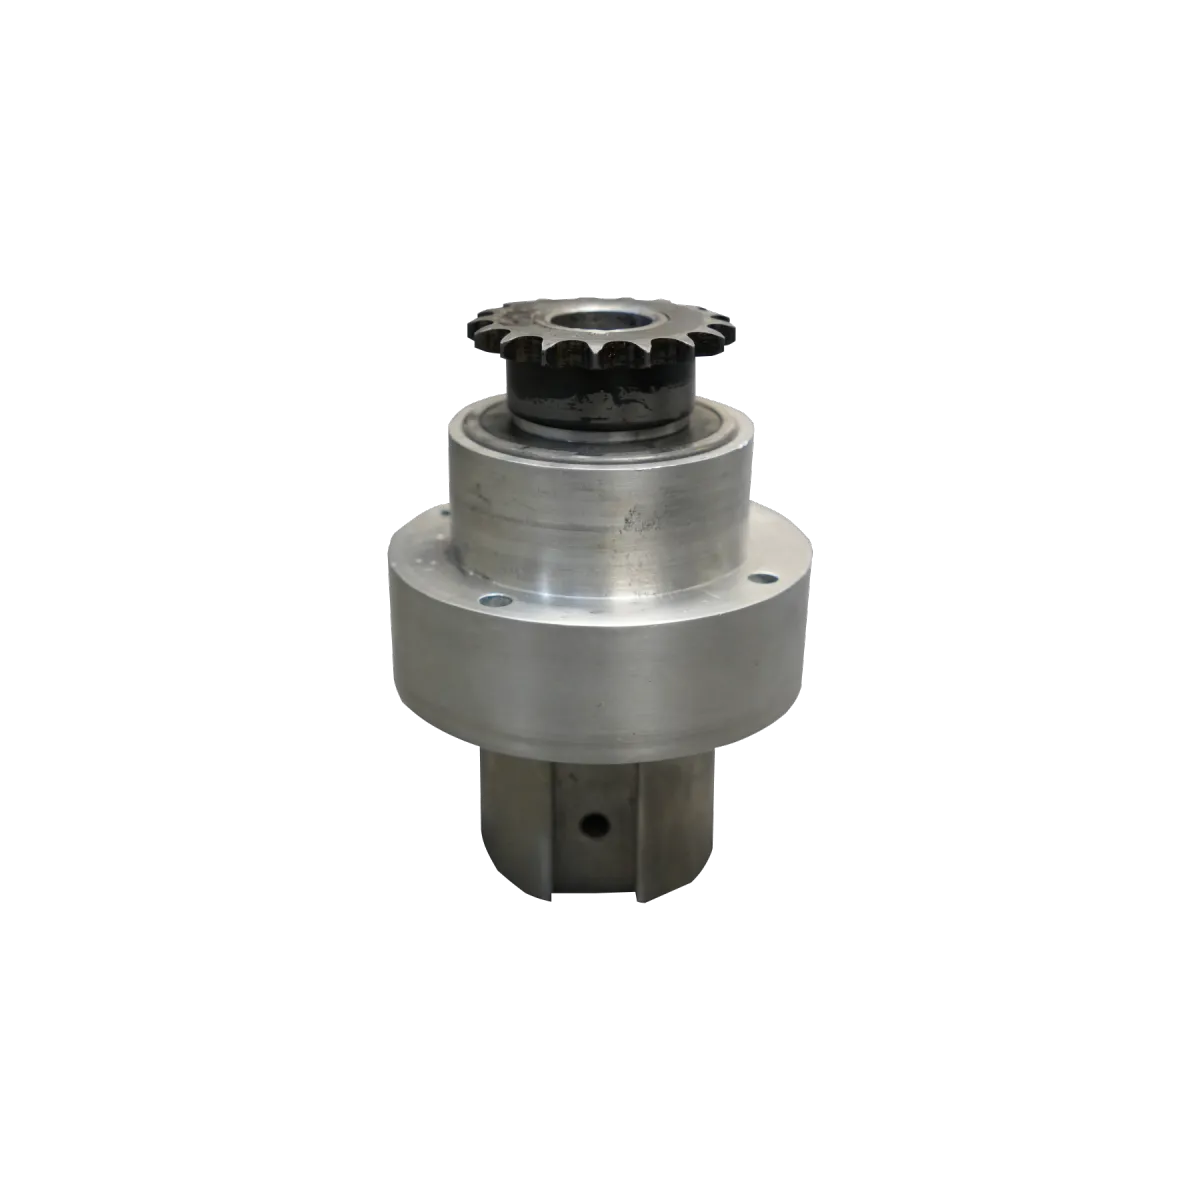
Slow speed bearing housing
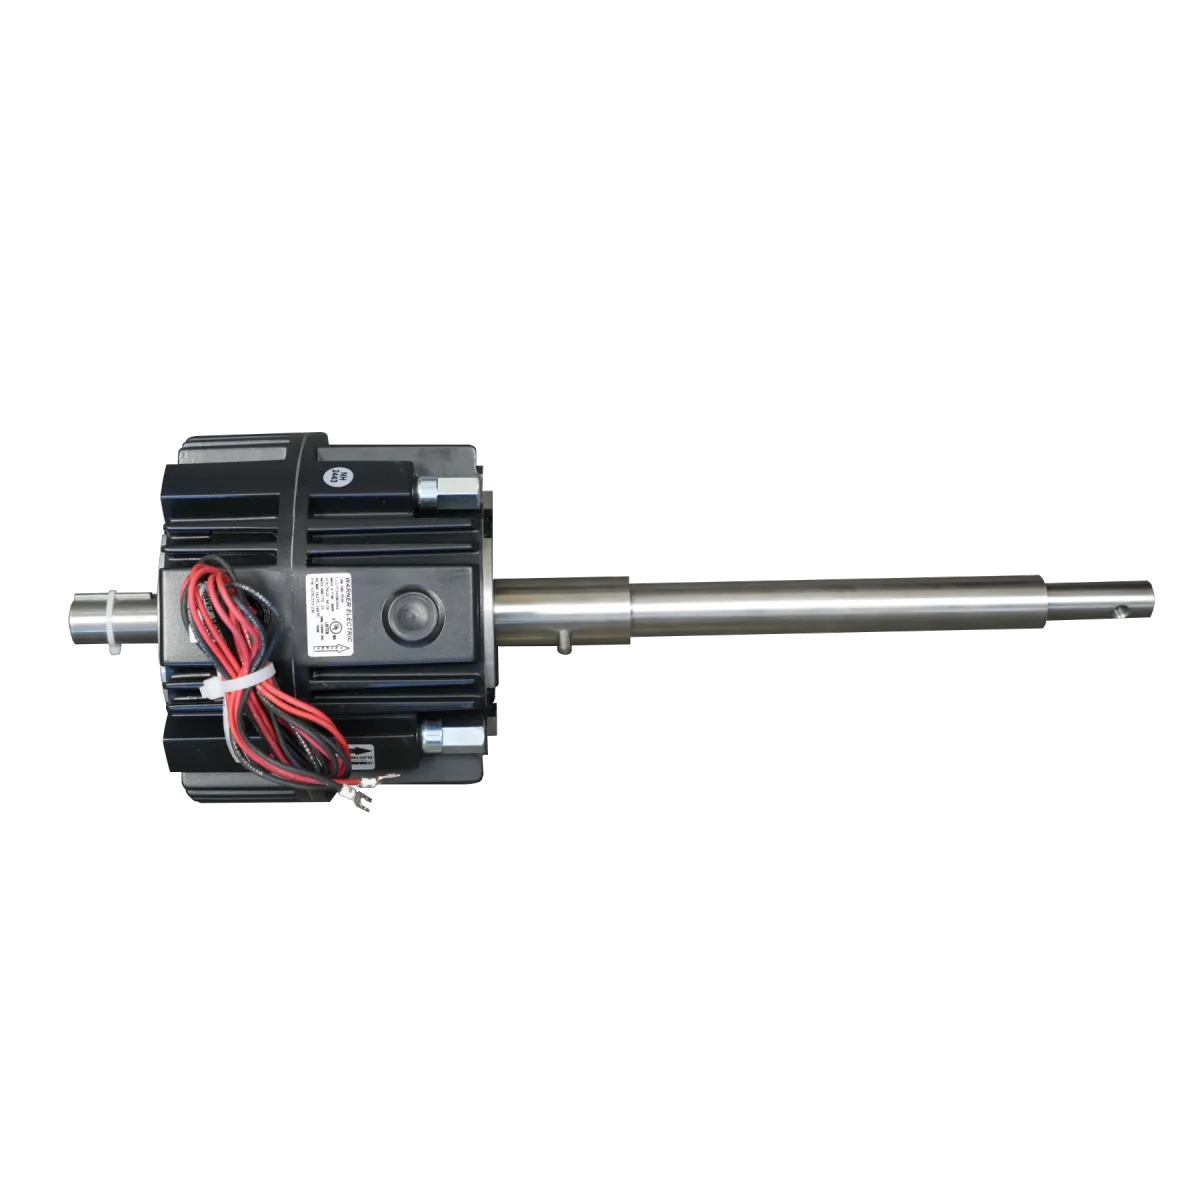
Clutch brake motor
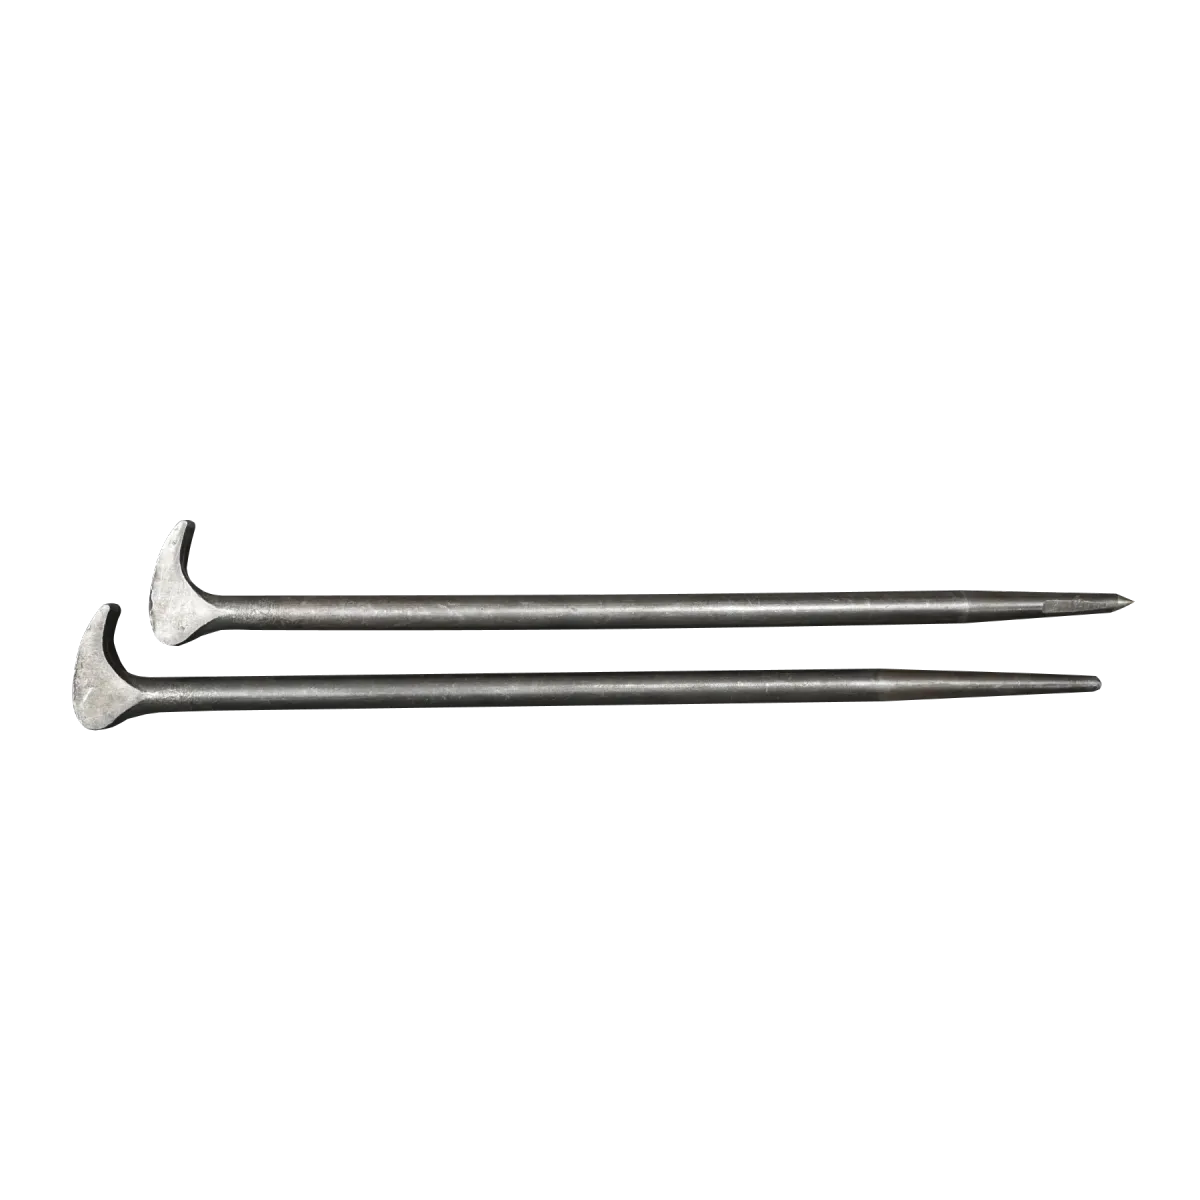
Prying irons
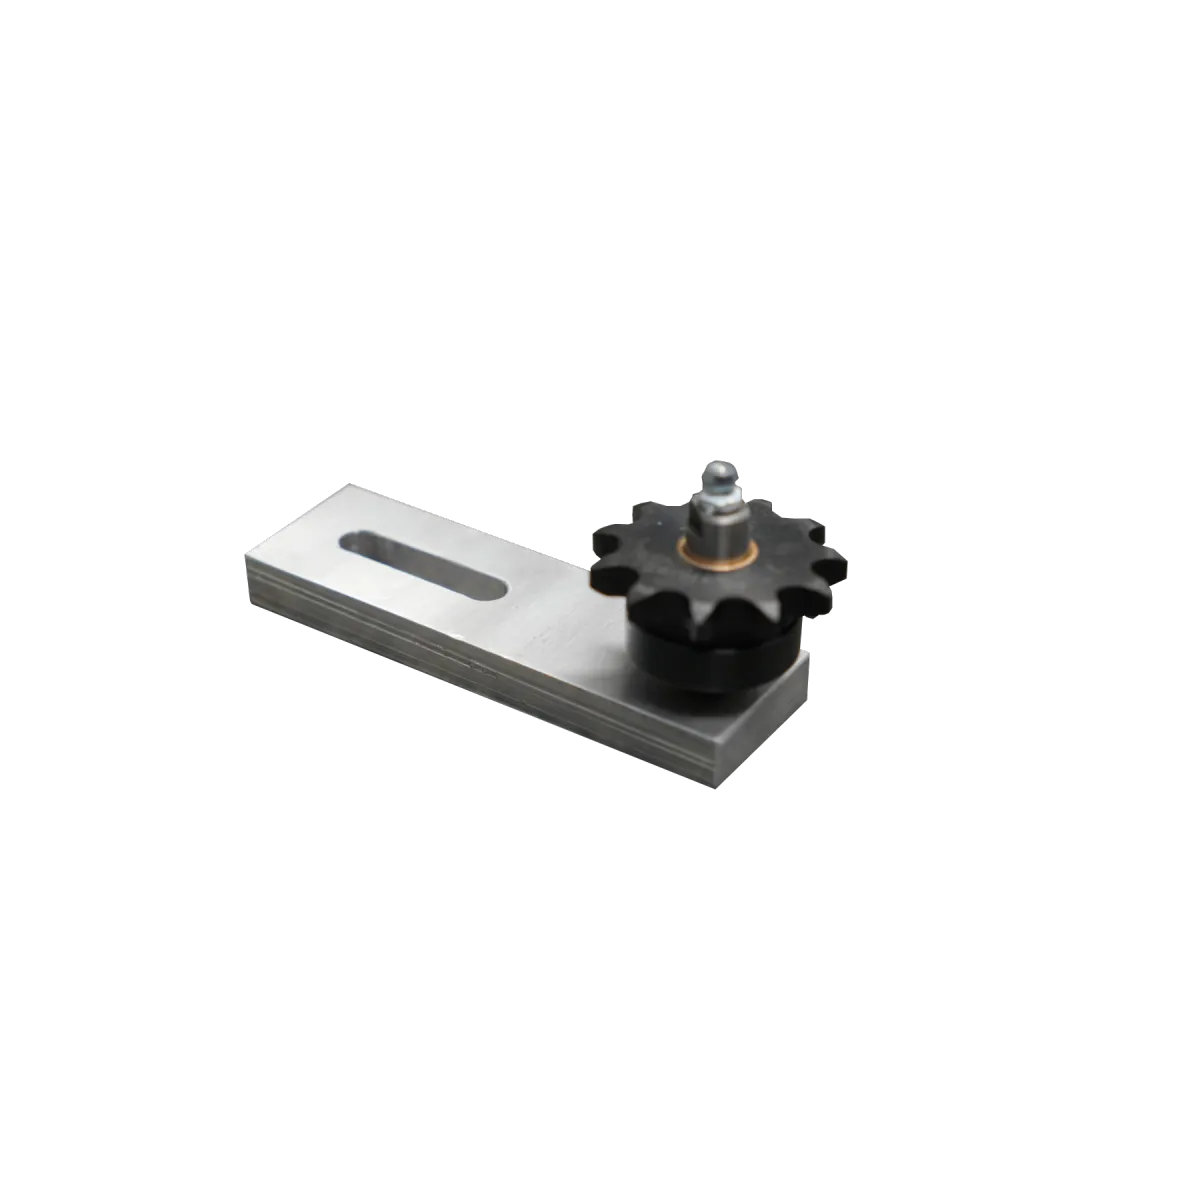
Idler assembly
PLC operation Instruction
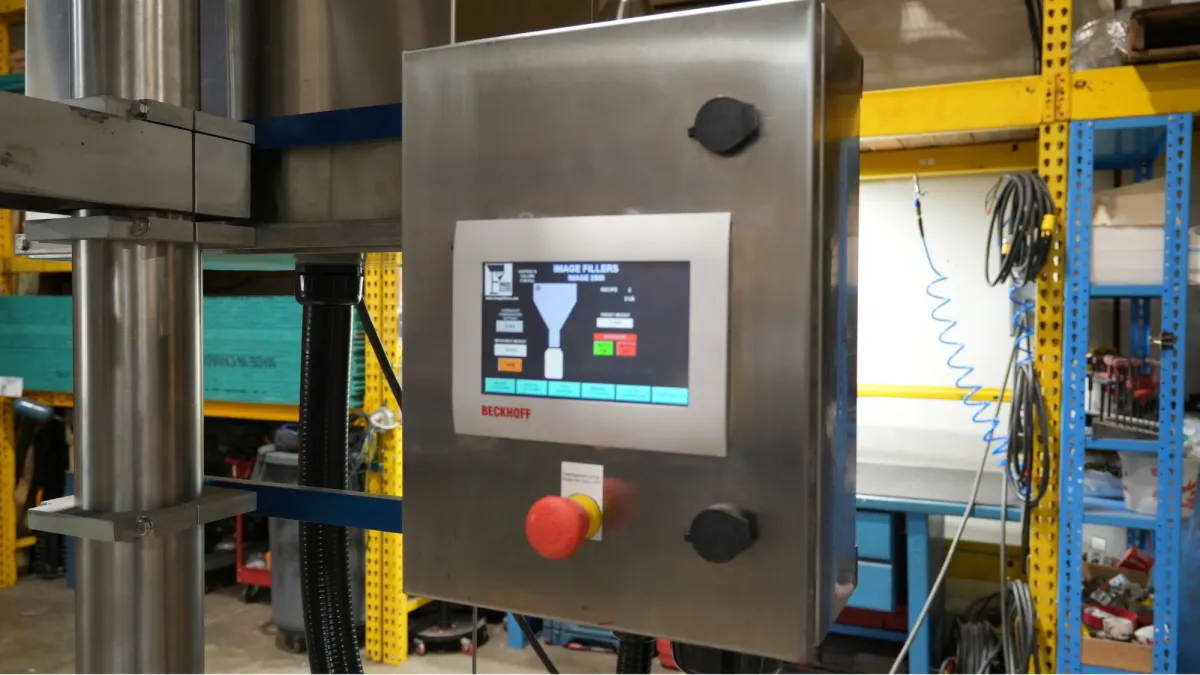
Allen Bradley PLC instructions
Mitsubishi PLC instructions
PLC operation Instruction
Allen Bradley PLC instructions
Mitsubishi PLC instructions
Download PLC Manuals
Allen Bradley PLC Manual
Mitsubishi PLC Manual
Filler & product information
Determining free flow or non free flow
Fully automated bottling line components
Clutch brake or servo drive motor
Automation cost breakdown
Filler & product information
Determining free flow or non free flow
Fully automated bottling line
Clutch brake or servo drive motor
Automation cost breakdown
Contact
Hours: 9 AM - 5 PM
735 Fox Chase Rd # 111, Coatesville, PA 19320
(610) 466-1440

To purchase a machine, call (610) 466-1440 or email [email protected]
Image Fillers © 2025
Made in the United States